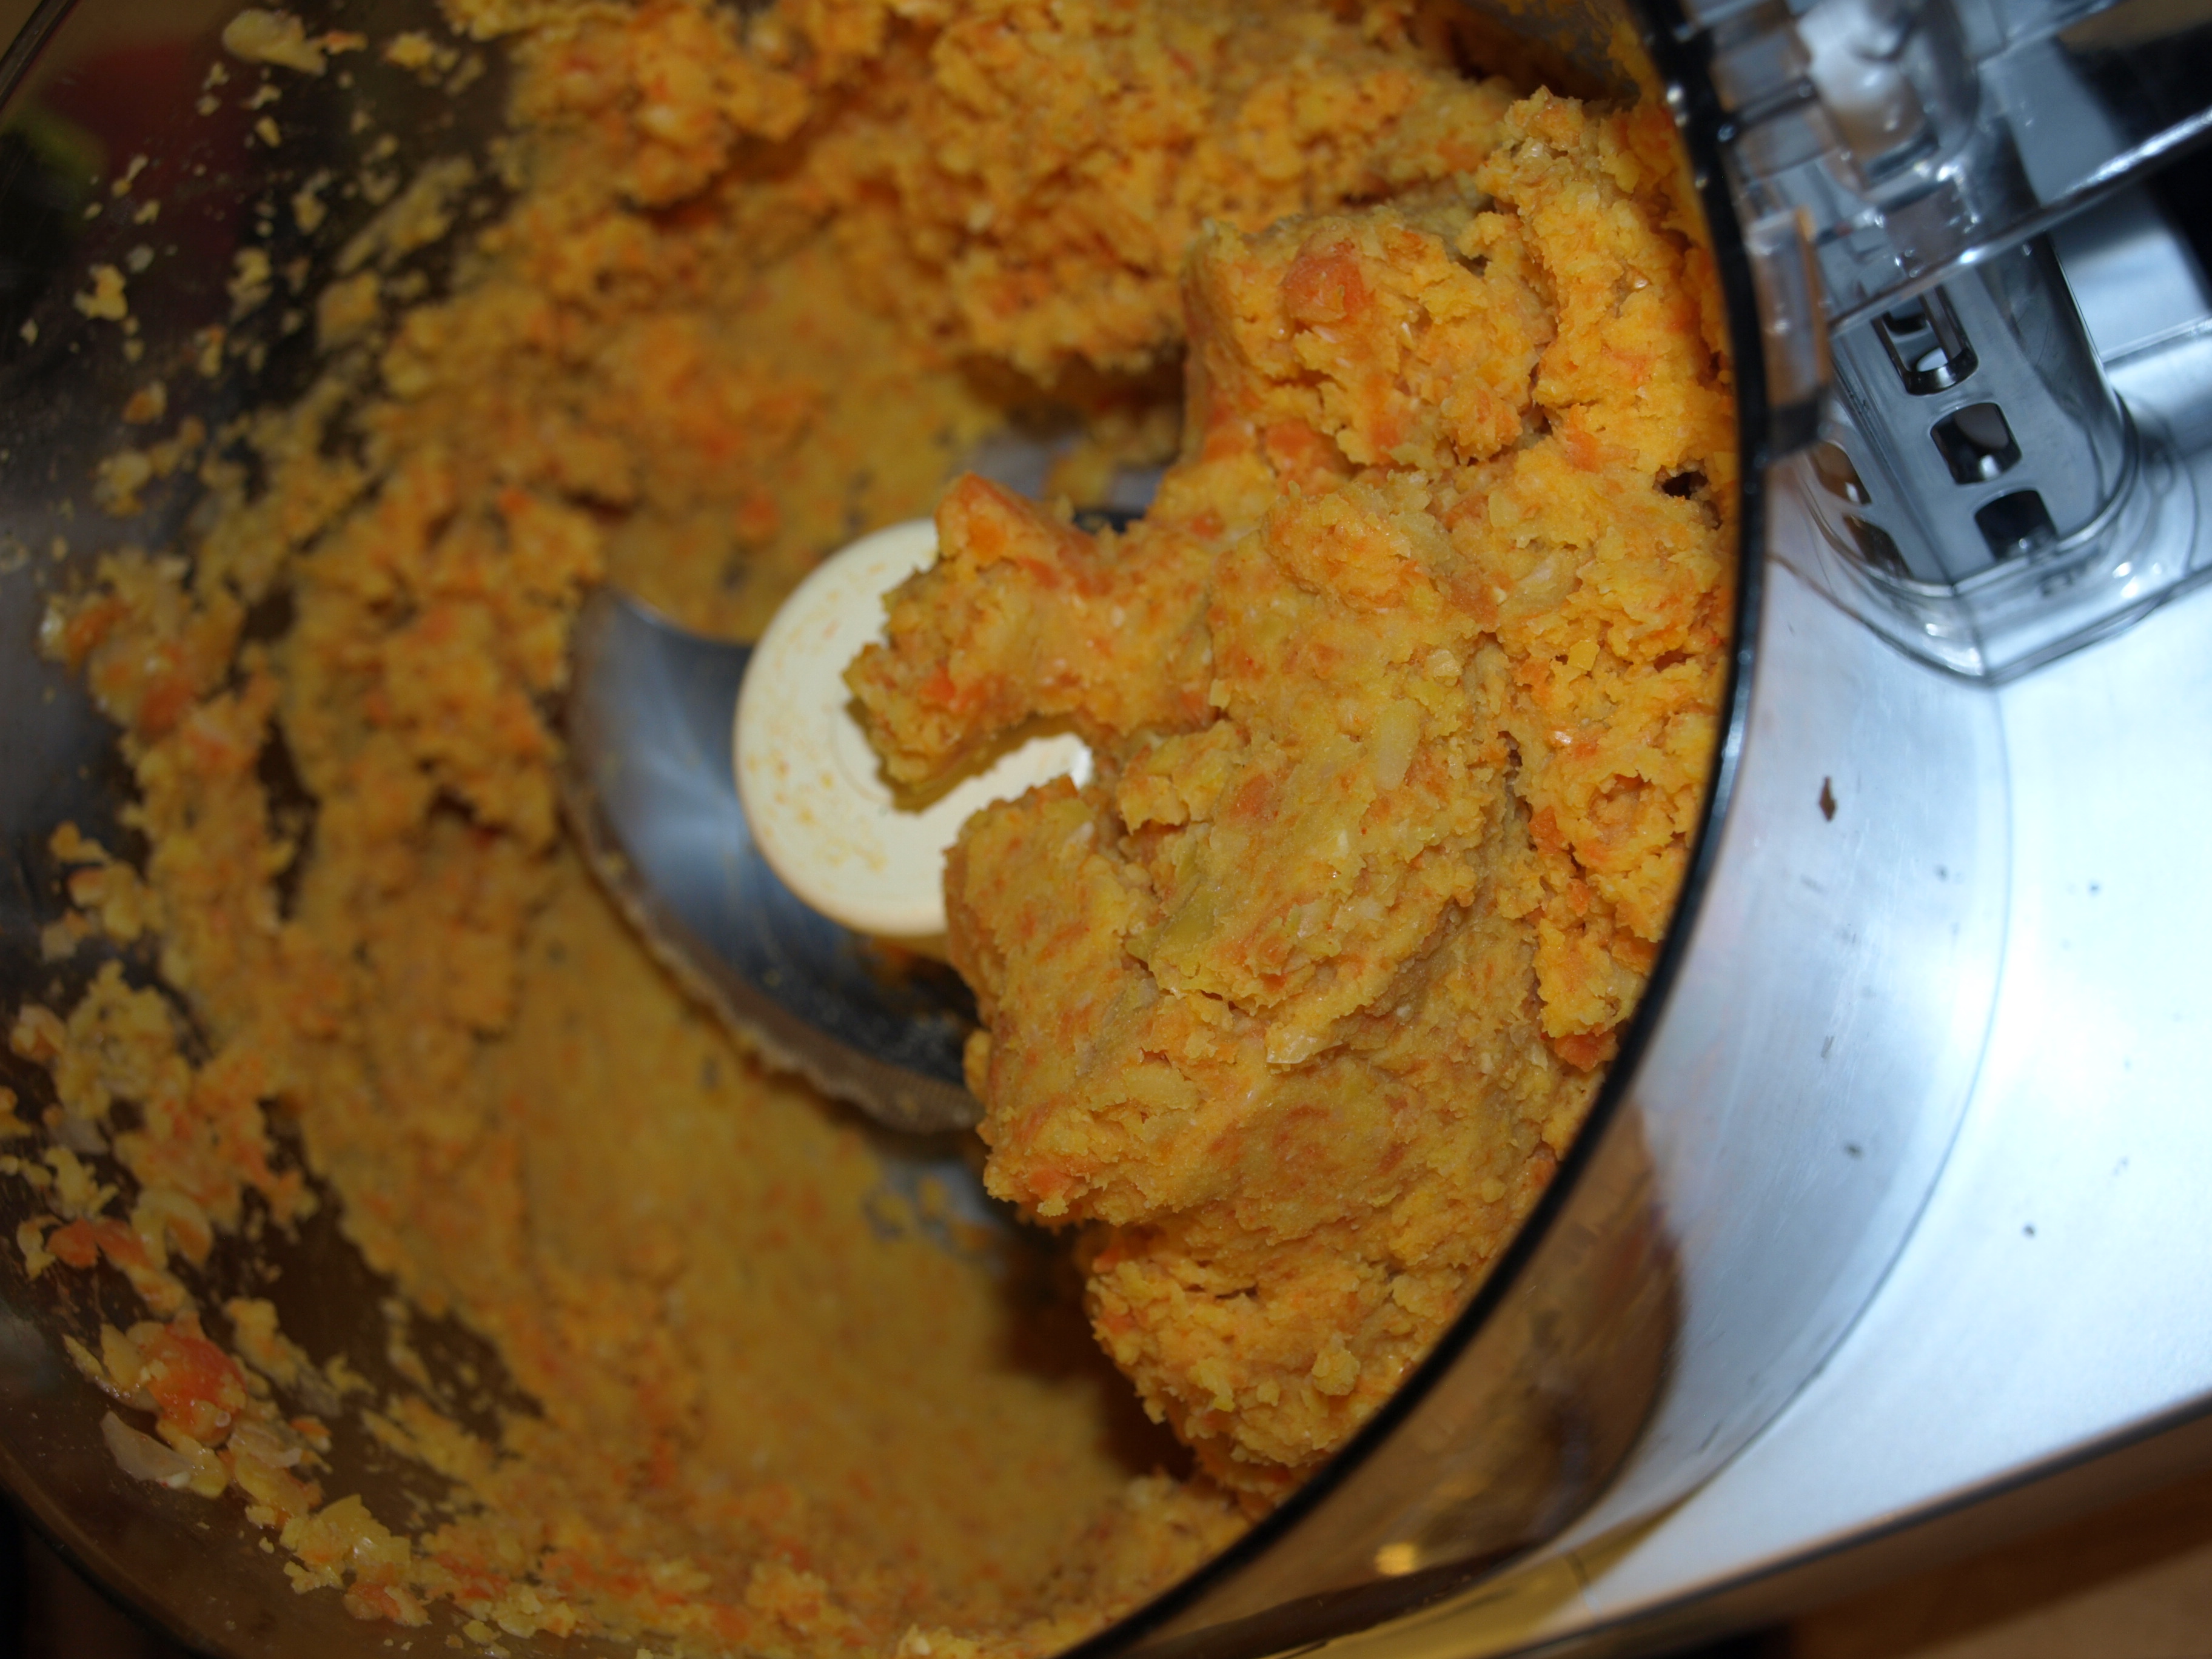
Carrot and Roasted Garlic Hummus
If you’ve been to a Northern Michigan Farmers Market lately, you’re likely to see fewer greens. There will be plenty of baked goods, jelly & jams, meats & cheeses, but greens are harder to come by in February. Even with advancements in farming infrastructure like hoophouses and greenhouses, the beautiful and at times frustrating reality about growing food from the earth is that mother nature makes the rules.
At the farmers market I attend every Saturday, the majority of fresh produce you’ll find this time of year is carrots. You’ll see me walking through the market selecting my goods from the stalls and chomping on these fresh, local deliciously sweet carrots. Other than the raw form, carrots can be made into incredible soups, heart-warming roasted side dishes and salads. Recently however, I was curious to find a recipe that used carrots in a way I’d never used them before. As soon as I saw the color of this rich & flavorful carrot hummus I knew I had to try it, so I brought it along with me to a friends house last night for dinner.
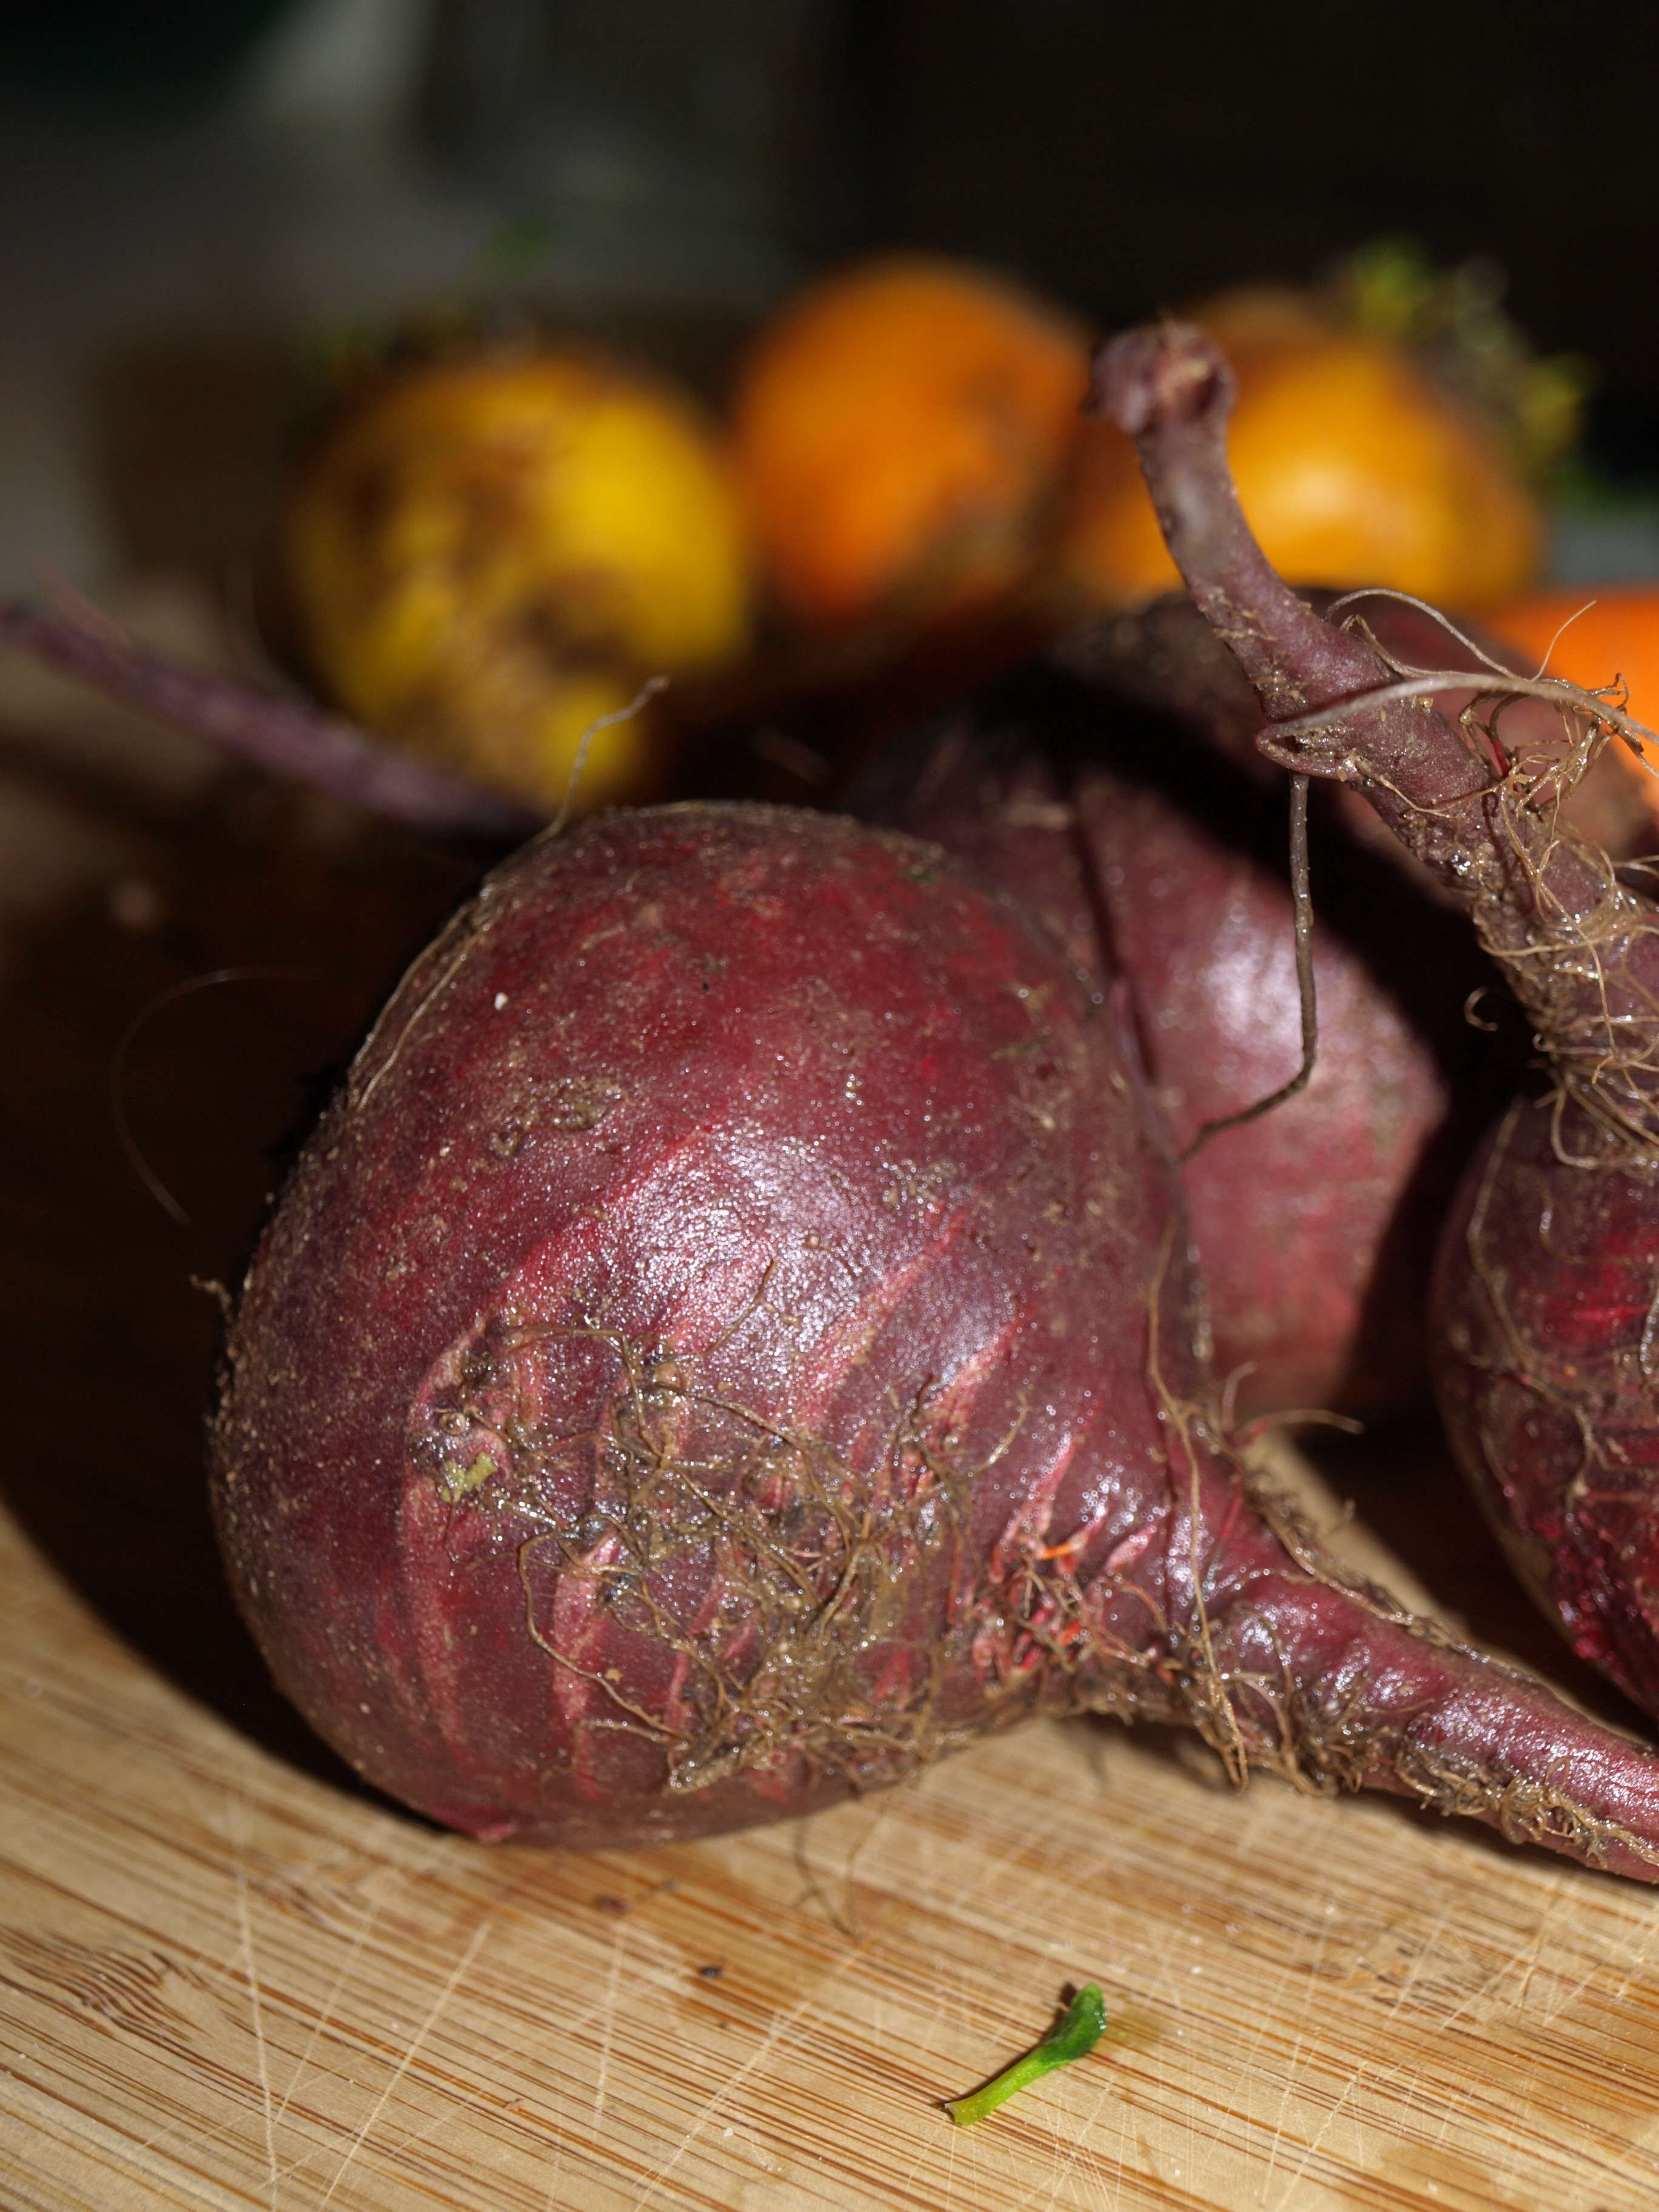
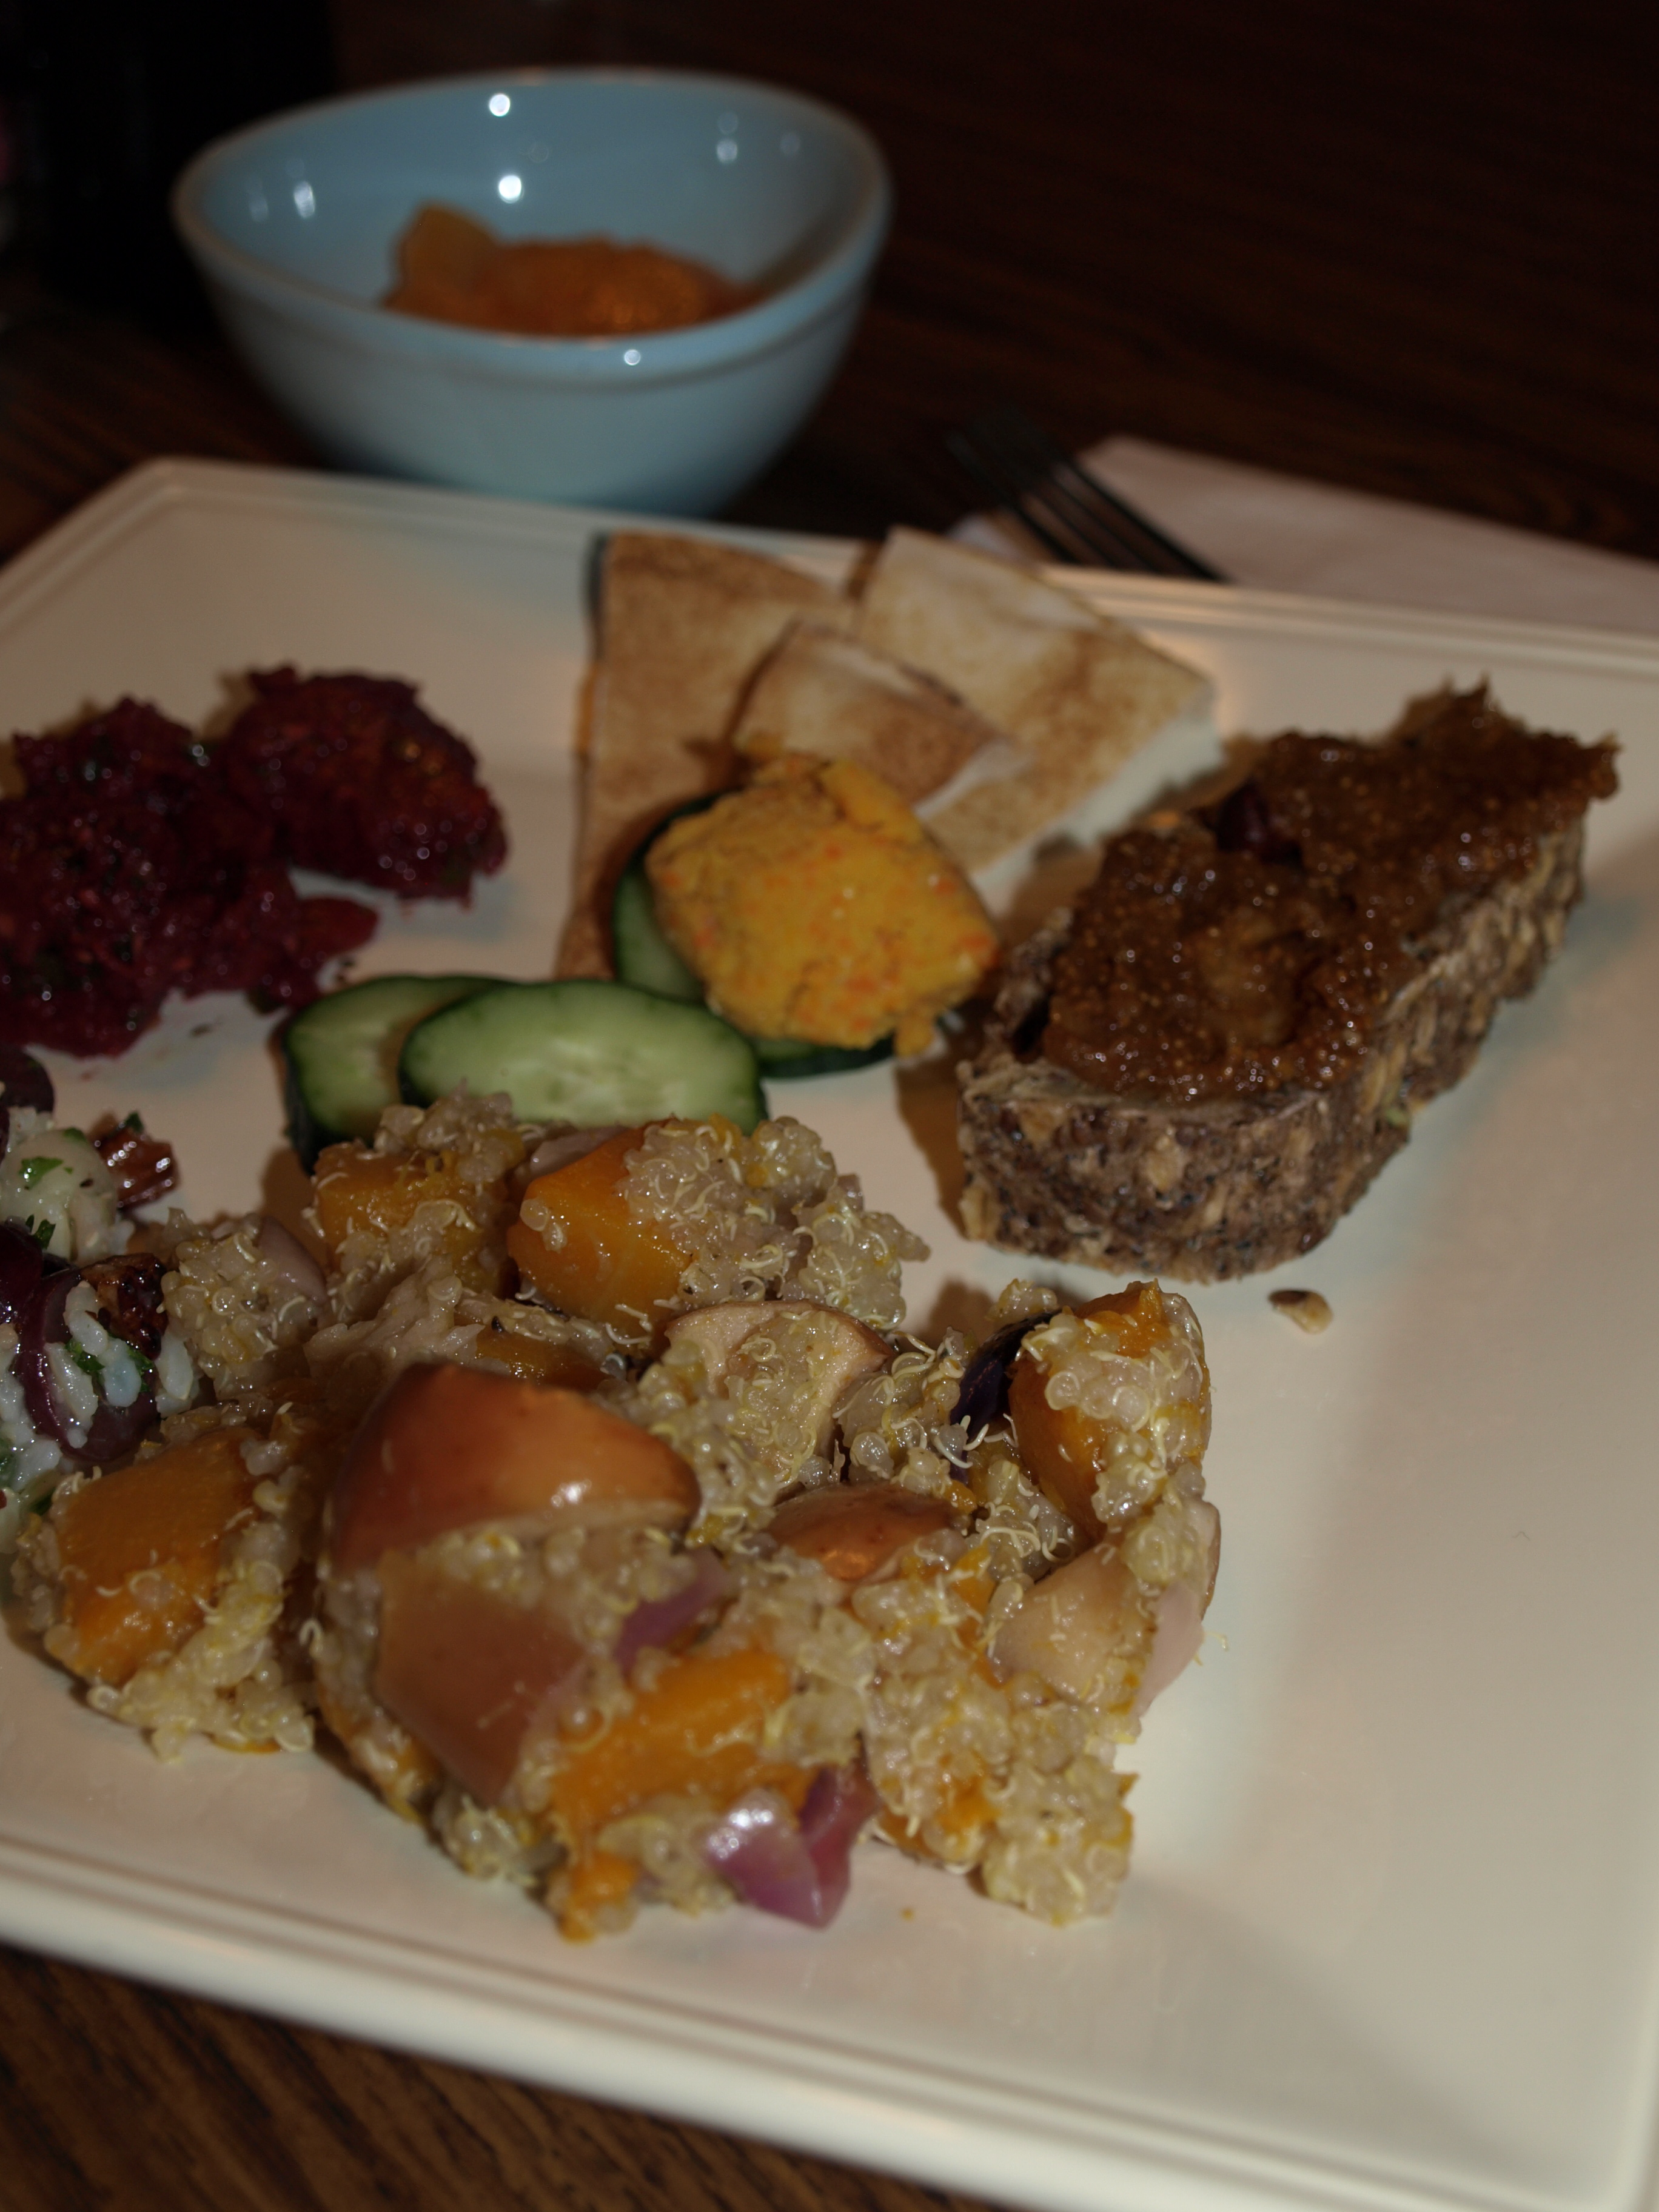
Let me just say, I LOVE having friends that enjoy cooking and food as much as I do. Last night, was an incredible feast with three women I really enjoy spending time with. Our objective was simply to gather together around food and so we did, lots of food I might add. The carrot hummus turned out smashingly with cucumber slices and pita bread for dipping. My main dish on the other hand, a concoction of beet gnocchi with lemon pesto, while equally delicious was far less ‘picture perfect.’ It was my first time making both dishes and while putting them together I realized I had created a theme unknowingly of colorful and hearty root vegetables in an uncommon form. Perhaps its because of this long cold winter, stirring up a desire for change and the color that arrives with spring.
Our collection of small plate dishes for the night included:
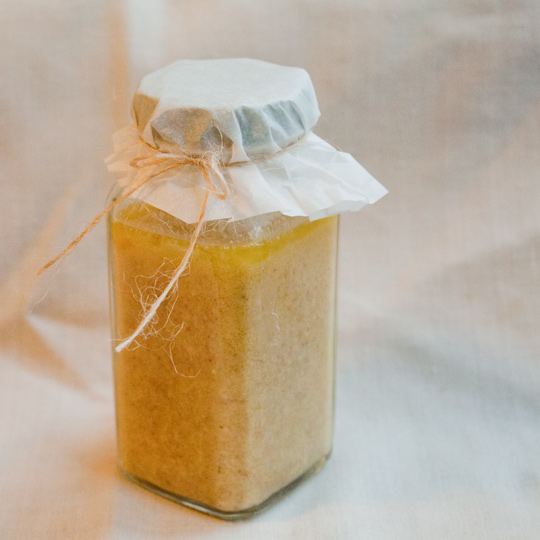
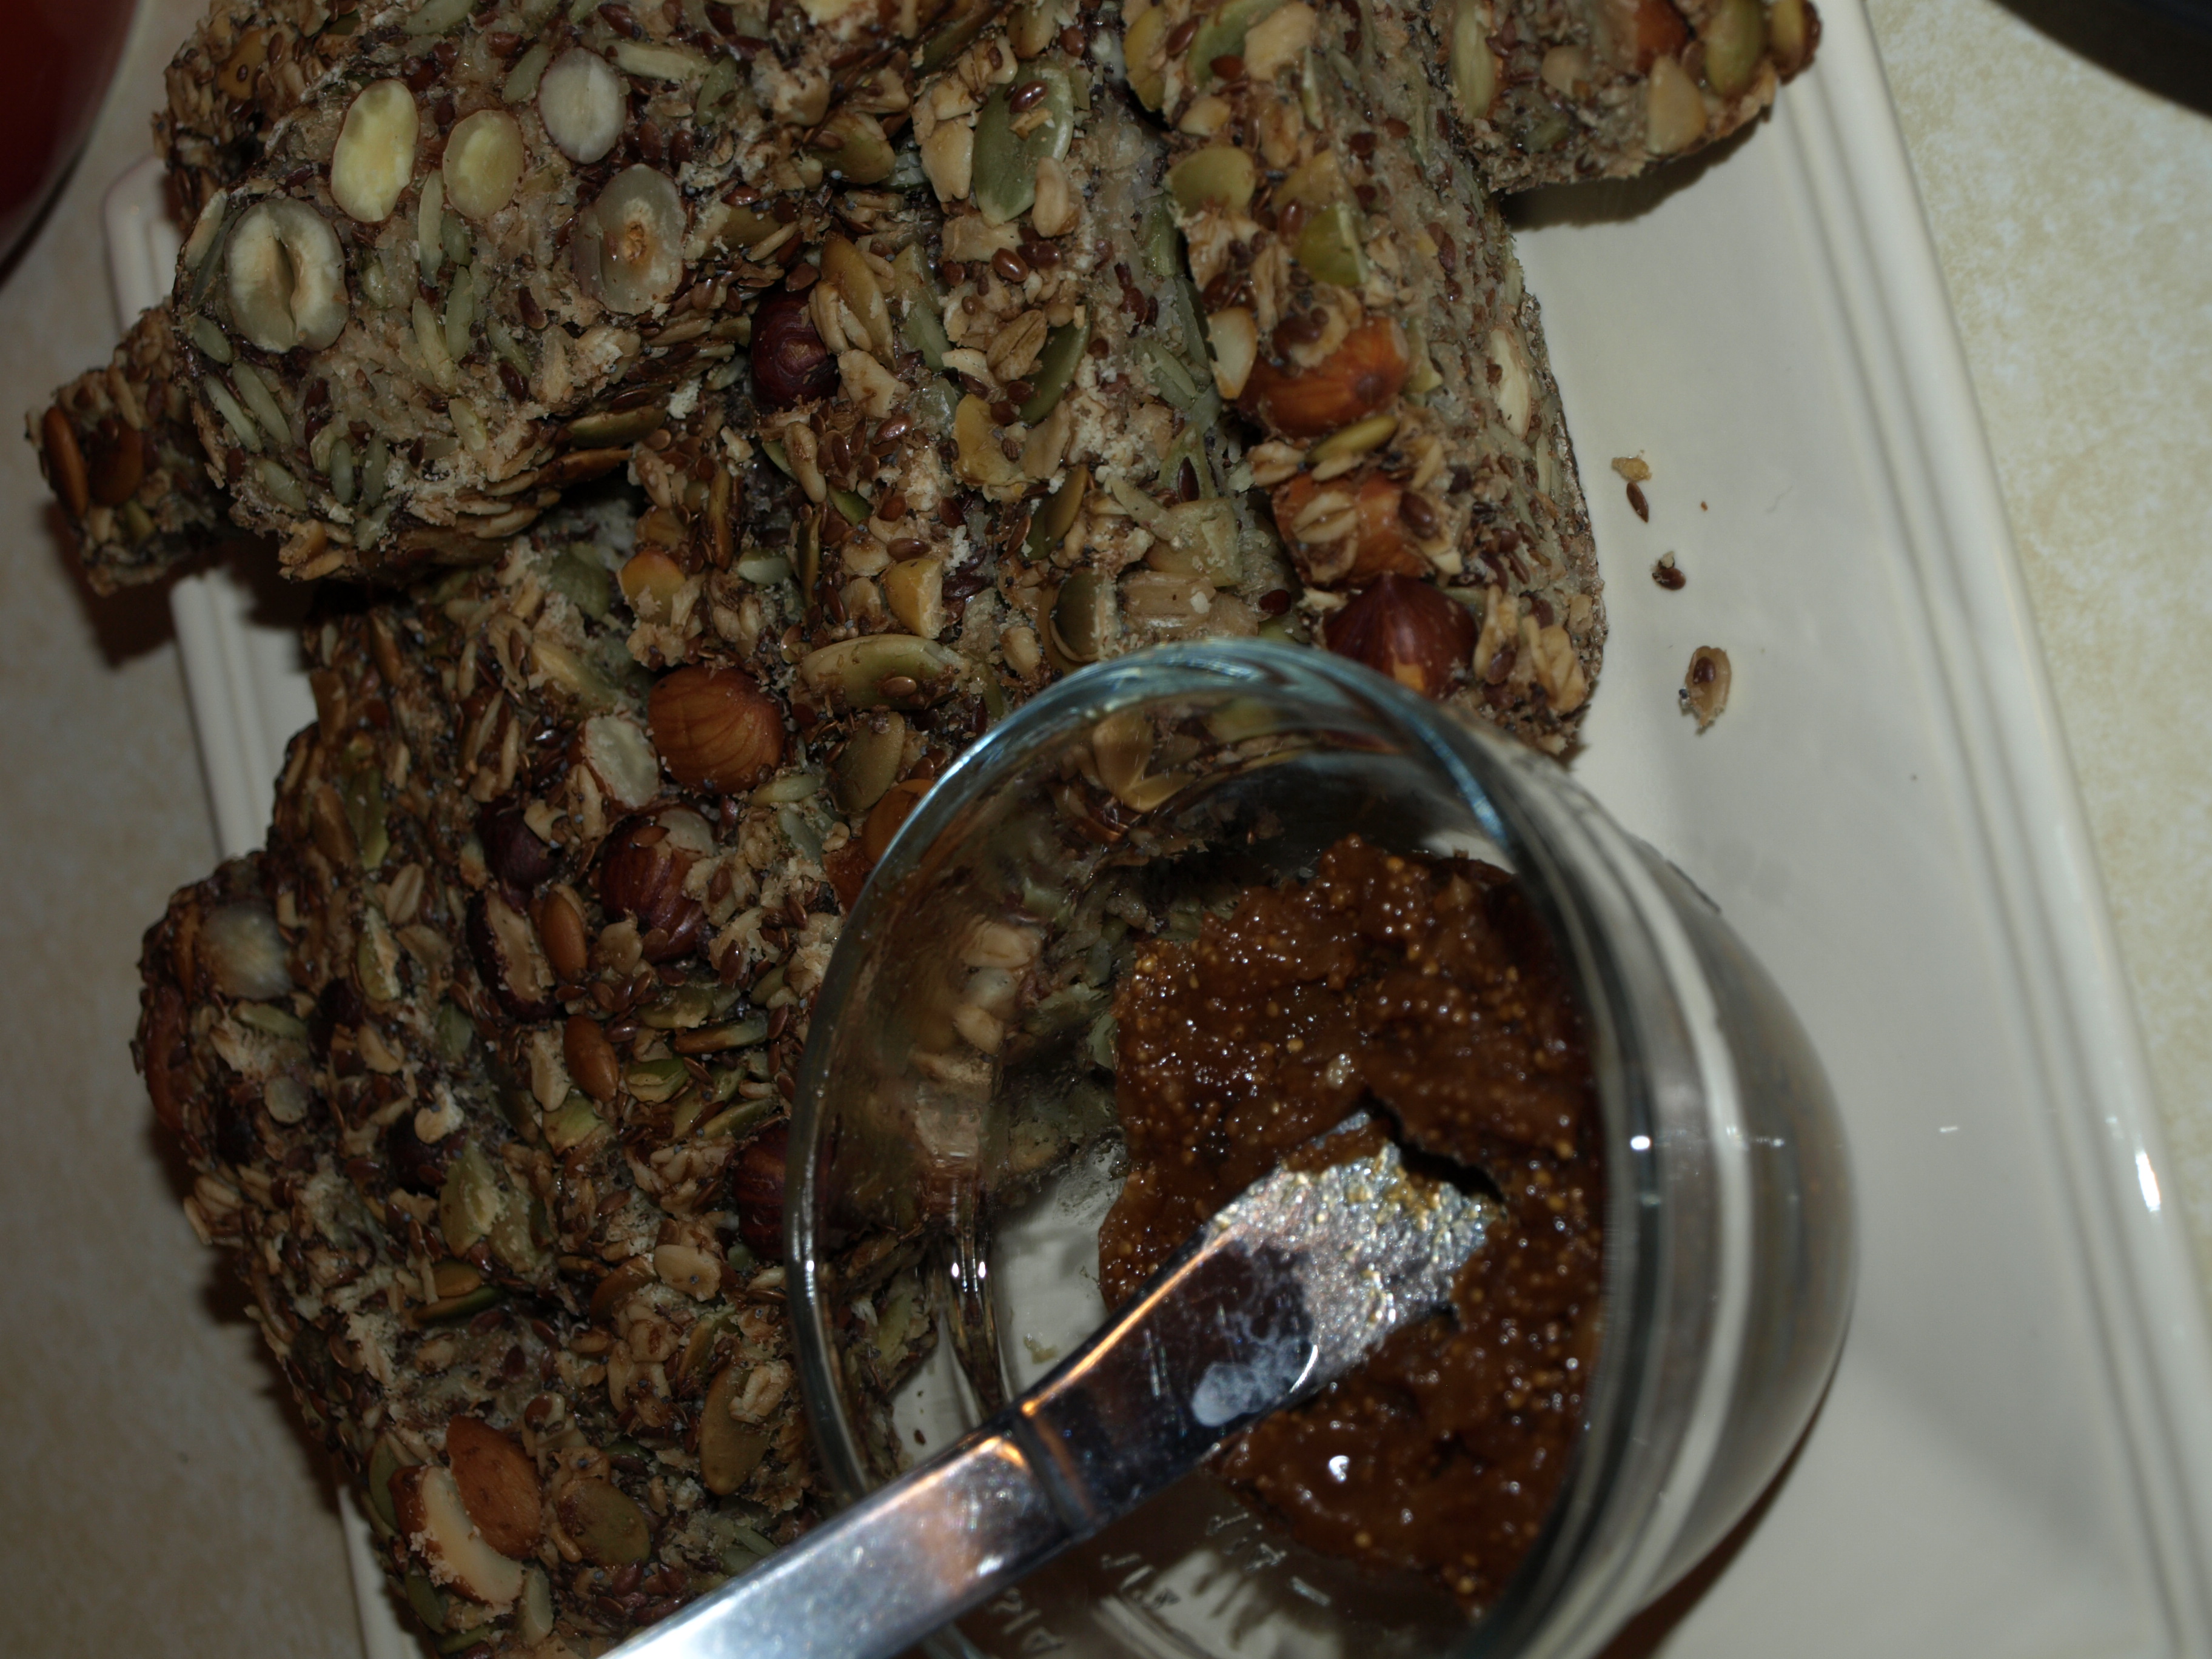
The ‘Life-Changing Loaf of Bread’ from Sarah B at My New Roots! (pictured above)
Beet Gnocchi with Lemon Pesto
Jeweled Rice Salad with Red Grapes, Scallions & Pecans
Guacamole with Sweet Potato Chips
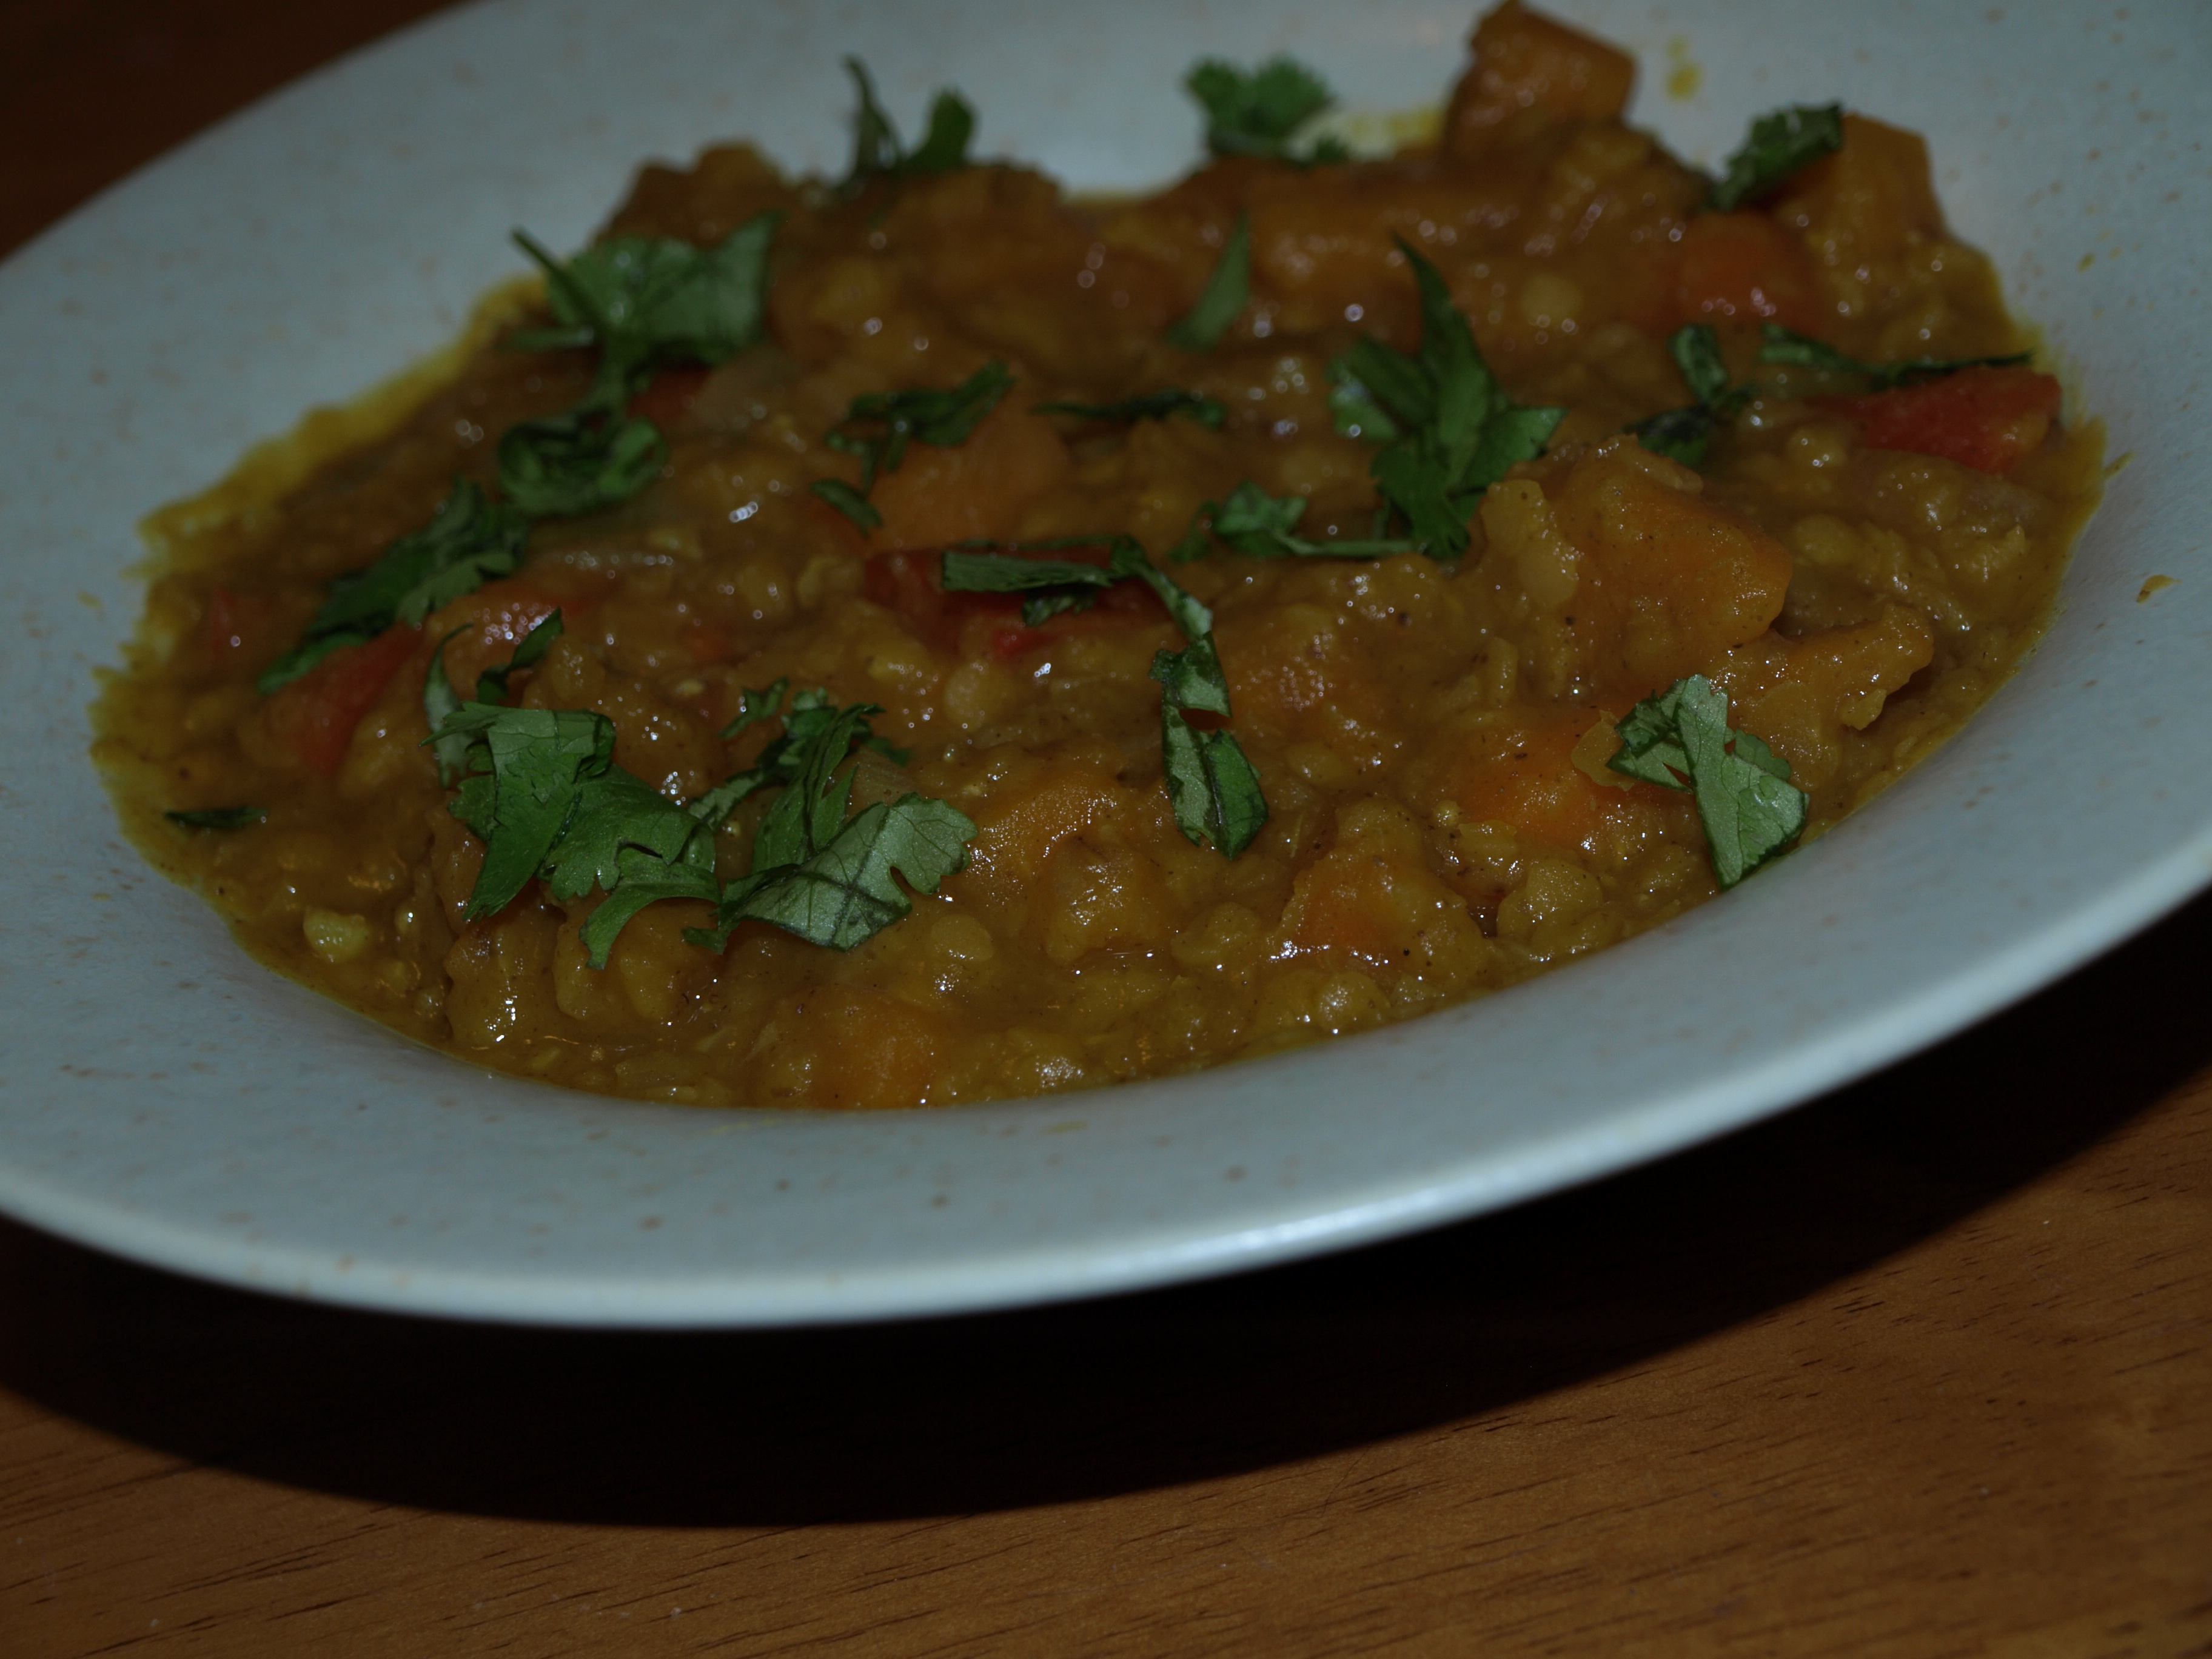
Butternut Squash & Roasted Apple Quinoa
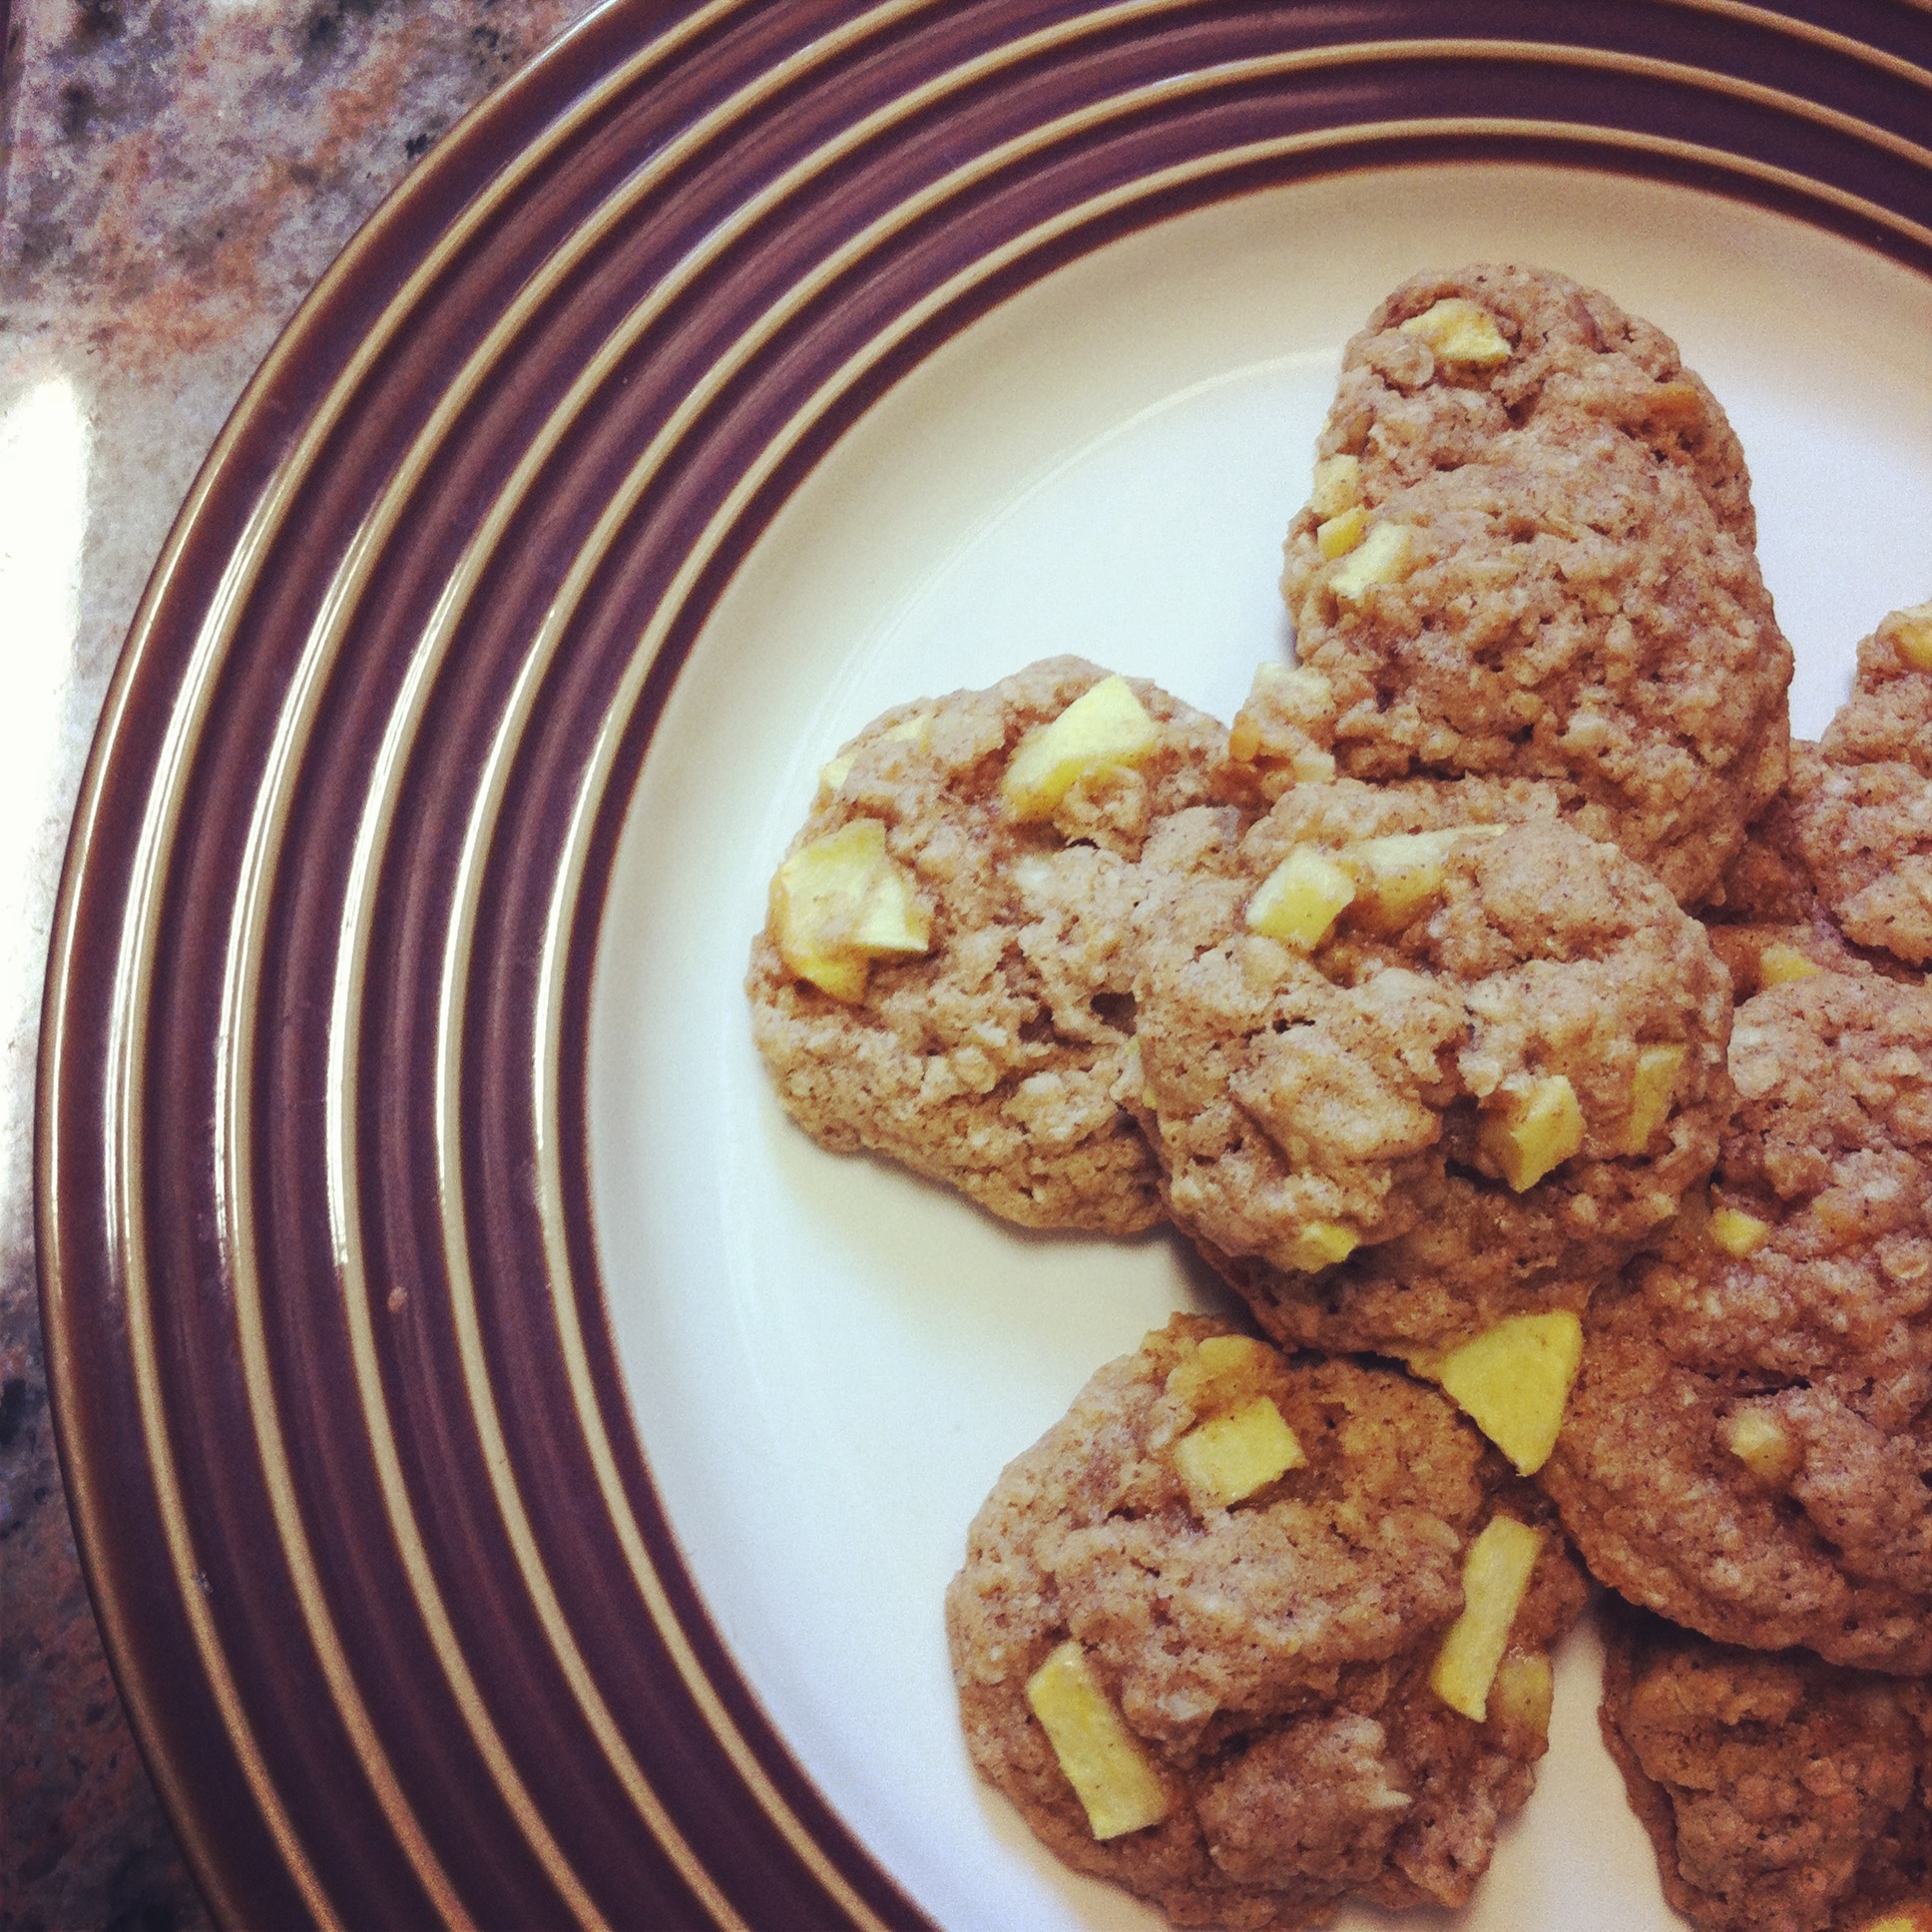
Homemade “Fig Newtons”
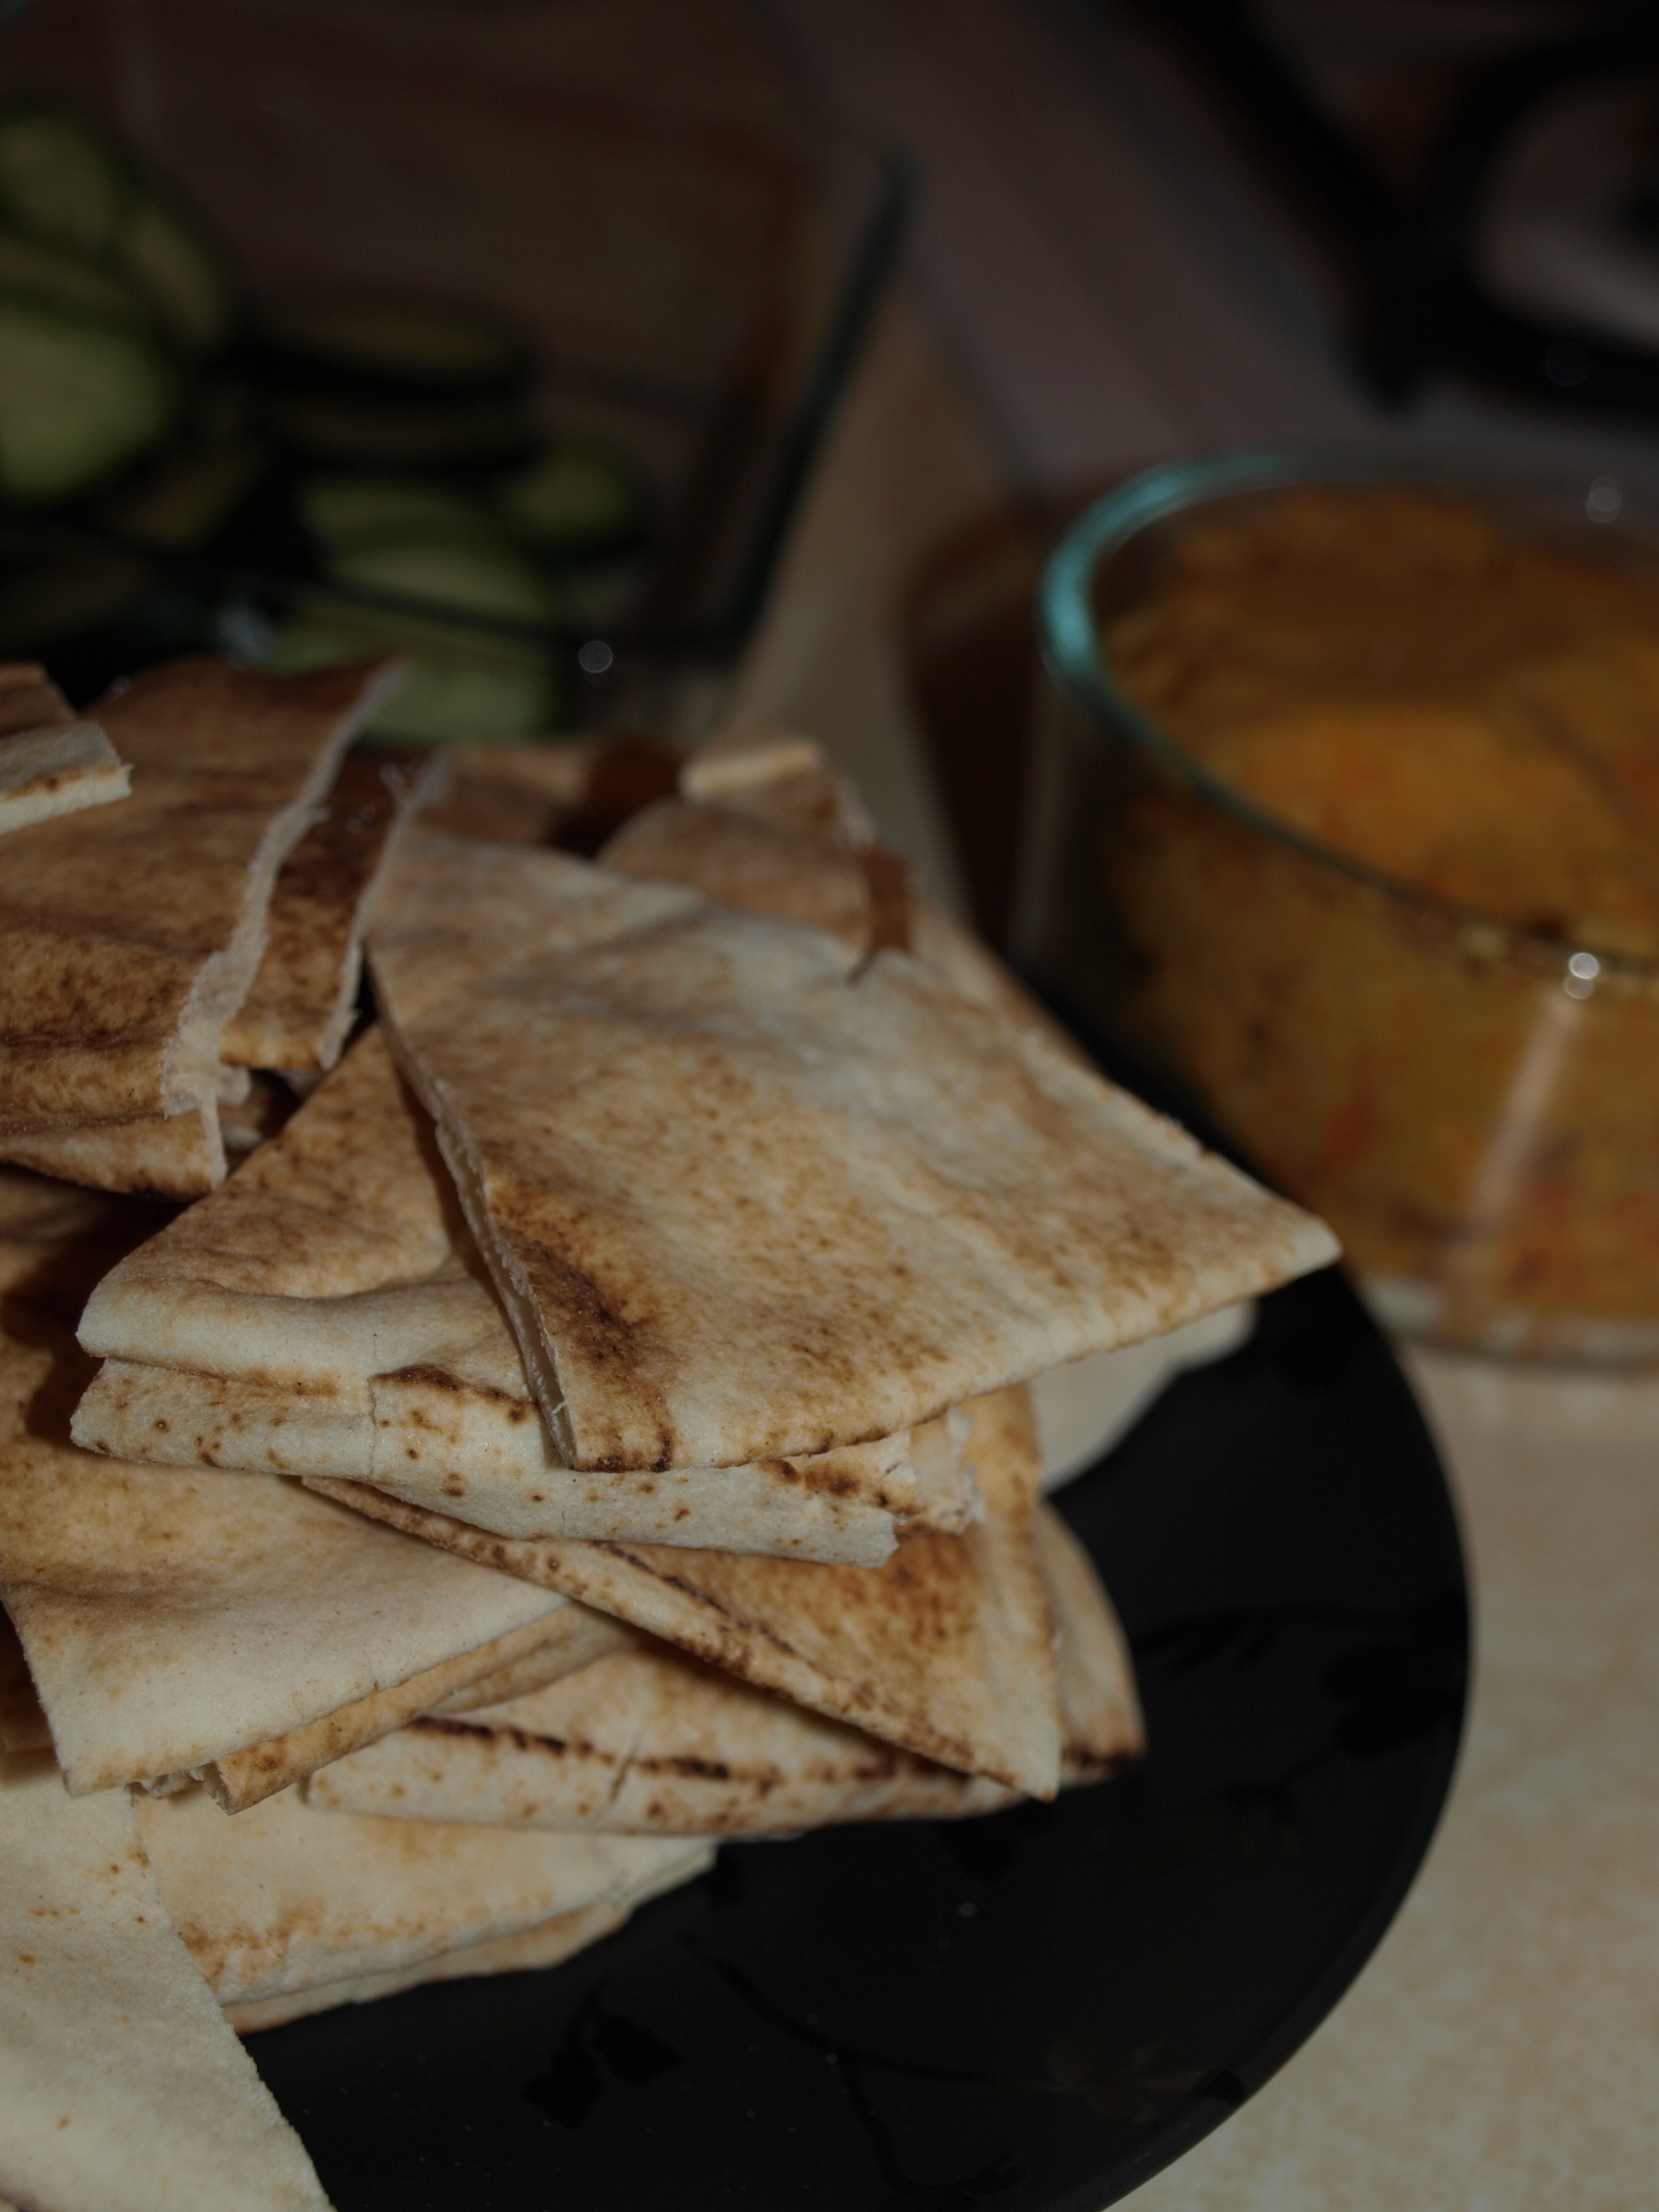
Carrot & Roasted Garlic Hummus with sliced cucumber and pita
Citrus Salad
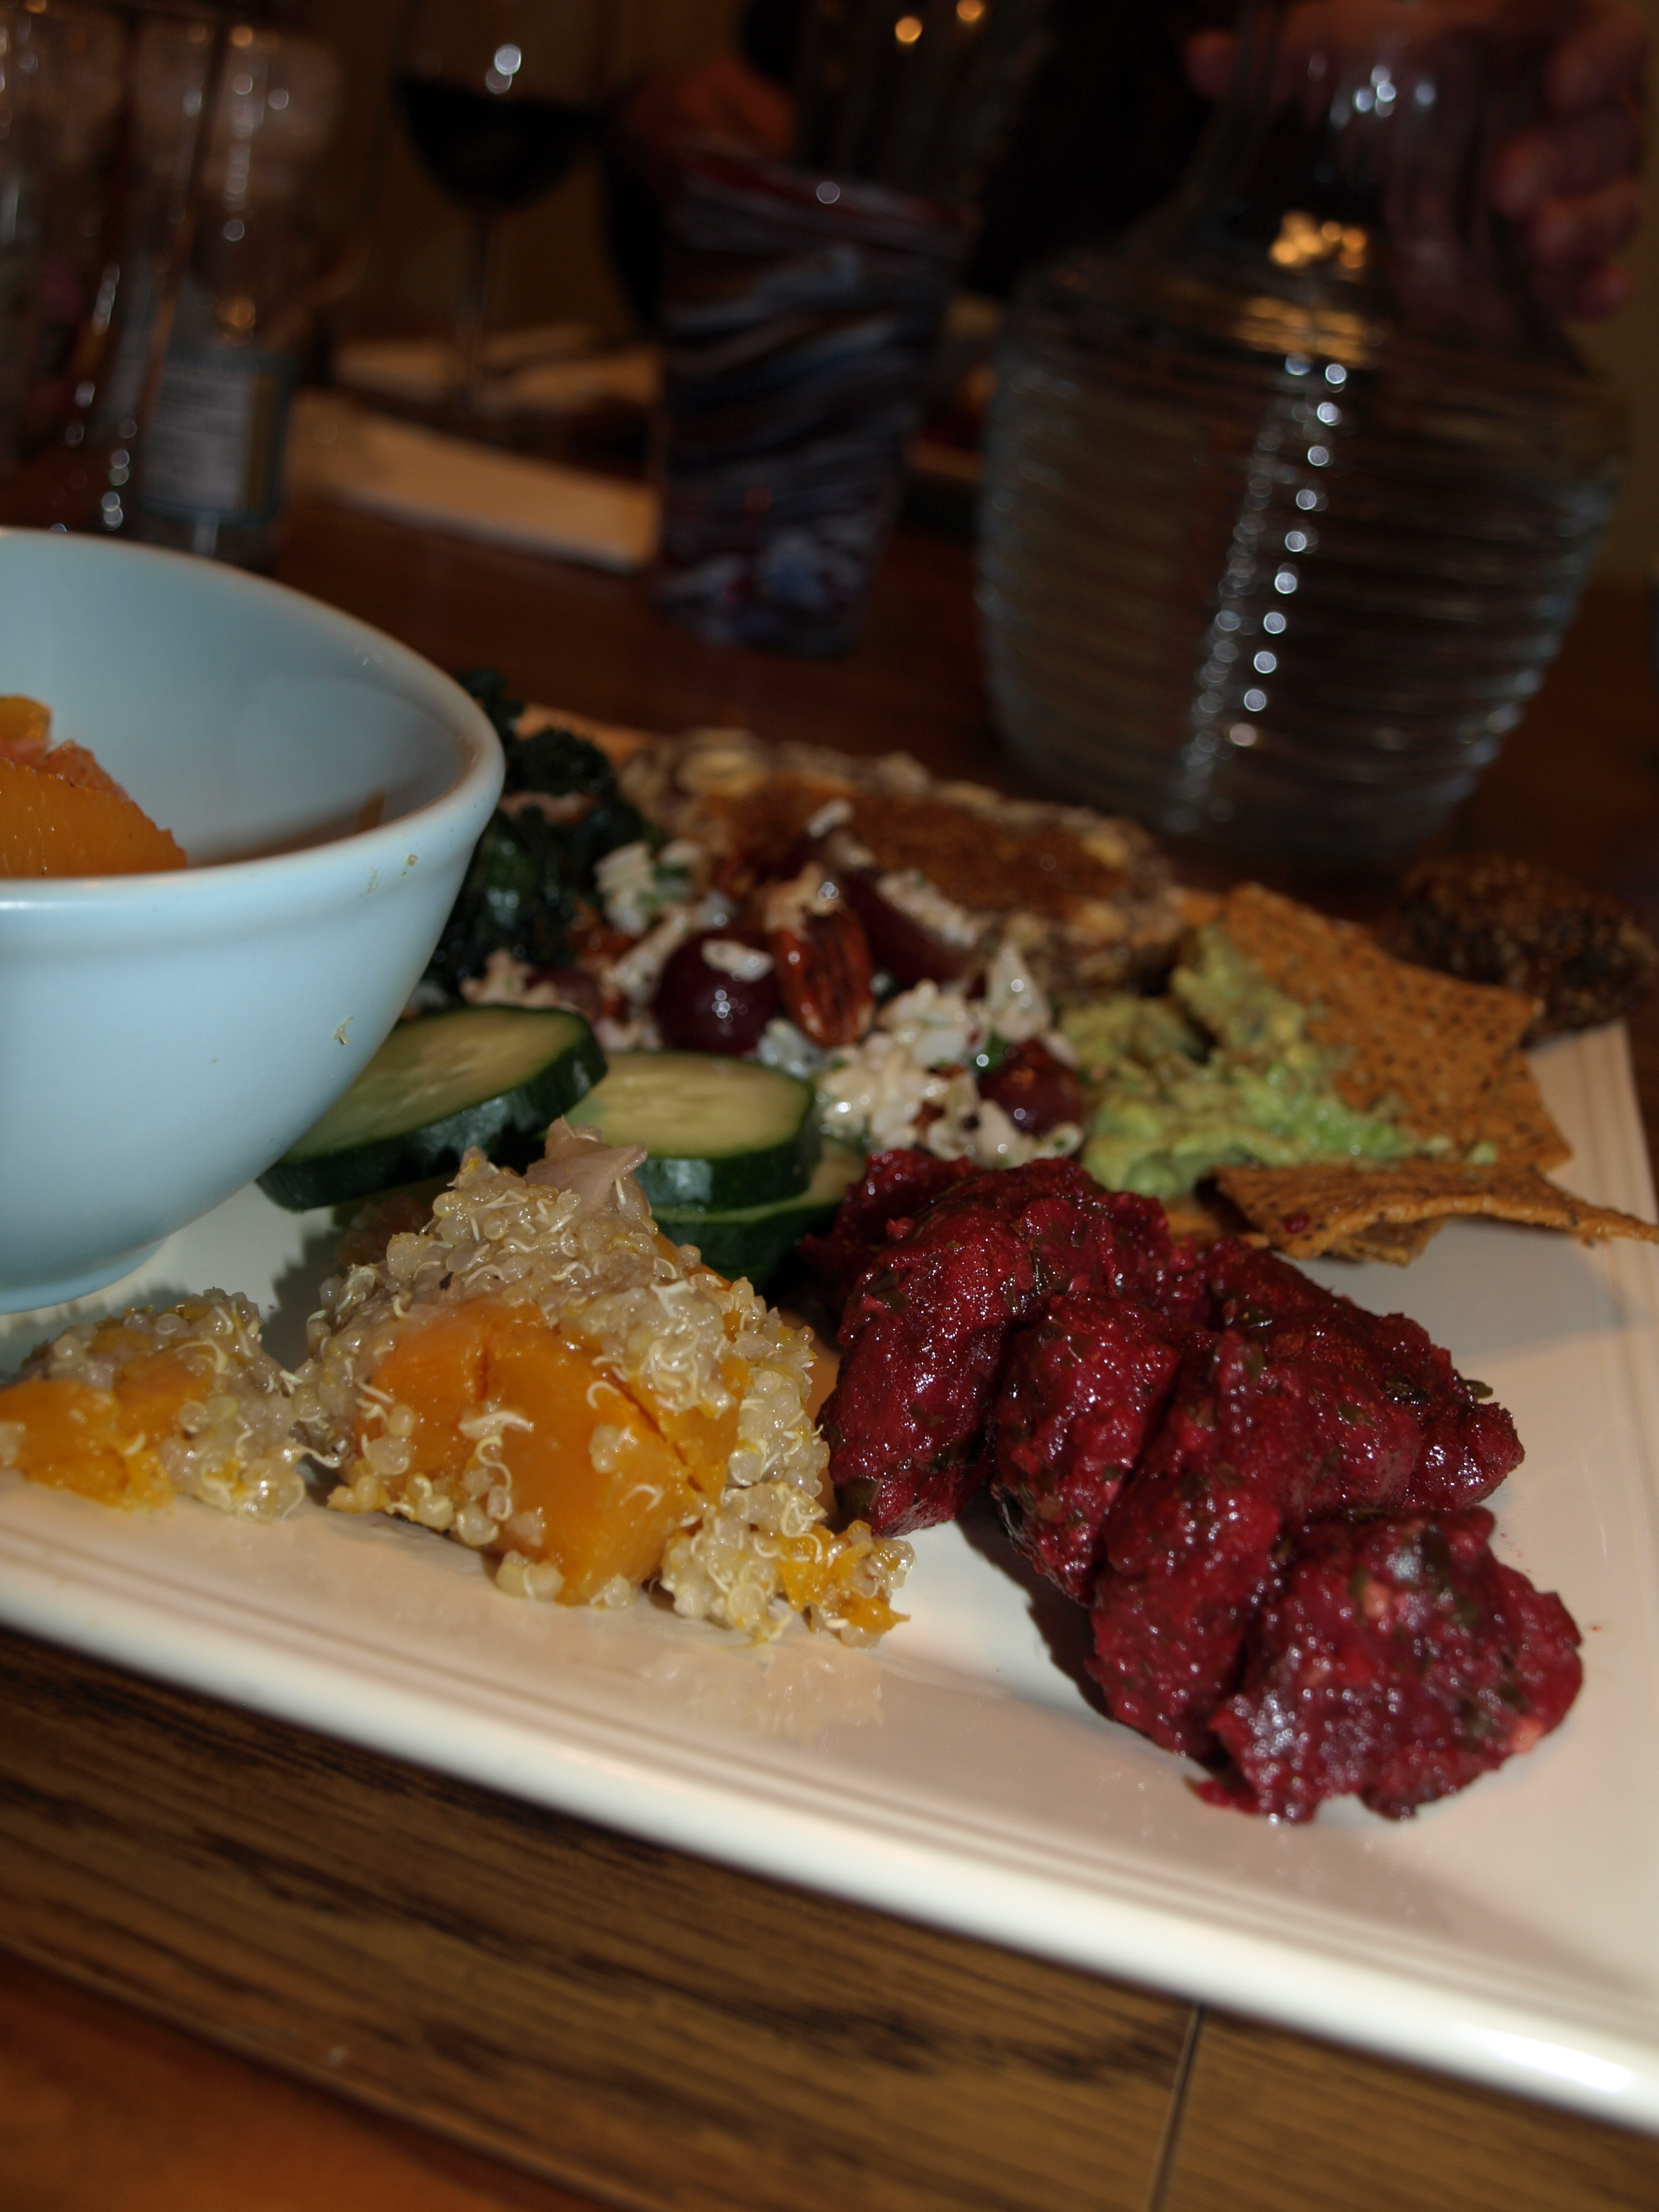
The dishes paired together incredibly and though I packed my plate full of the colorful food, there was nothing but a gleaming white plate left when I had finished.
Carrot and Roasted Garlic Hummus
Makes 1 cup of hummus
Prep time: 25 minutes
Preheat: 400 degrees
Ingredients:
- 1 cup roughly chopped carrots
- 6 cloves garlic
- 5 tbsp extra virgin olive oil, divided
- 3/4 cup cooked garbanzo beans
- 1/2 tsp sea salt
- 1/4 tsp paprika
- 1 tbls lemon juice
Directions:
Line baking sheet with foil or parchment, then place chopped carrots in a bowl and coat in 1 tbsp of olive oil. Spread them in one layer on the lined baking sheet and place in the oven.
Wrap the cloves of garlic in foil and place in the oven as well.
Roast for 20-25 minutes or until carrots are tender with a fork. Remove from the oven, unwrap garlic and let cool.
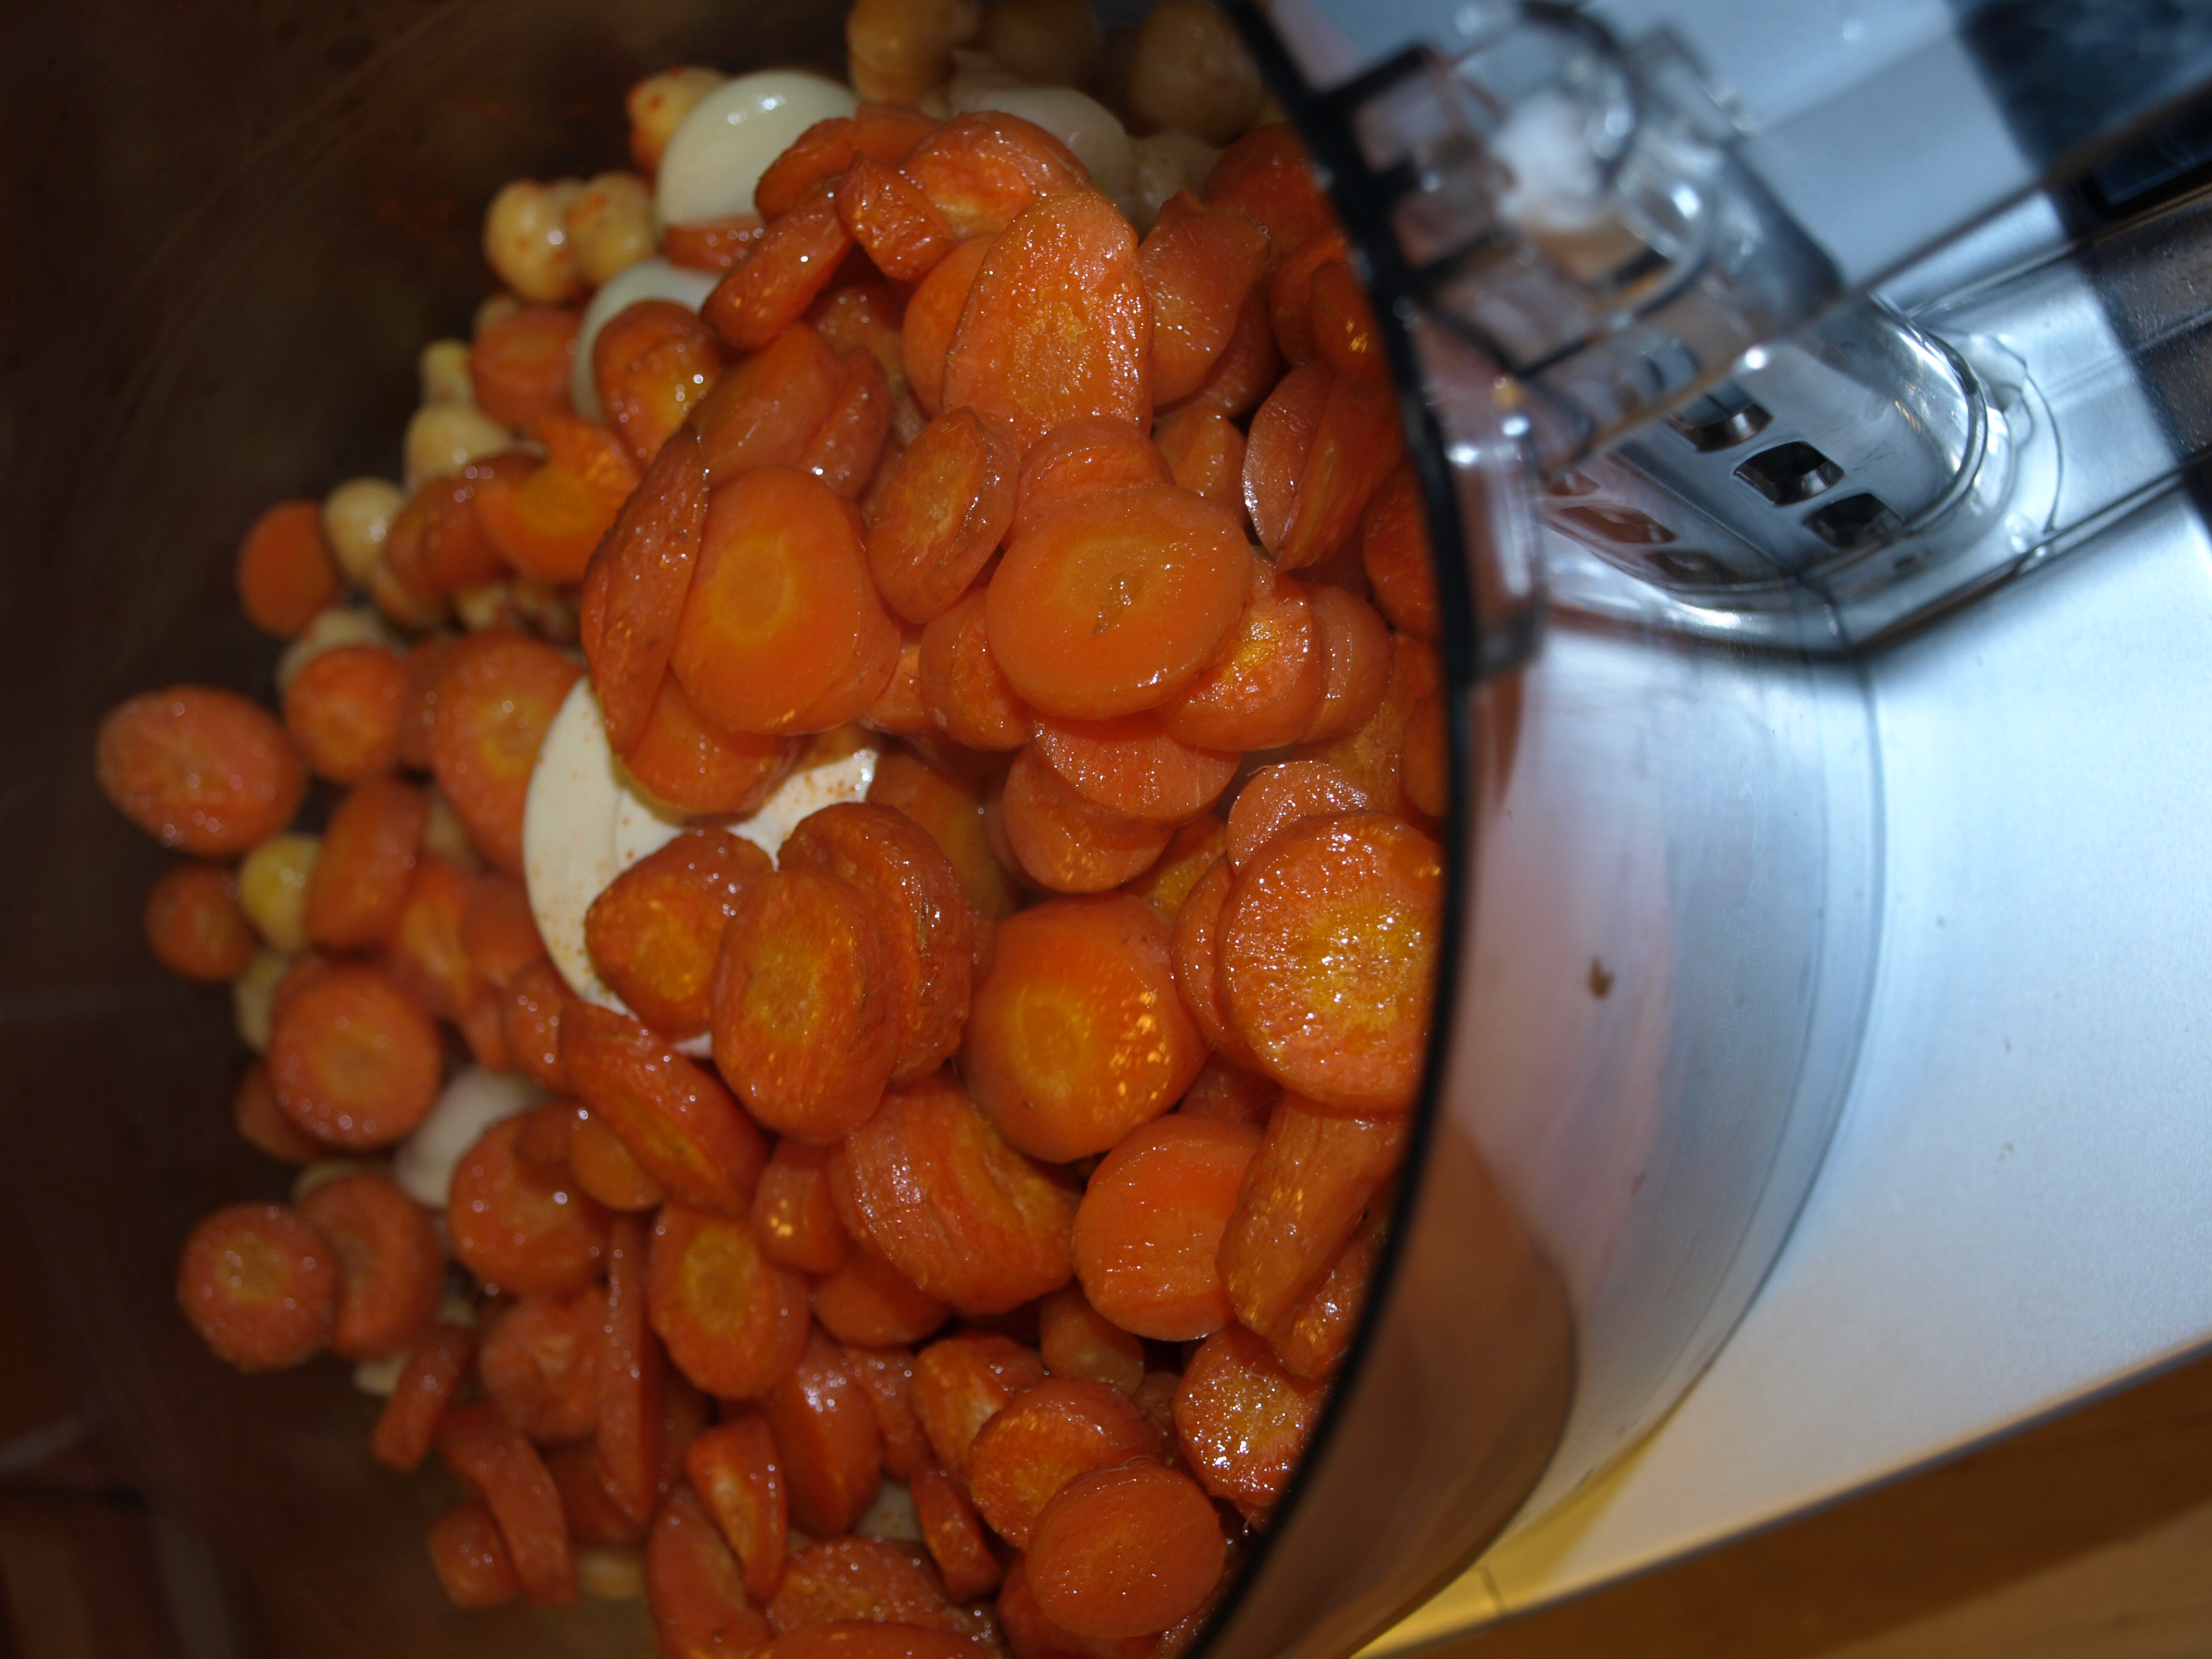
In your food processor combine all ingredients including extra salt or lemon juice to your taste.

Dinner with family and friends or Potlucks of any kind are some of my favorite gatherings. I love having small ‘tastes’ of everything dish and I often find myself experimenting with recipes in these occasions, enjoying the immediate honest feedback from the people closest to me. The dishes I made last night really made me realize how much I’m looking forward to warmer weather and all that comes with spring. The change is in the air and March is just around the corner!
What are some of your favorite, colorful springtime dishes?
love,
tricia