Author: Tricia

Edible Holiday Gifts: “Tea Bag” Cookie

christmas

Edible Gifts for the holidays are both thoughtful & light on the pocket book. Its a gift designed from the heart that finds its way straight to the belly of a loved one. When you put thought, time & creativity into your holiday gifts, rather than spending more than you can afford, the gift giving is that much more enjoyable for both the one giving & the one receiving.

These days I find that I know quite a few people who truly enjoy tea, including myself which honestly I thought I’d never say. My grandmother always drinks tea and and as a young girl I never understood why. To me it was nothing but watered down flavor, making it that much more perplexing as to why people, including my own grandmother enjoyed it. However, as I’ve grown older I’ve learned to savor a warm cup of tea before bed. I enjoy it when I’m feeling sick or stressed, and simply just because. Over the years it would seem that the flavors I felt were once missing from tea have actually blossomed, but I’m willing to bet its merely that my tastes have evolved.

tea

For the holidays, and all my tea loving friends, I decided to try baking these adorable tea bag cookies I came across recently. For those who don’t know me well, I’m not much of a successful baker. Its not because I don’t LOVE sweets, cookies, or pies, its simply due to the science of baking and my lack of “coloring between the lines.”

As I’ve begun to explore the culinary world I’ve really enjoyed  experimenting with flavors, textures and combinations; adding a “splash” here or a “pinch” there and often using a recipe as a guidebook rather than rules that need to be followed. With baking, a recipe is specific because it has to be. Its a creative form of chemistry in that the measurement of substances in a mixture are precise and exact; if you guess, quite often it will result in a different or more extreme reaction than you were expecting.  In the same way, a cookie will turn out flat & thin if your ratios are off, and a cake will be dry & crumbly for the very same reason. When you stick to the recipe though and your mixture is precise, boy oh boy! those treats are simply divine.

PC111307

With my holiday spirit beaming this December, I decided to give baking my undivided attention and truly focus on the recipe this time. Of course as is my nature i’ll always leave room for a little innovation & creativity, but I’ve now realized my baking mistakes and learned that measuring precision is key. What once had frustrated me now became a personal challenge. This Holiday I’m accepting the baking challenge and as a result making delicious treats and edible gifts for the loved ones on my list!


Preheat Oven: 350 Degrees

Cook Time: 8-10 Minutes


ingredients:

2 cups all-purpose flour

1/4 teaspoon salt

1 cup (2 sticks) unsalted butter, room temperature

1/2 cup powdered (confectioners or icing) sugar

1 teaspoon pure vanilla extract

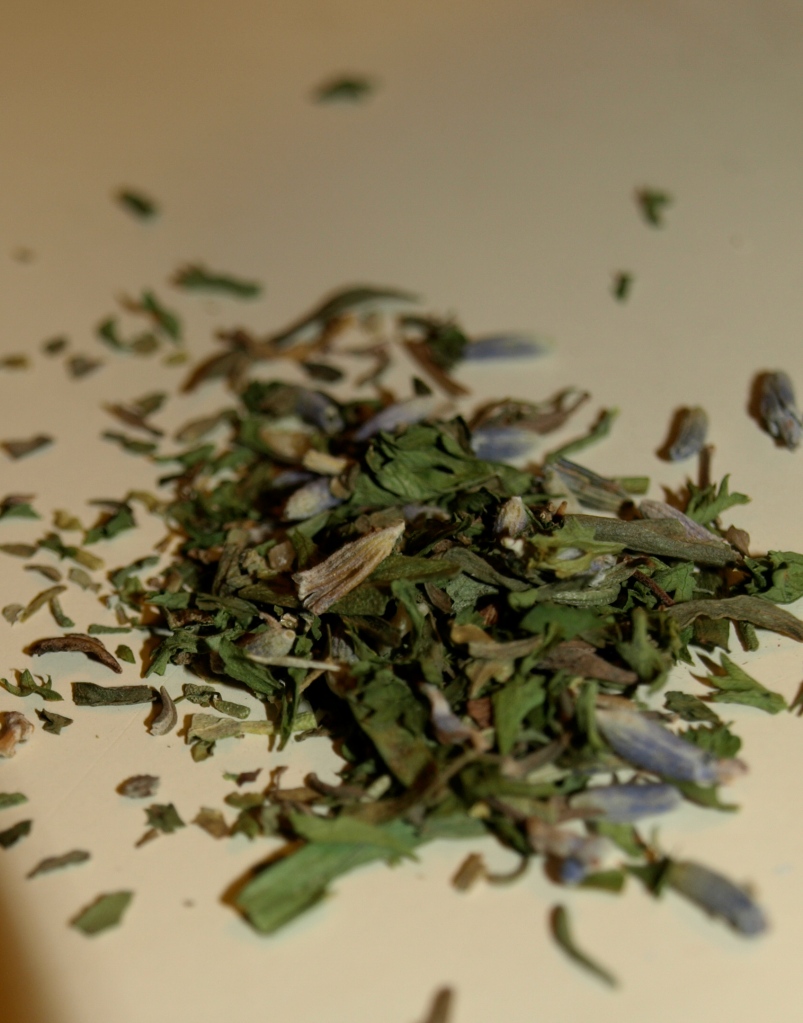
2 teaspoons herbs de provence with lavender

optional chocolate coating:

6 ounces of dark chocolate chips

OLYMPUS DIGITAL CAMERA

These shortbread cookies were based off of a recipe from joyofbaking.com but I gave them a little twist by adding the rosemary lavender combination of the herbs de provence. The first step is to combine the flour and salt in a small bowl and set aside. Next, powdered sugar, room temperature butter, pure vanilla, and herbs de provence are folded together in a bowl. If you have a stand-up mixer, hand mixer or spoon you can do this, but the key here is the temperature of the butter.

Now we add the flour & salt to the mixture, then cover and place in the refrigerator for 1 hour. When we roll out the dough its important than its neither too cold nor too warm, and this cooling process will help make it easier for you in the long run. With little patience to wait an hour, I  simply let my dough cool over night, and then took it out the next day, softening in room temperature for about 10 minutes.

dough

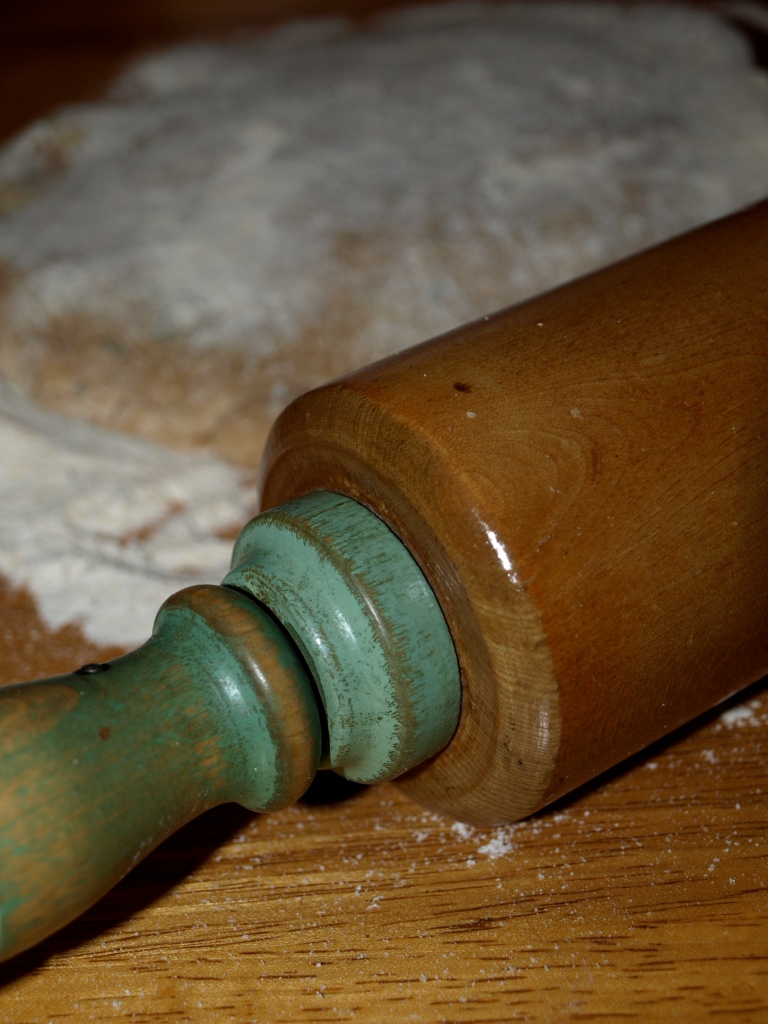
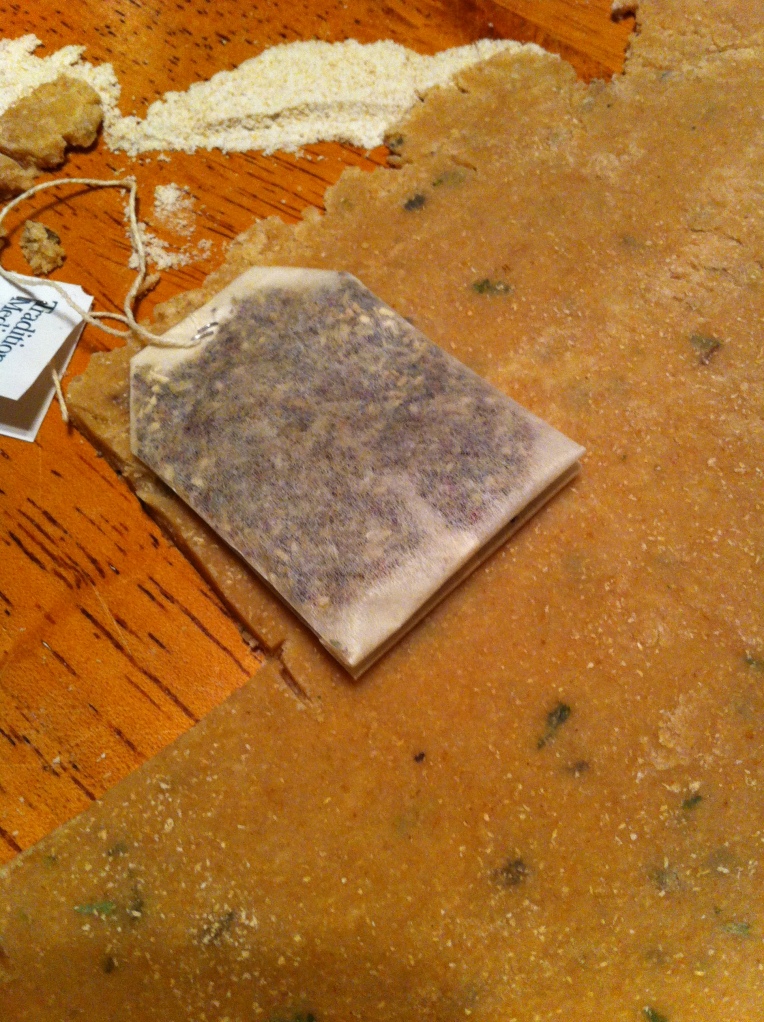
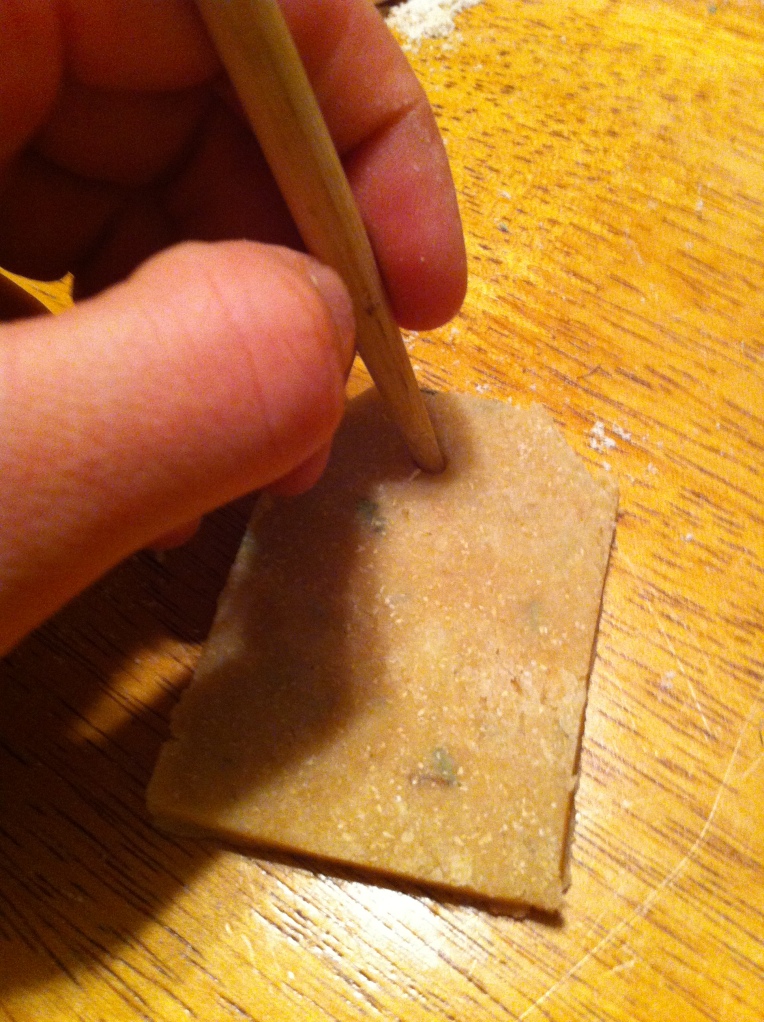
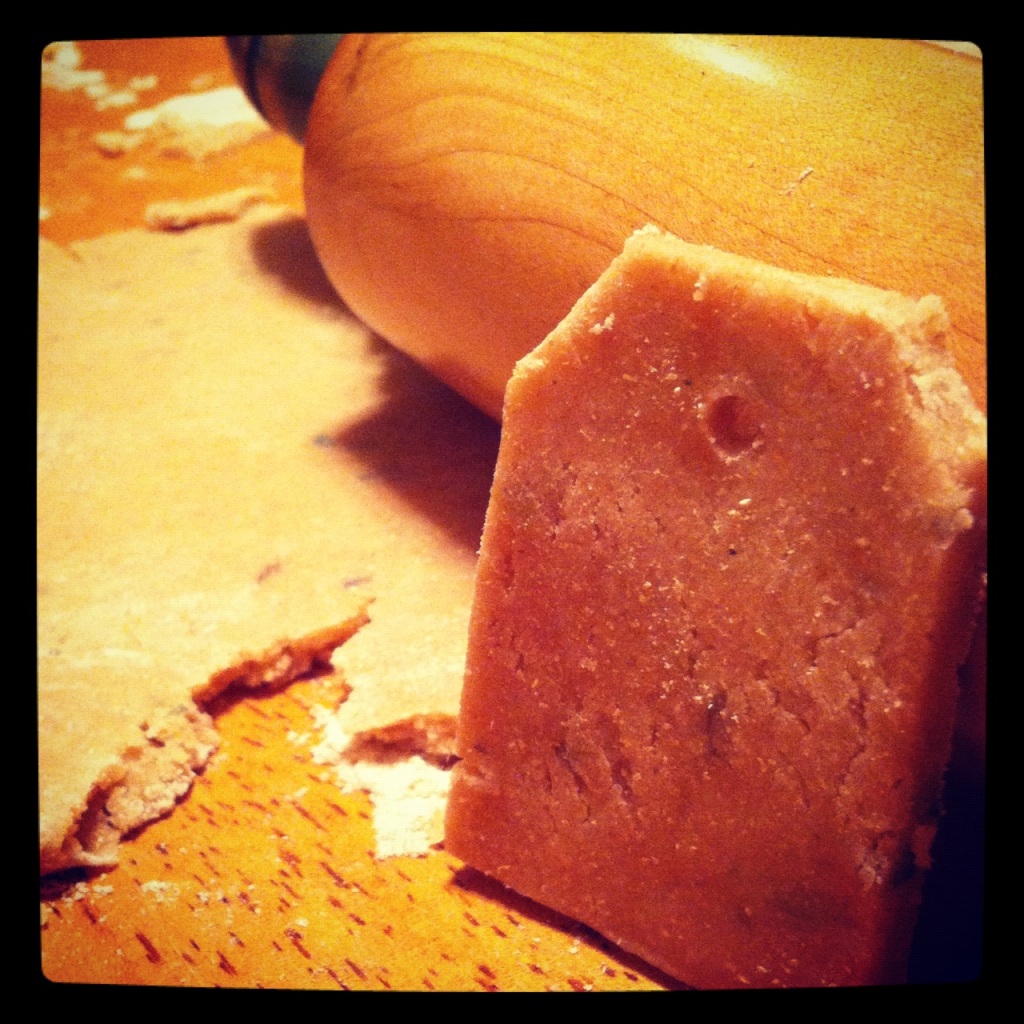
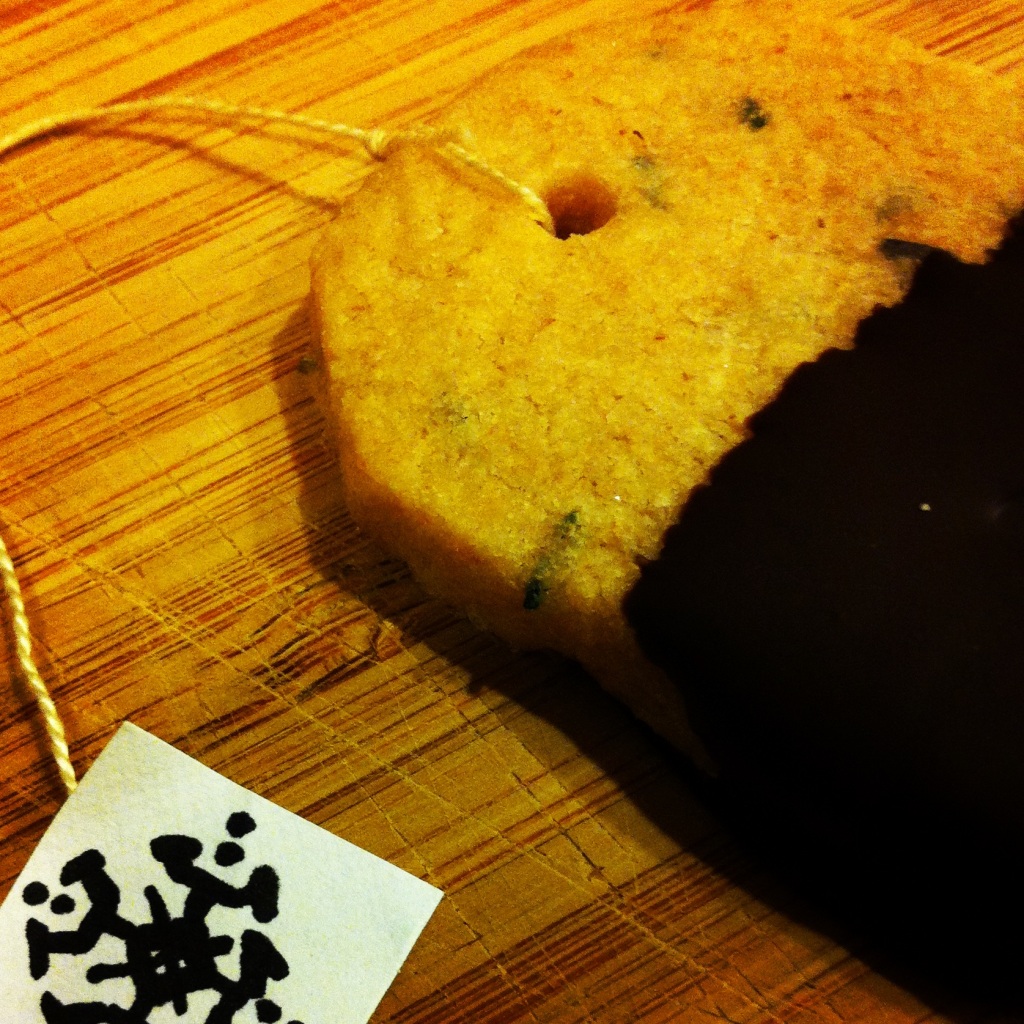
With flour lightly tossed on my countertop, I placed the dough on top and rolled it out with a rolling pin to about 1/4 inch thickness. A tea bag helped create the perfect shape and I simply cut around it, making a hole near the top with a chopstick large enough to easily get a string thru.  You could also use a straw, which would create the perfect shape, but I didn’t have one so I improvised. As a side note: Its important not to place the hole too close to the top, because the weight of the cookie could easily break when your “dunking” the finished product.

makehole

By placing parchment paper on the pan, you’ll ensure the cookies wont stick. So on top of the parchment lined baking pan, place your tea bag cookies and pop them into the oven. Once they are a very light brown its time to take them out, usually about 8-10 minutes. I let my cookies cool a bit on the pan, because my first attempt to remove one resulted in a cookie snapped in half..of course I ate that one though, so it really wasn’t that heartbreaking.

cookie

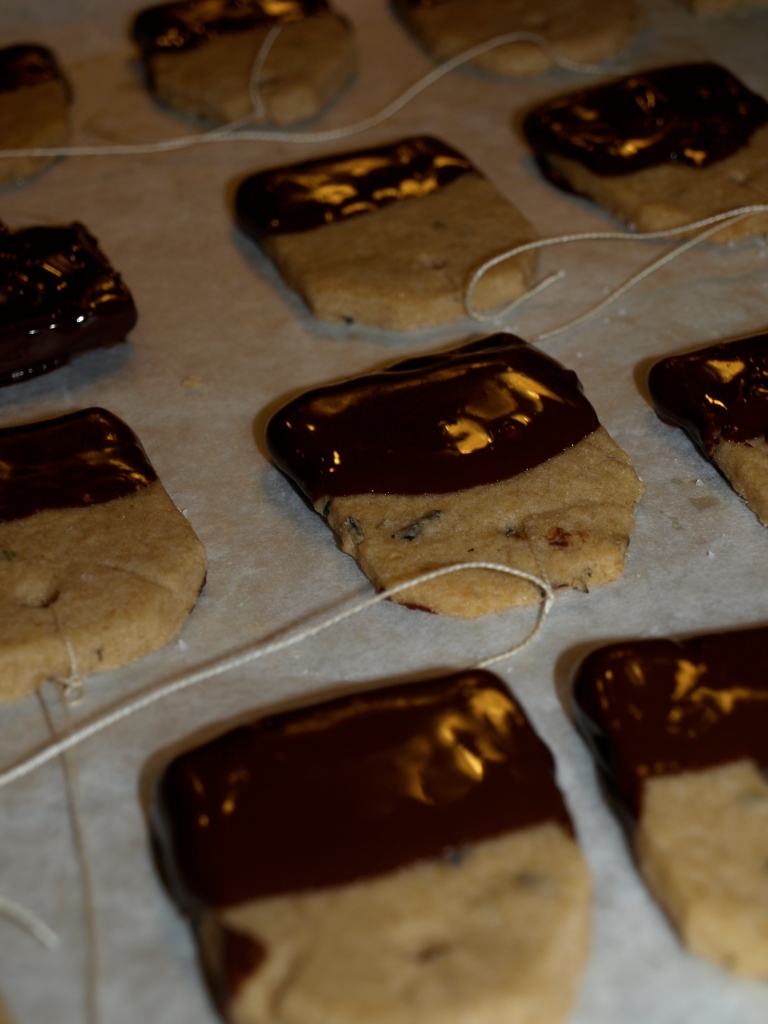
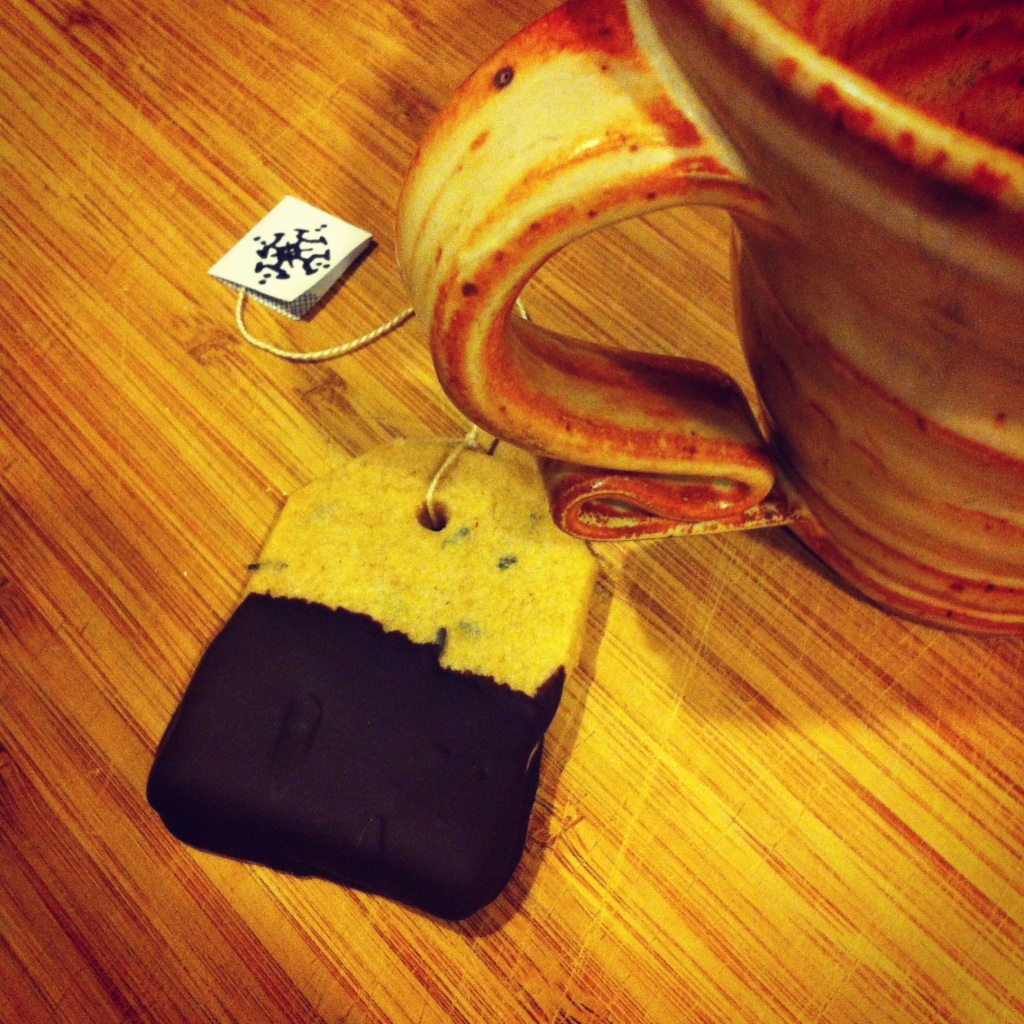
For finishing touches, you can string a thin but durable string thru, add a clever design to the paper on the end of the string, or even add a little dark chocolate. I kept a few cookies plain to add a little variety to my edible gift, but I couldn’t pass on dark chocolate so I did a few of those as well. To add the dark chocolate is really quite simple. You need a heatproof bowl to place over a pot of simmering water and you place about half of your chocolate into the bowl to let it melt. Once it has you remove the bowl from the heat, add your remaining chocolate chips and stir until it all has completely melted.

PC111326

With the string already tied to my tea bag cookies, I diped the ends in the chocolate and placed them on parchment paper lining a baking pan. Once they were all dipped I placed them in the refrigerator to cool.

teabag

I’m sitting here imagining the look on my loved ones faces when they receive this edible gift, and I simply cannot wait. Of course I’ll be including the recipe with my tin of cookies as well, so my friends can always make more (the gift that keeps on giving!). Next week I’ll be sharing another gift with you all, but until then get on with your crafting & baking! A Homemade Holiday is something to celebrate!

love,

tricia
Pike Place Market: Seattle, WA

SeattleSkyline_0491small

Seattle, Washington was always a destination on my “must-see” list, but it wasn’t until one of my dearest friends, Heather, moved out there that I was given the ‘ole push. The trip, which was nearly a year ago, began with 3 best friends from the Midwest jumping on a plane to Seattle to visit the fourth chick that flew the coop. It resulted in endless amounts of love, laughter, drinks & food, all of which are staples in the gatherings of my best friends.

OLYMPUS DIGITAL CAMERA

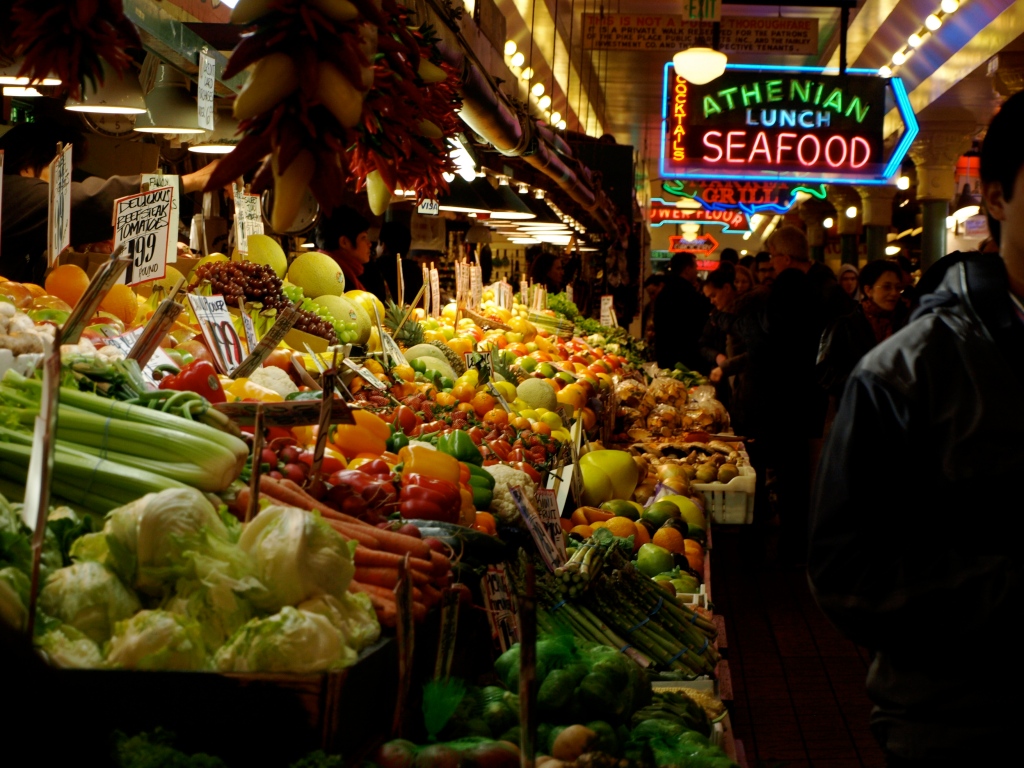
One of our afternoons was spent at Pike Place Market. An incredible spot I’d only heard about, but longed to visit. The Open Air Market was as colorful and full of life as I would have dreamed. From the freshest produce and cheeses, to incredible seafood and picture perfect flowers. There was warm baked bread, flavored pastas, olive oil, vinegar, literally anything you could eat or drink and even jewelry, purses and clothing to boot! Street musicians lined every corner and everyone seemed genuinely happy to be there. I found myself in awe of the colors and the space, perhaps in a daze between the pleasant bustle, incredible smells and joyful conversation.

OLYMPUS DIGITAL CAMERA

The four of us picked out a fresh baguette, a few cups of unbelievable clam chowder and ingredients for our big friendly feast later in the night. When it was time to leave the market we marched right down to the water, gazed out to sea and ate. With every bite uttering an “mmm”, “ahhh”, “ohmygoodness” or my personal favorite exclaimer with its true expression of the sentiment, “yumma-lumma-ding-dong.”P2180499

Pike Place Market is 100 years in the making and it all began with Seattle City Council member Thomas Revelle’s ordinance to create a public farmers market in 1907.  I’m in awe of Seattle’s commitment to the fresh local food community. Its remarkable that this city has understood the importance of healthy fresh food and made it available to their residents for over 100 years, while other states and communities are just now catching on.

P2180523

If you’re visiting Seattle for a week, a day or simply a few hours,  you need to make a stop at Pike Place. Simply, its a feast for your eyes and for your belly. Well, your nose too… okay, a Feast for the Senses. The Pike Place Market Preservation and Development Authority (PDA) makes it easy to learn more, find your way, or meet the farmers who make up the market on their top notch website. The Pike Place Market PDA is a non-profit created in 1973 by the city of Seattle to manage the market in addition to the nine-acre parcel and properties which make up the Historic Market District.

OLYMPUS DIGITAL CAMERA

Their mission is to “preserve, rehabilitate and protect the Market’s buildings; increase opportunities for farm and food retailing; incubate and support small and marginal businesses; and provide services for low-income people.” This hub of activity that Pike Place creates is an incredible example of community and I love that just like our table at home, everyone gathers together around food.

OLYMPUS DIGITAL CAMERA

Ahoy!

Peace, Love & Chowder

tricia

Gnocchi and Butternut Squash

Fall flavors are like a warm hug from a friend you’ve missed. My mouth waters and my mind buzzes with the potential flavor combinations that a fall harvest brings to the table. One of my favorite fall vegetables is squash, and surprisingly enough my dog Chet adores it too! He’ll eat roasted squash over a chewy dog treat any day…so would I.

Butternut squash has this rich, sweet and buttery flavor that pairs with just about anything. The trick with squash is in the slicing & dicing, but when it comes to roasting, preparation is just as easy as can be.

This particular dinner with friends was in celebration of our new house. My boyfriend Alex and I purchased our first home this past August. Its taken a month of construction dust, new paint, boxes and exhaustion to finally start feeling comfortable.

Even with our living areas piled to the brim with boxes we had friends over to celebrate, dug into the pantry, dirtied the kitchen and gathered around the table. The meal was all about embracing fall flavors in every dish, from a cranberry salad to pumpkin cupcakes with a cream cheese topping. Mmmmmm…

The main course was a homemade gnocchi, new to my list of staples, but nonetheless delicious and worth the extra effort. Mix the savory warmth of potato gnocchi with the sweet buttery flavor and smooth texture of butternut squash, and you’ve got yourself a melt in your mouth favorite.

Preheat oven: 400 degrees

ingredients:

for gnocchi-

5 medium sized potatoes

sea salt for baking

1 1/2 cup flour

2 egg yolks

___________________

4 tablespoons butter, diced

2 teaspoons sage

1 small bunch of fresh basil, chopped

3 garlic cloves, finely diced

1 small onion

1 small/medium butternut squash, peeled & diced

olive oil

salt & pepper

parmesan

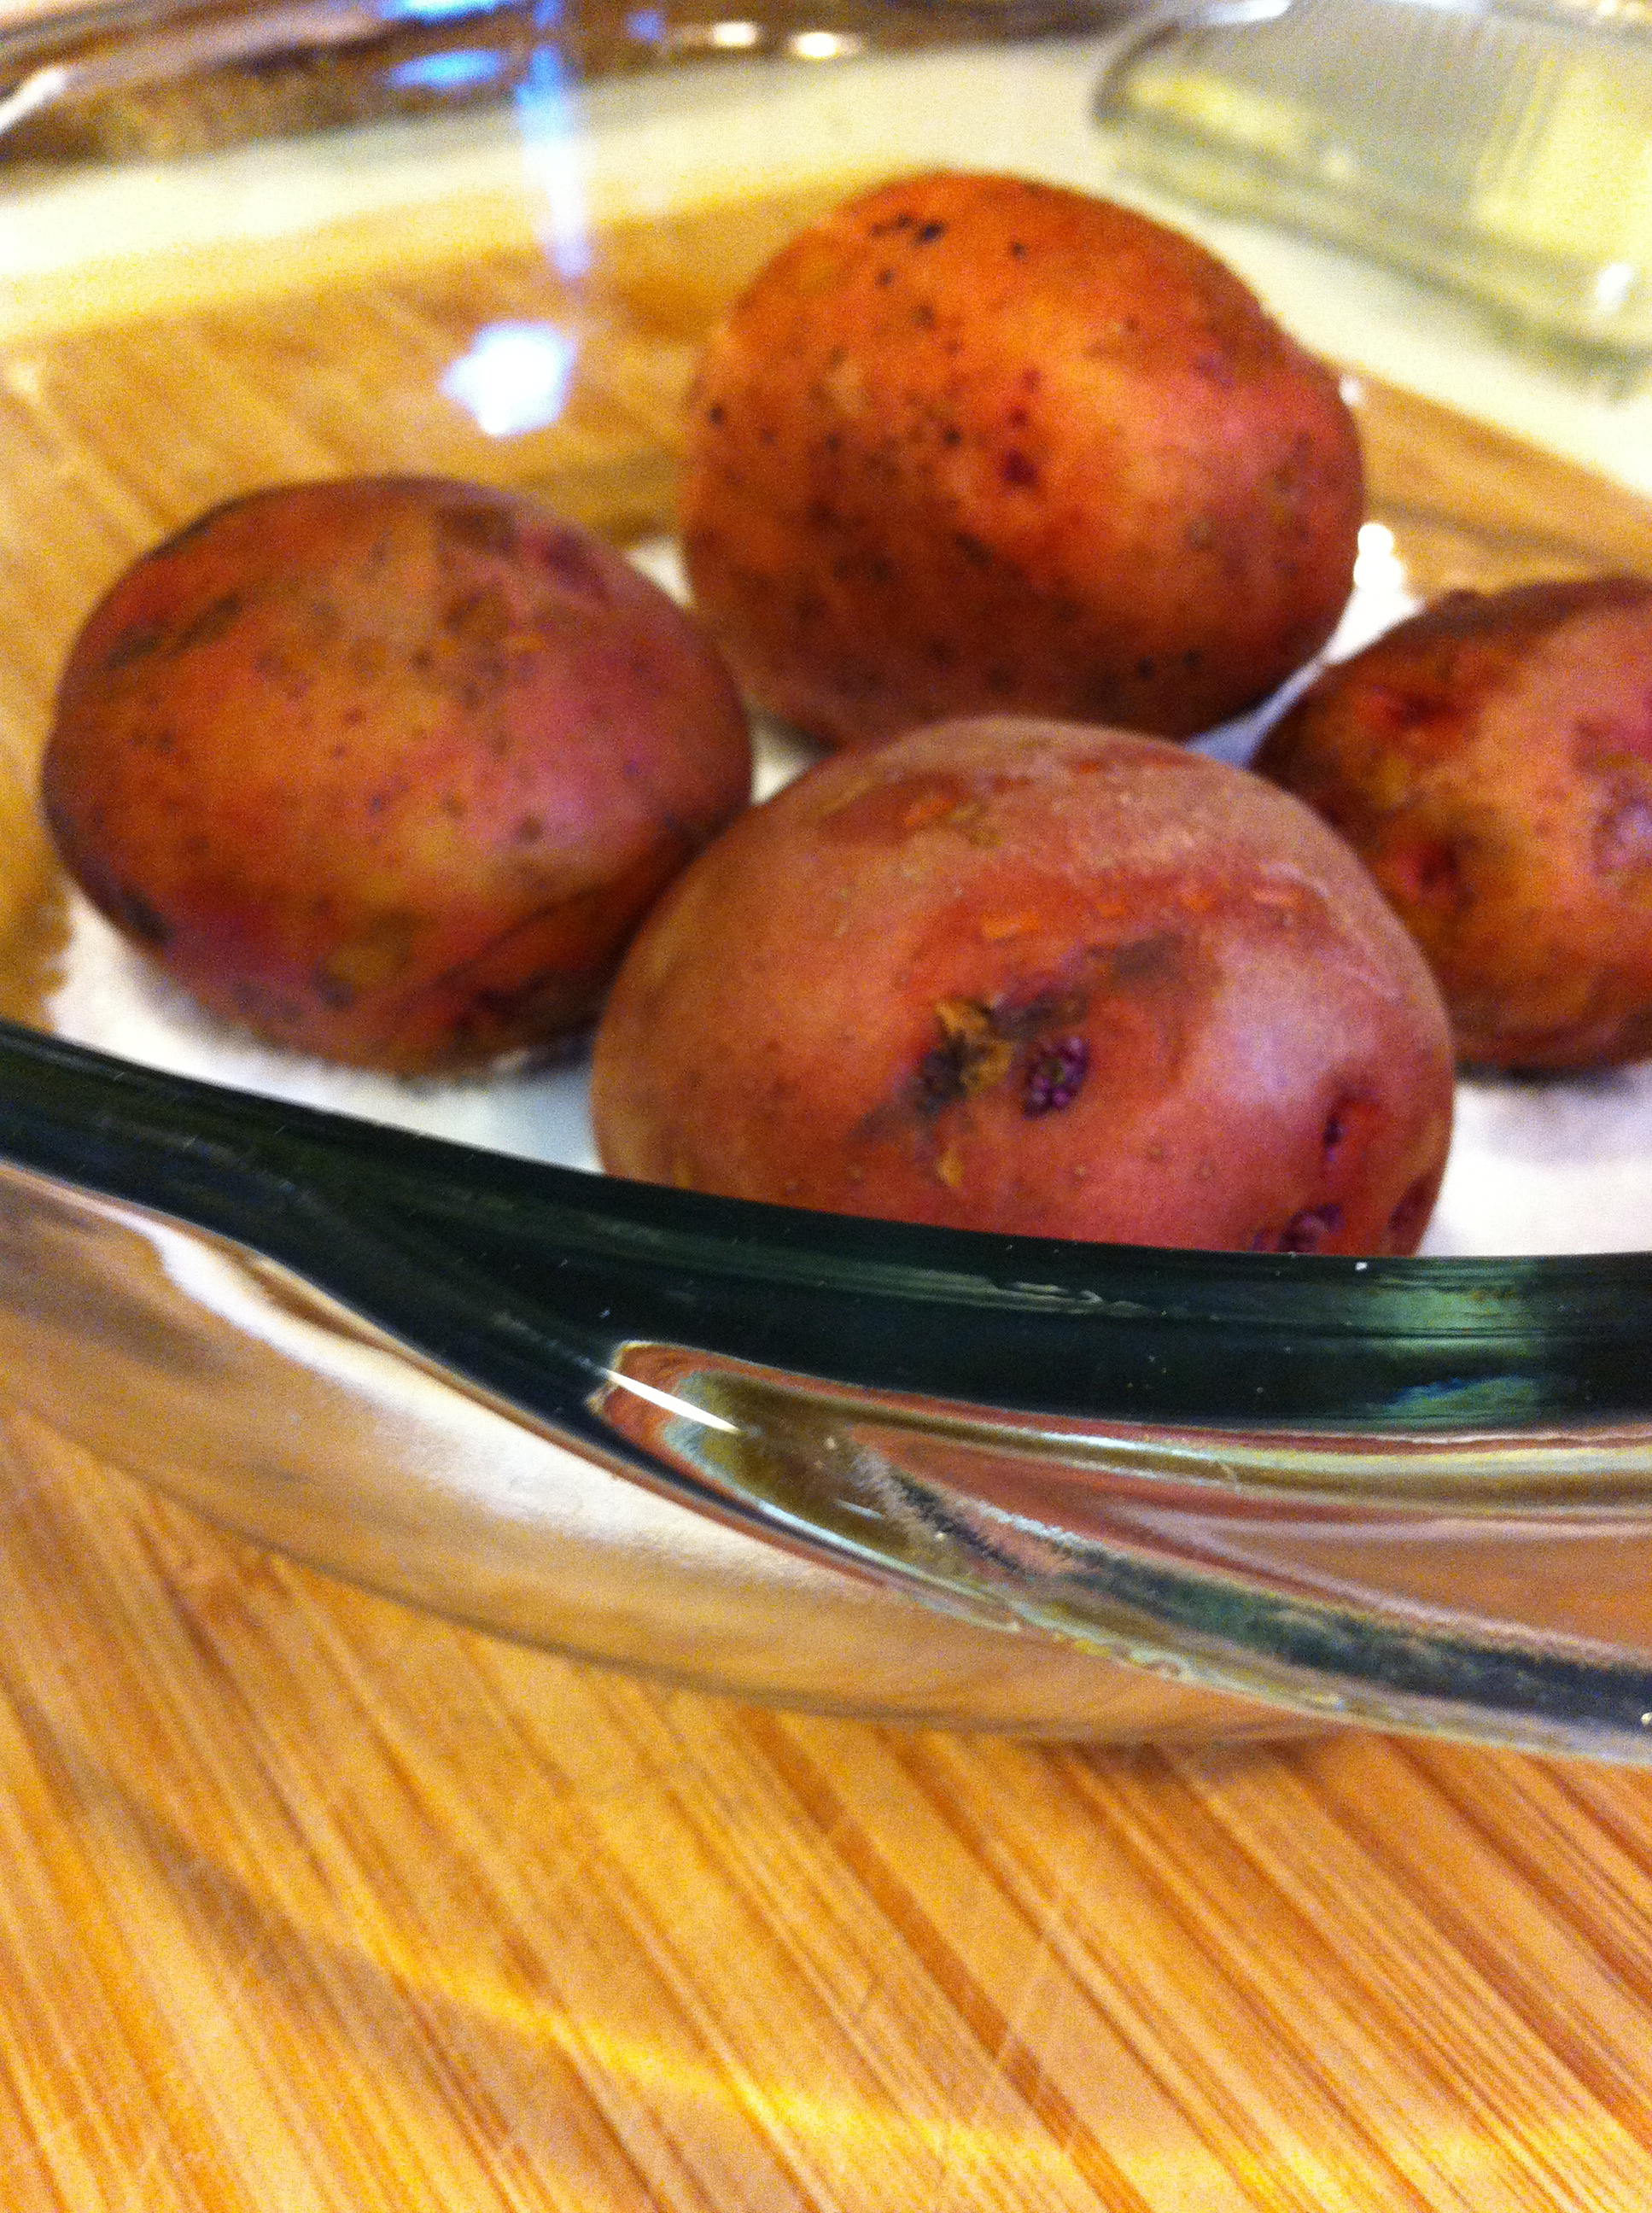
Start by placing a layer of sea salt on the bottom of a baking dish, thick enough that the potatoes will rest on the salty layer, rather than the bottom of the pan. Remember to poke a few random holes with a fork in each of your potatoes…the recipe for ‘exploding potato bombs’ is a mess I’d prefer to leave for someone else 🙂 Bake them for 40 minutes or until tender and remove from the oven.

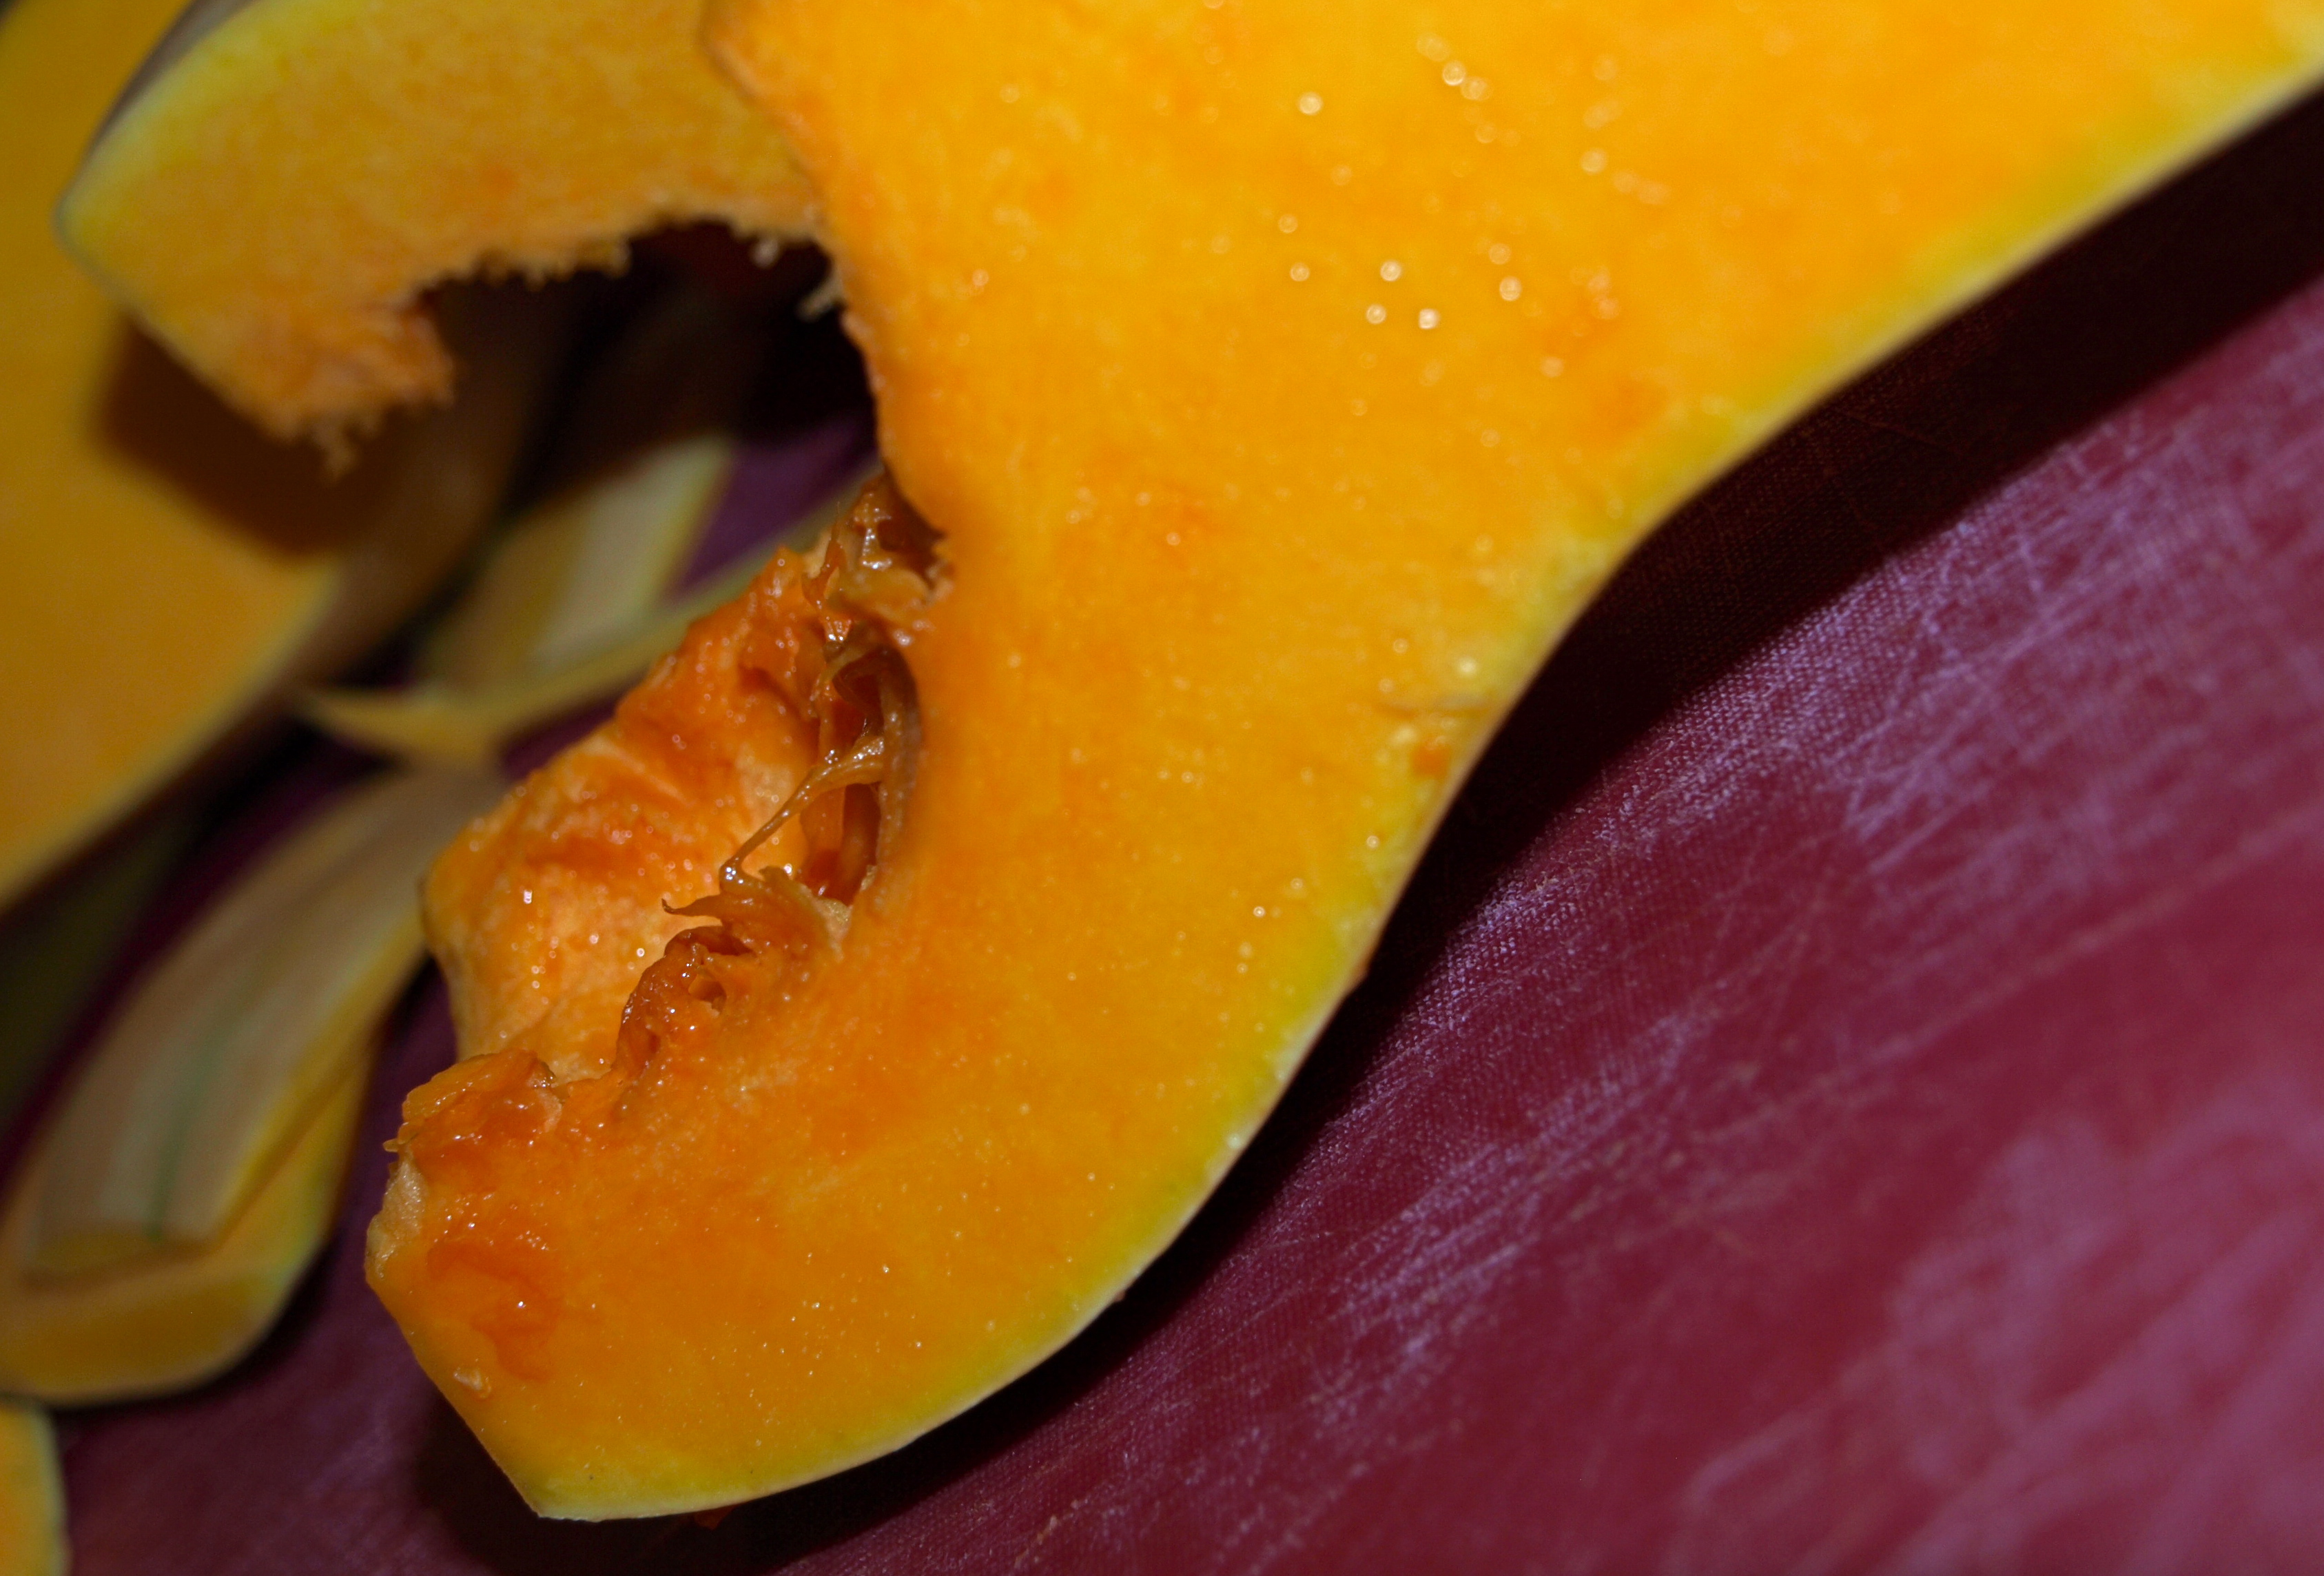
While the potatoes are cooking, its time to peel, slice & dice the squash. The best trick I’ve found is to slice off the bottom of the squash so you have a flat surface to work from, then simply slice into smaller sections. Peel & dice each section one by one.

Place the diced squash into a medium bowl and toss with enough olive oil to lightly coat the pieces, then a quick pinch of salt. Transfer the contents to a baking pan and place in the oven for 20 minutes, stirring the pieces around on the pan about half way through and removing them from the oven to cool after your 20 minutes are up.

At this point in time, you’ll either have a little free time on your hands or your potatoes will be nearly ready to pull out of the oven. Once the potatoes are cool enough to handle you should easily be able to remove the skin and toss the soft potatoes into a medium sized bowl. Mash them as well as you can manage, or even put them through a food processor if you have the means to do so.

Add the flour and egg yolks to your potato mash and fold “dough” together. Then, toss some additional flour on a cutting board and place the dough on top. Your gnocchi dough should be rather sticky, yet solid enough to be rolled easily. Split the dough in half and roll out each section into a 1 inch-thick ‘snake’. You’ll then, cut the ‘snake’ into one-inch wide pieces so that your little pieces of gnocchi are squares of 1 inch by 1 inch.

Your gnocchi are nearly finished! Just get a pot of salt water boiling on the stove and you’ll drop a few (5-8) at a time into the boiling water. The gnocchi will rise when they are finished, so simply fish them out of the boiling water with a spoon and place them into a strainer. The next step is optional, but personally I love my gnocchi browned on either side, I place a small tab of butter into a frying pan and simply brown them in a little butter and set aside.

The sauce is the last step and its really quite simple, plus it smells absolutely delicious. Warm your remaining butter in a pan over low-medium heat, toss in the chopped onion, and garlic and simmer. Stir in your sage and continue to heat. The aroma should be nothing short of tantalizing and luckily all you’ve got left to do is toss in your roasted butternut squash, gnocchi, and fresh basil at the last minute.

My mouth waters for the flavors in this dish and I hope you’ll enjoy it as much as I do. Soak in the savory warmth and goodness of your homemade gnocchi and butternut squash. Its a friend you’re bound to return to, and one that will always greet you with the same warming hug of those delicious fall flavors.

Dig in!

love,

tricia
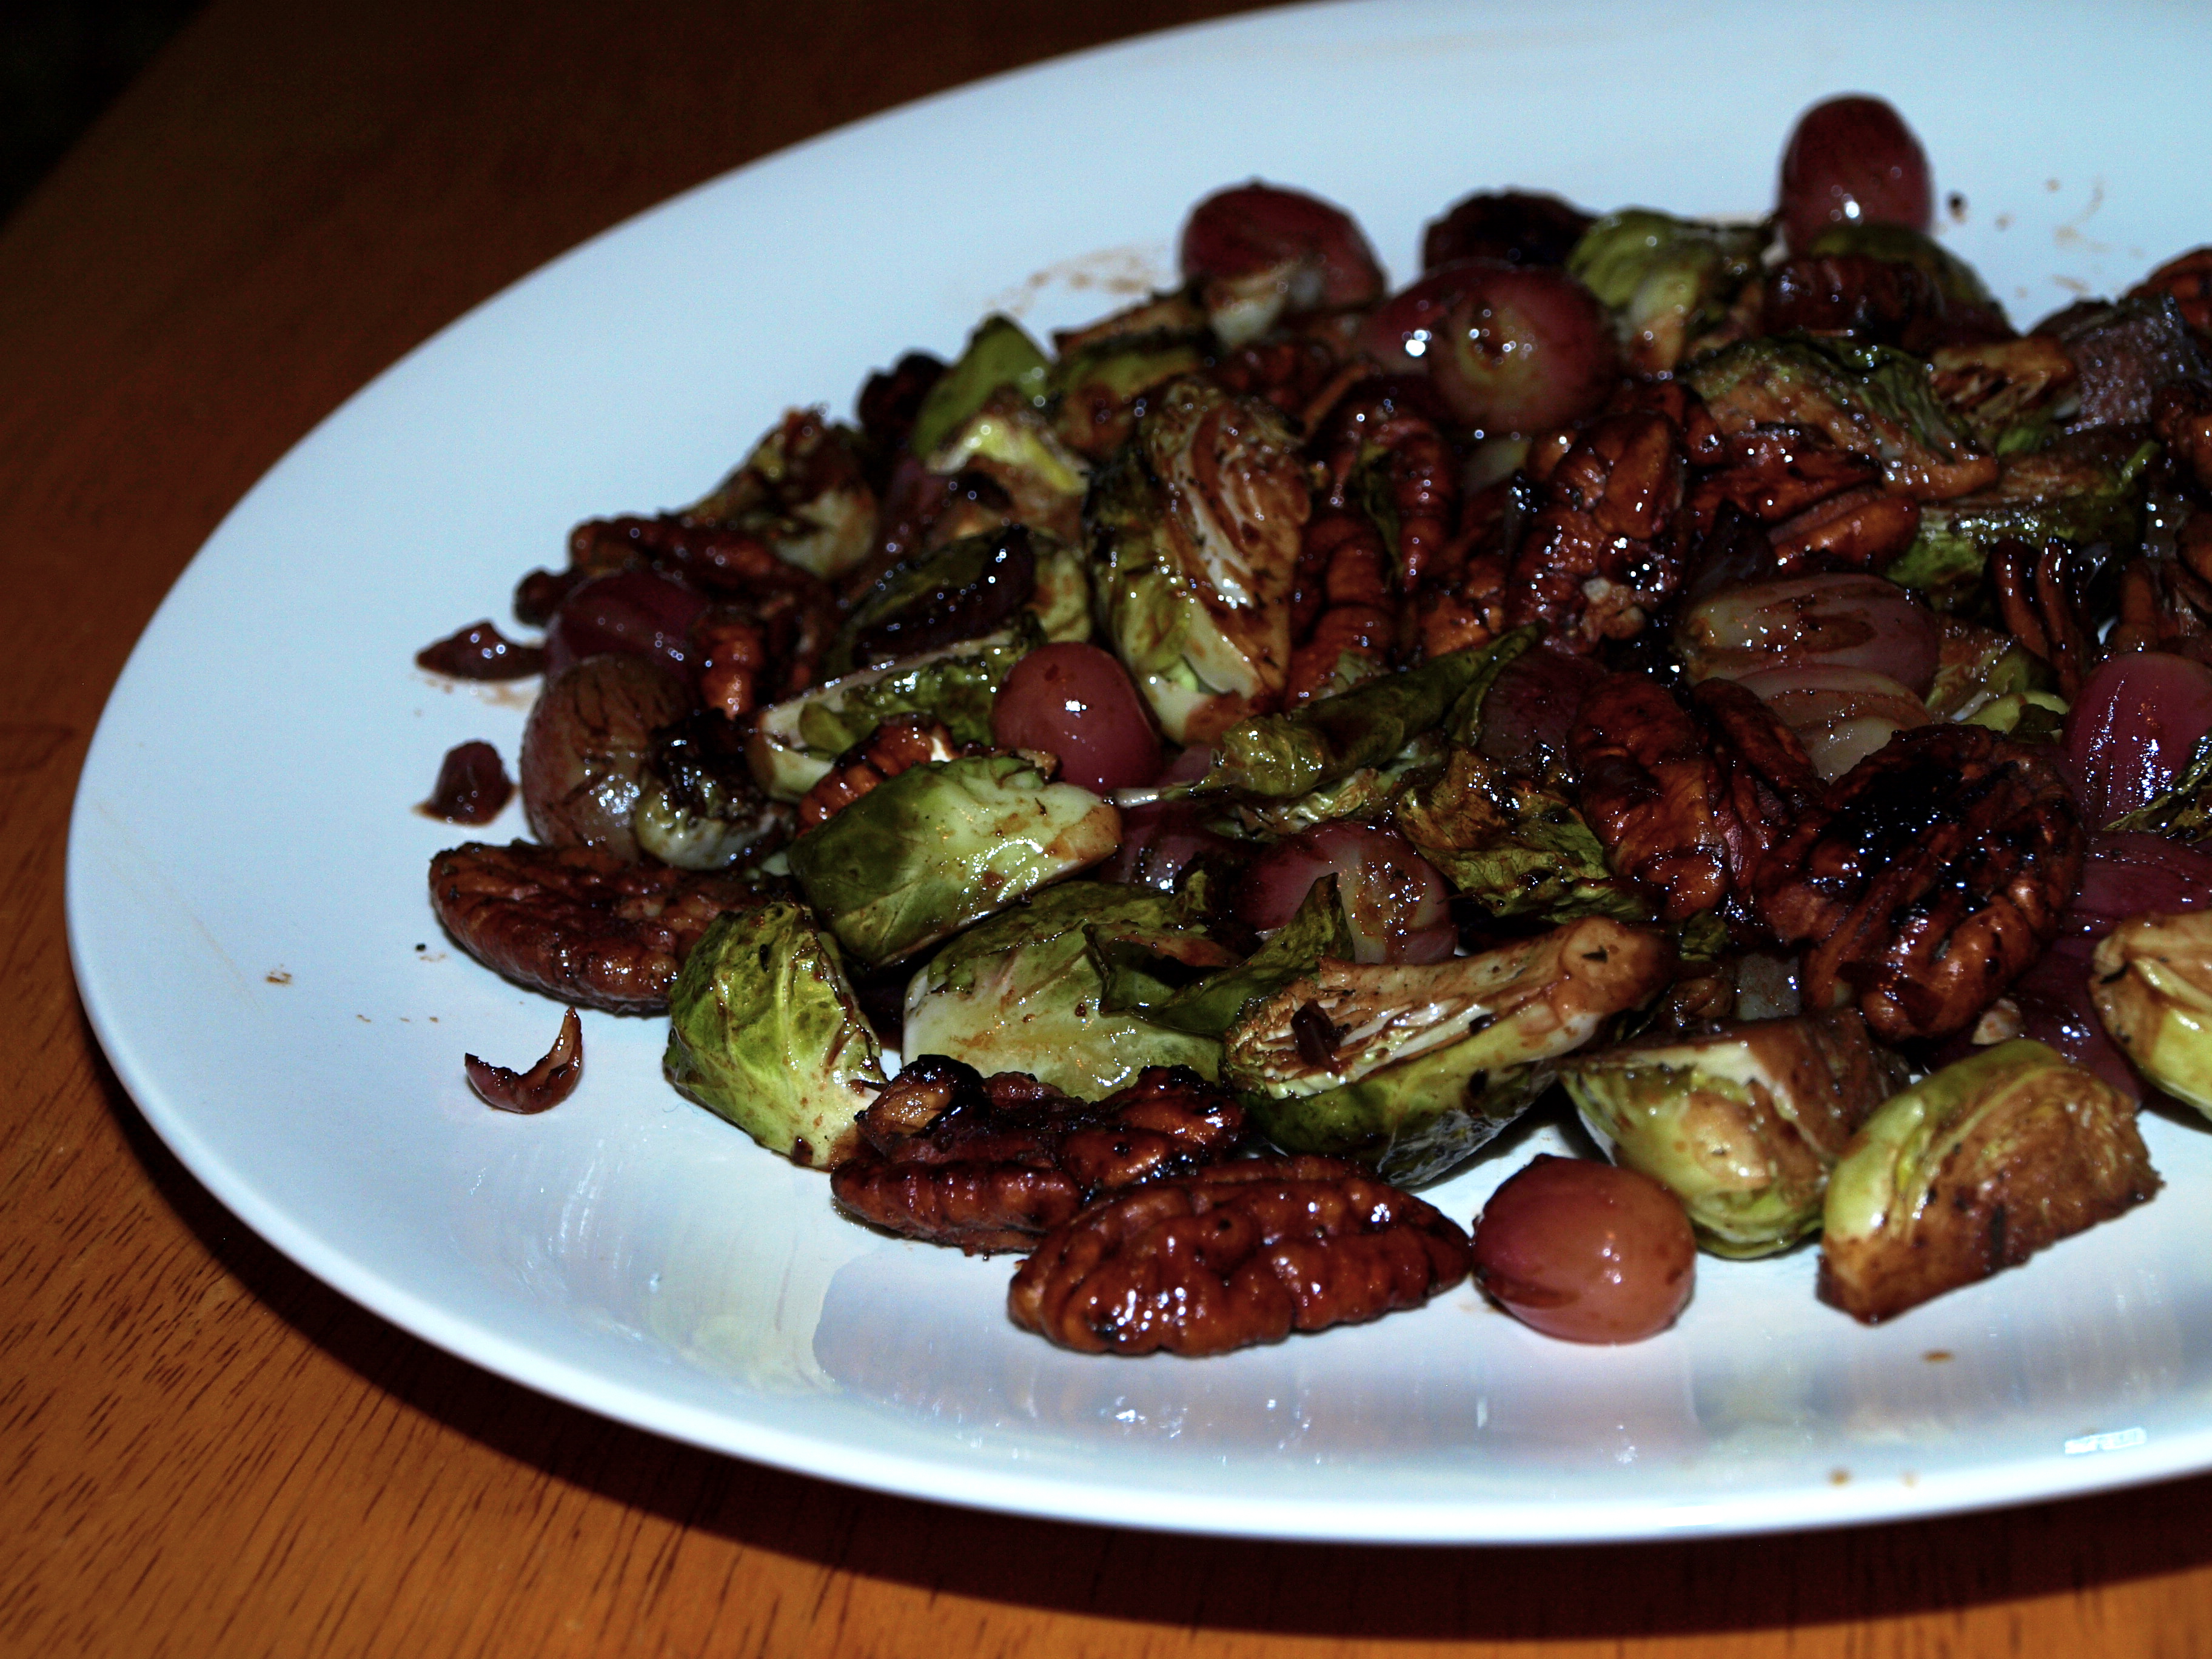
Balsamic Roasted Brussels with Red Grapes

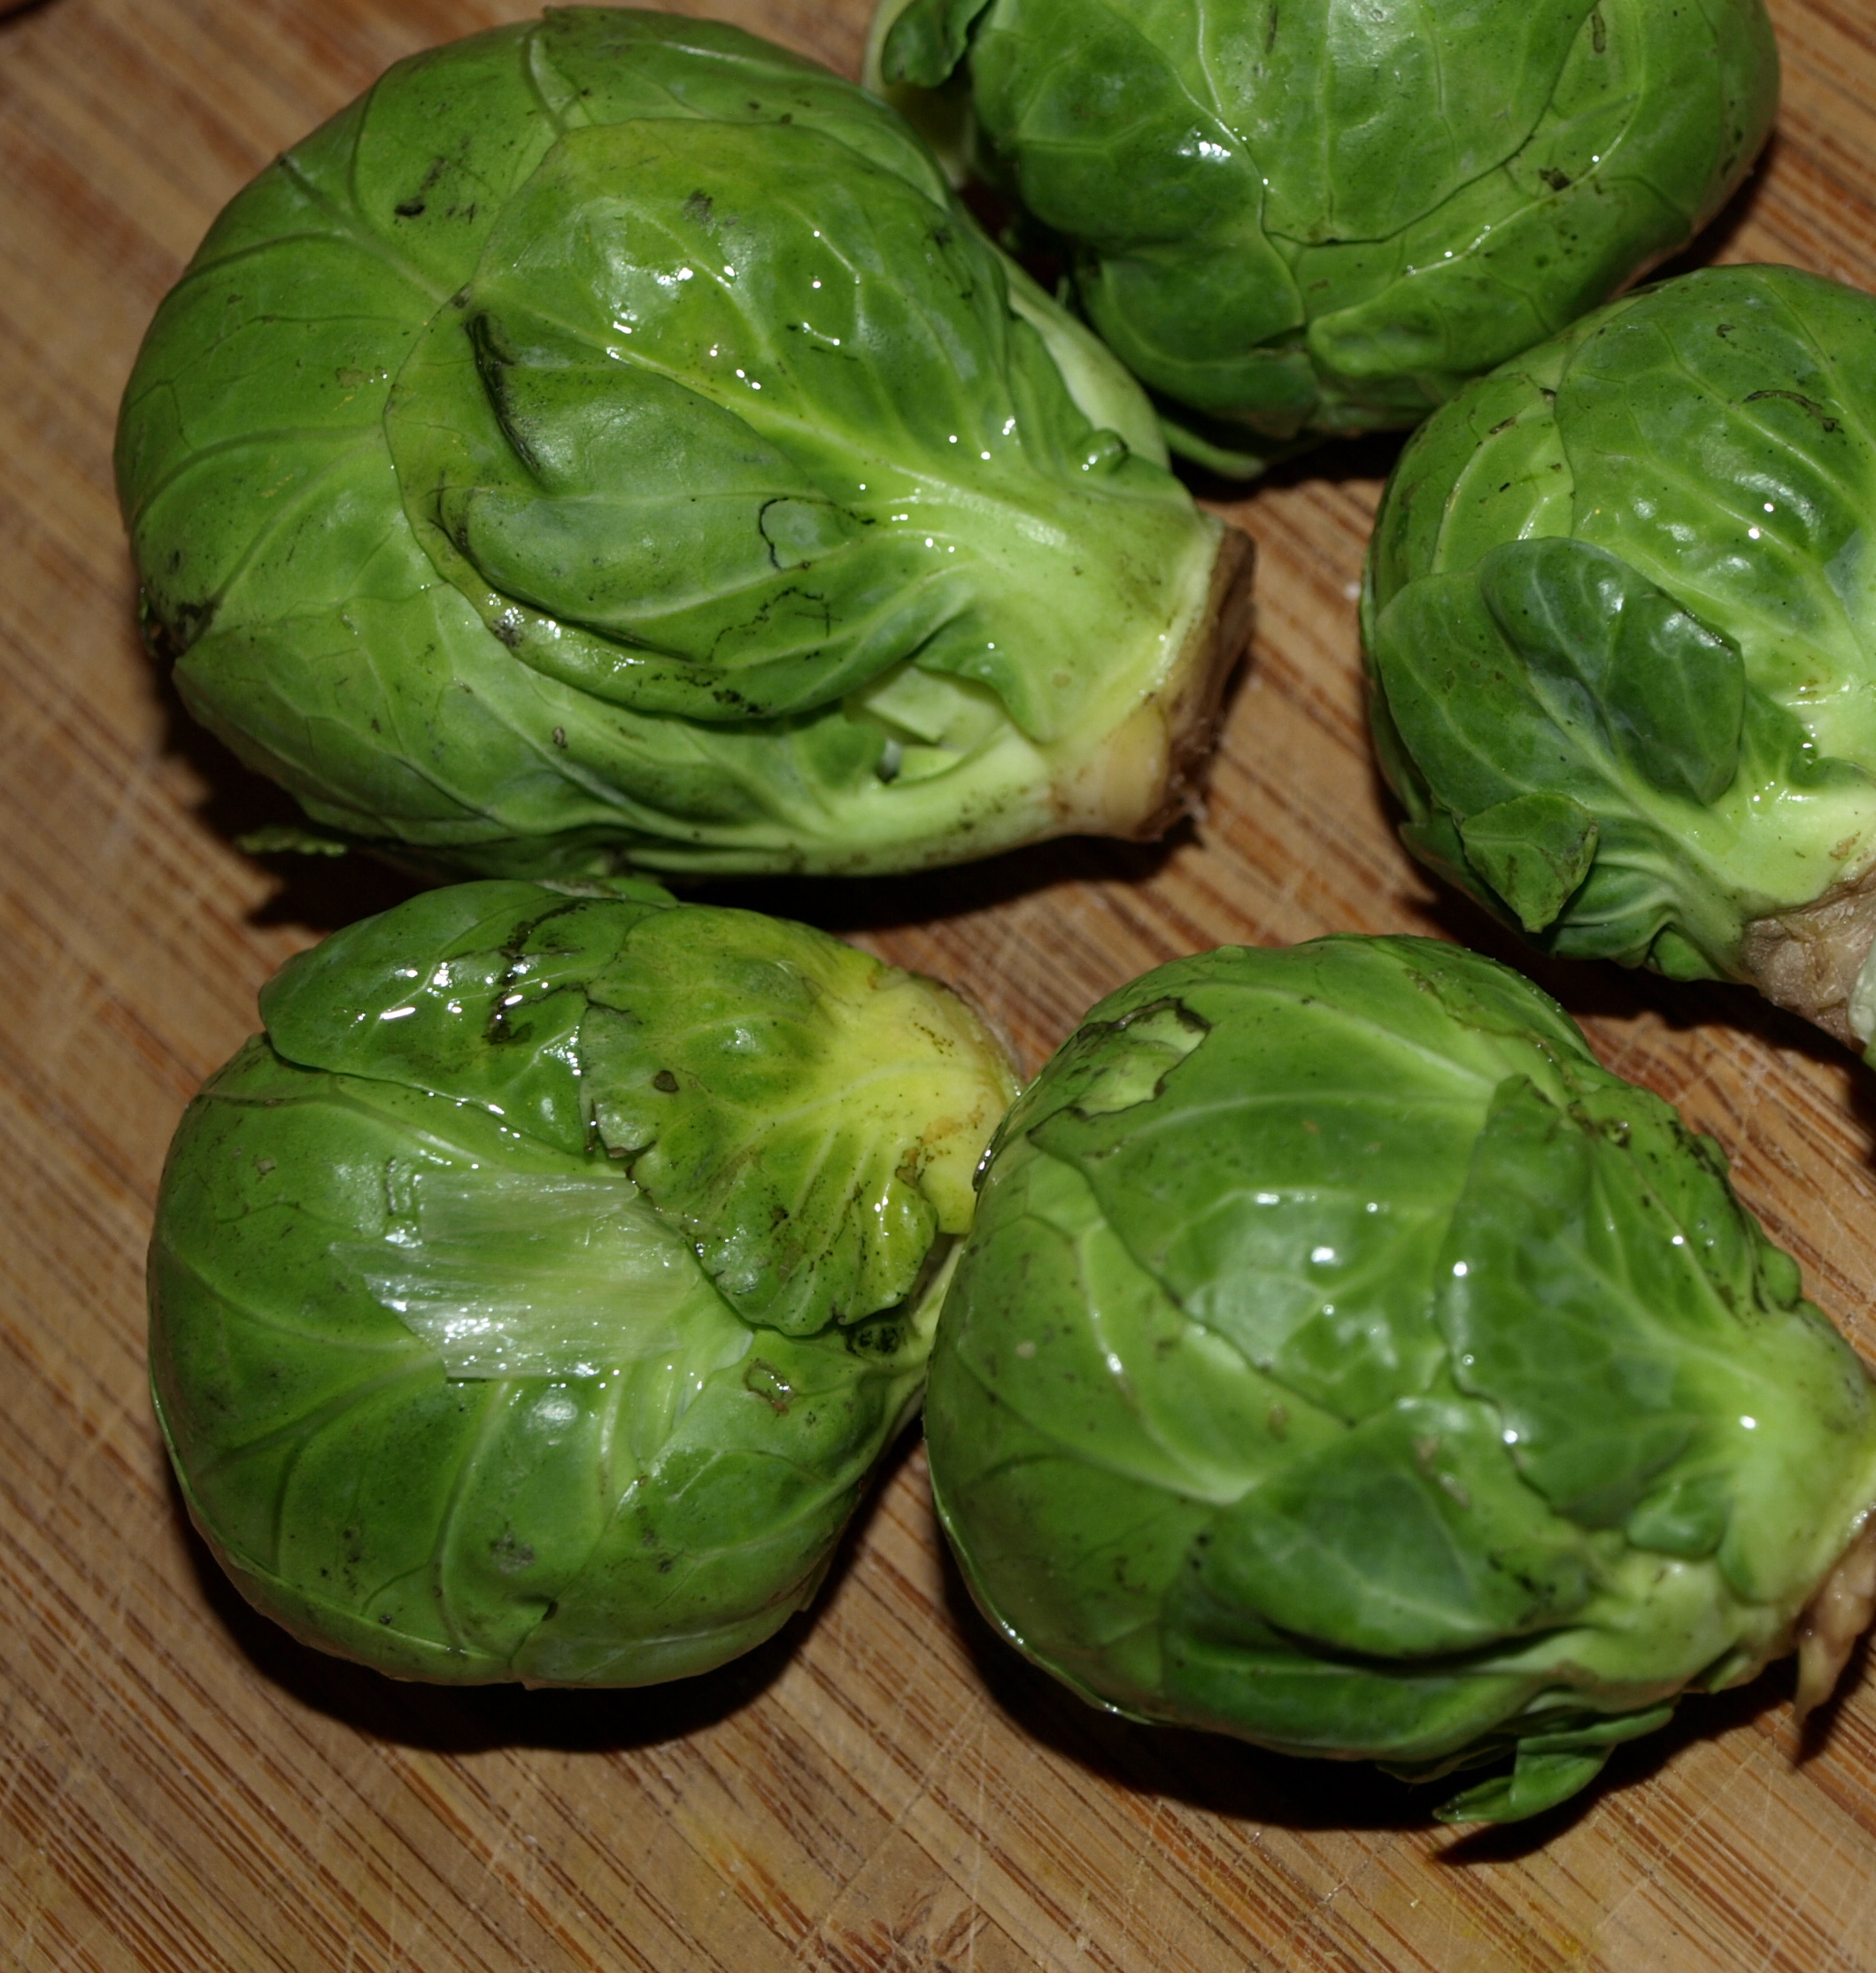
This past week I’ve turned my dinners into Thanksgiving Experiments. So as not to mislead you, know that at least a few of my average weeknight dinners tend to be experiments, but this week its all about what I might bring to the Thanksgiving table. This year, my grandmother challenged me to find a new way to present one of the typical green veggies: green beans, broccoli, or brussel sprouts. After some recipe searching and brainstorming, I settled on brussels for a few reasons. There really isn’t a vegetable that I won’t eat or wouldn’t try, so its not as if brussel sprouts are an enemy of mine, but I’ve never really craved them. I’ve never had them presented in a way that had me begging for seconds or forwarding the recipe on to friends. This was my goal, the hopeful end result of my experiment.

The balsamic vinegar and red grapes are what drew me in. The tangy sweetness of balsamic and the fruitful juice from the red grapes were bound to turn these brussel sprouts into a must have dish. One worth sharing with family over the Thanksgiving table and one worth sharing with you all over the inter-webs.This Wednesday I’m heading home to Chicago to see some much loved best friends & family, and I couldn’t be more excited. Thanksgiving is an absolute favorite holiday of mine. Its a Celebration, the epitome of this incredible community I’m inspired by, coming together around food. Its about being thankful for the people around you and the meal in your belly. I can’t think of a more important reason to celebrate than life, the food and the people that nourish you.

Preheat Oven: 400 Degrees

Prep Time: 5 minutes

Cook Time: 20 minutes

ingredients:

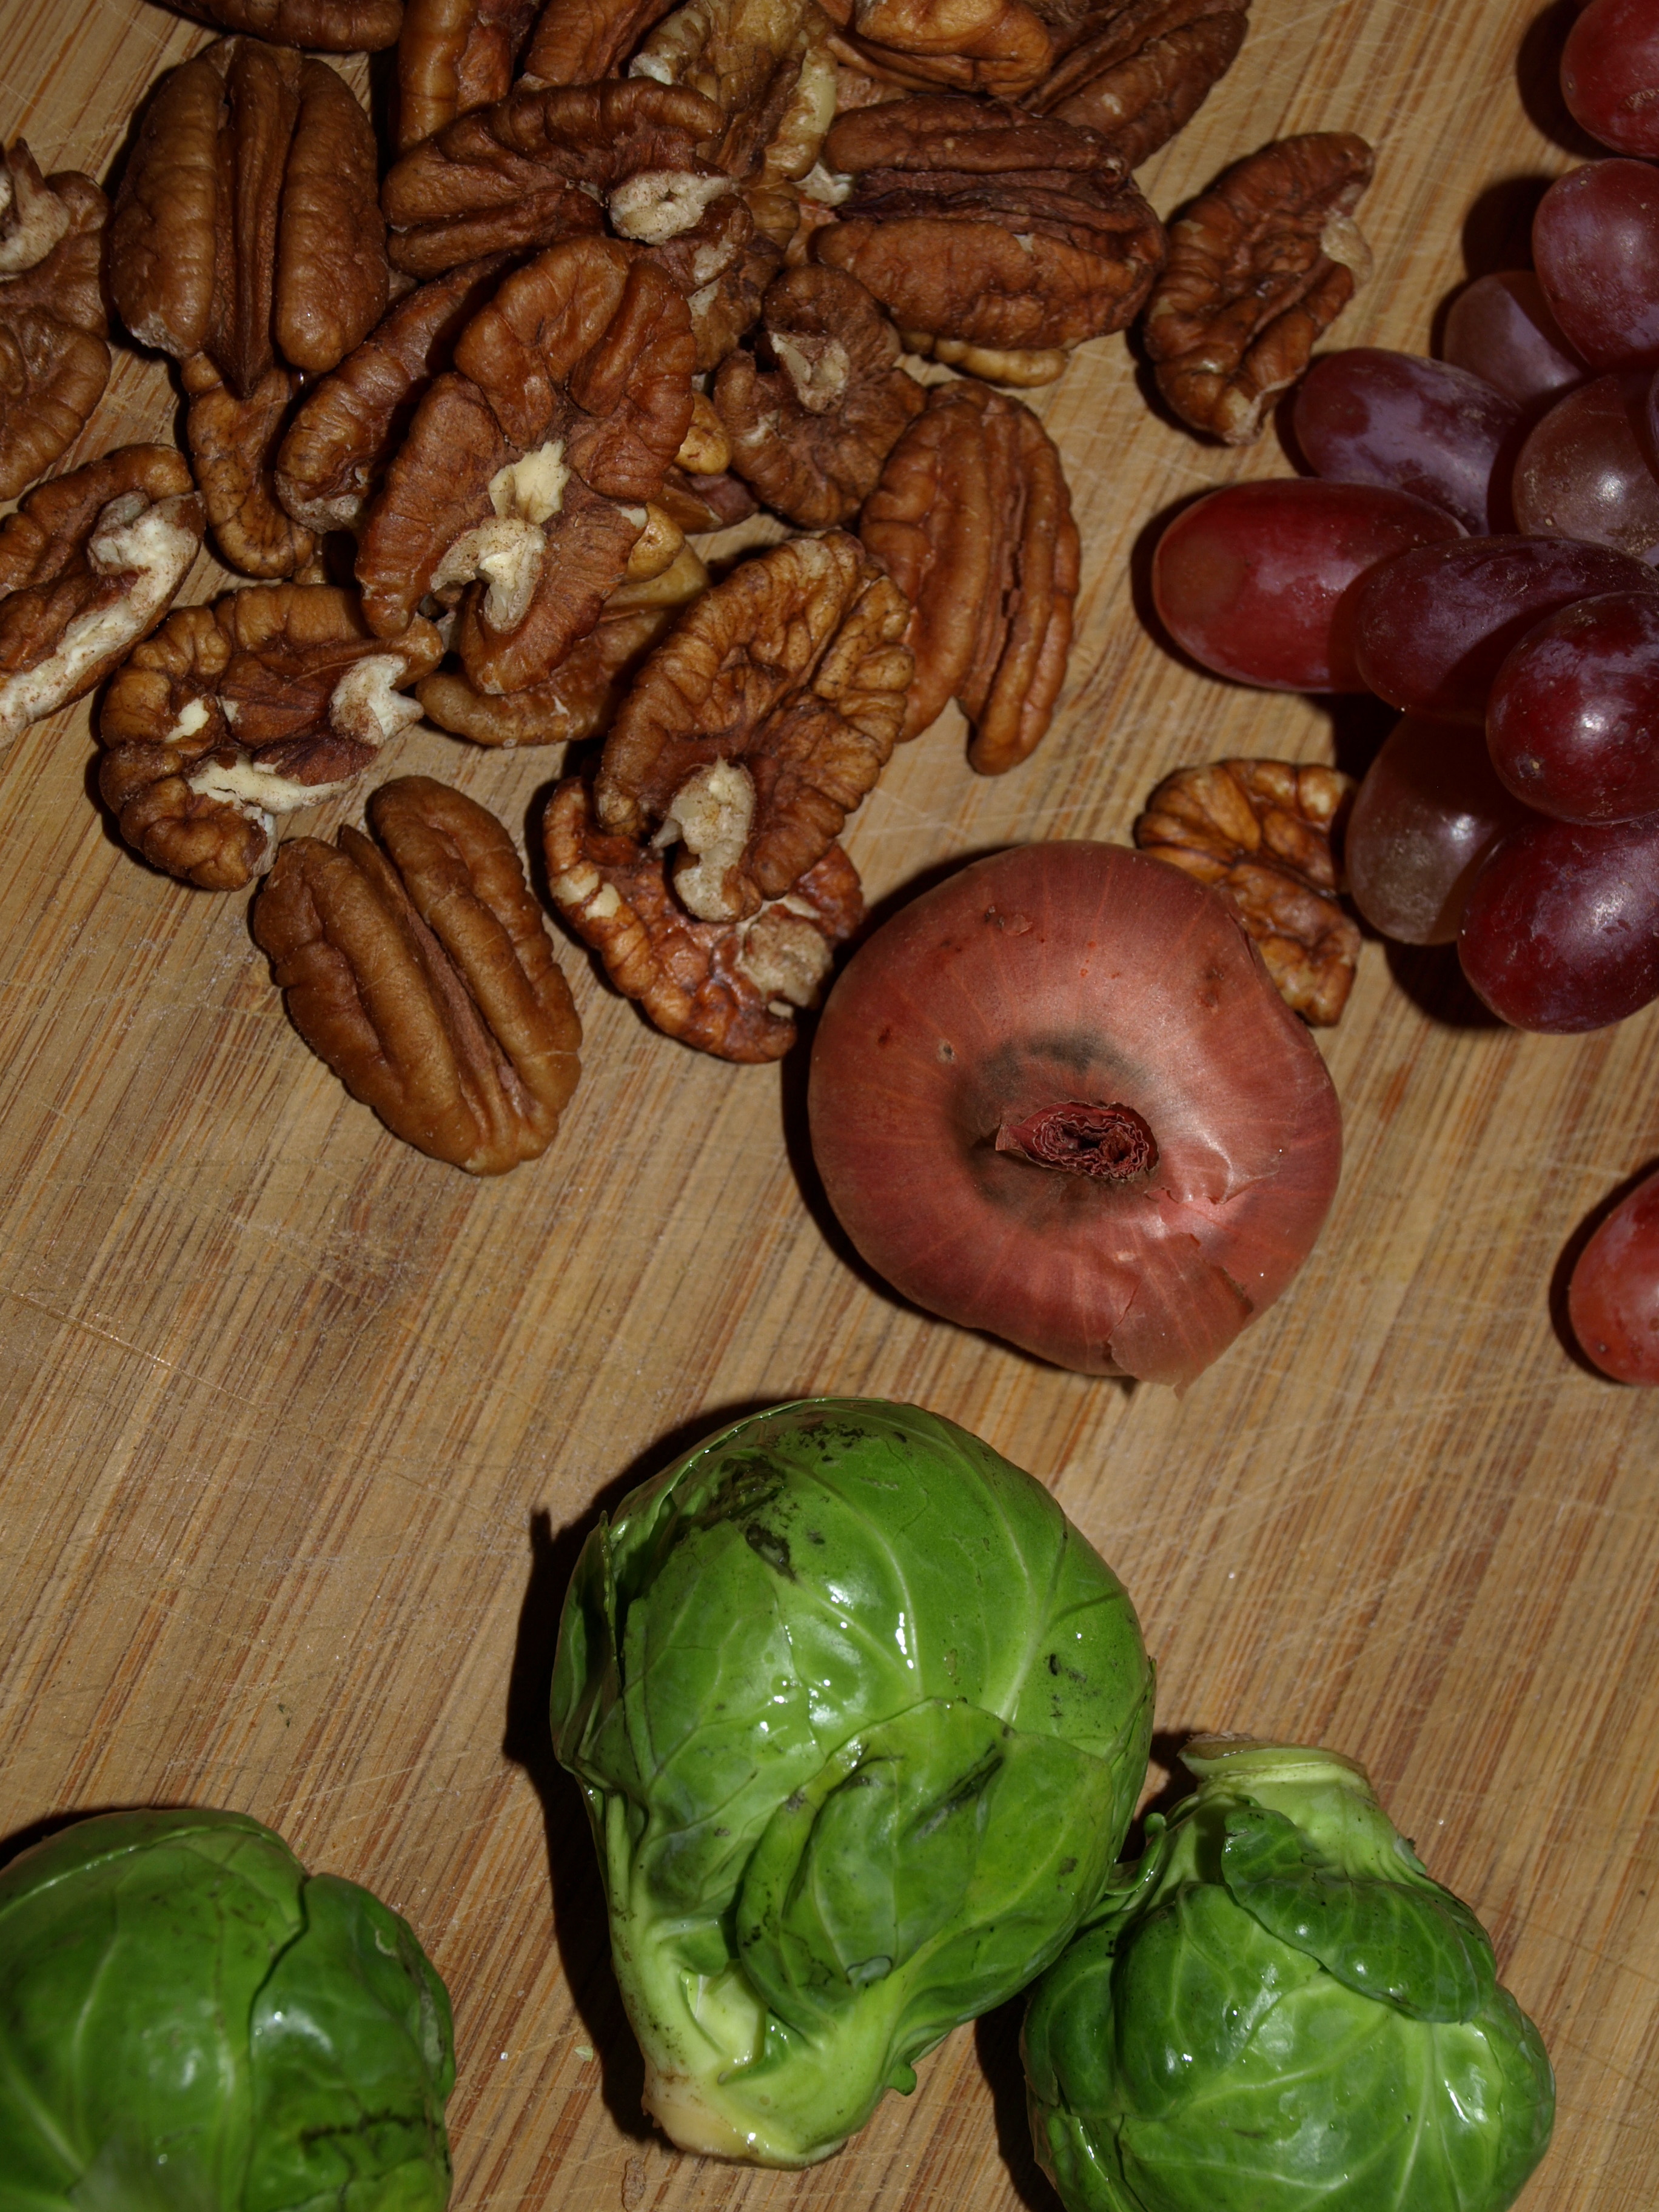
  • 24 ounces brussels sprouts (about 8 cups), halved or quartered
  • 24 ounces grapes
  • 1 small cippolini onion
  • 2 tablespoons extra-virgin olive oil
  • 4 tablespoons fresh thyme
  • 2 tablespoons garlic
  • Coarse salt and freshly ground pepper
  • 2 tablespoons balsamic vinegar
  • 1/2 cup pecans

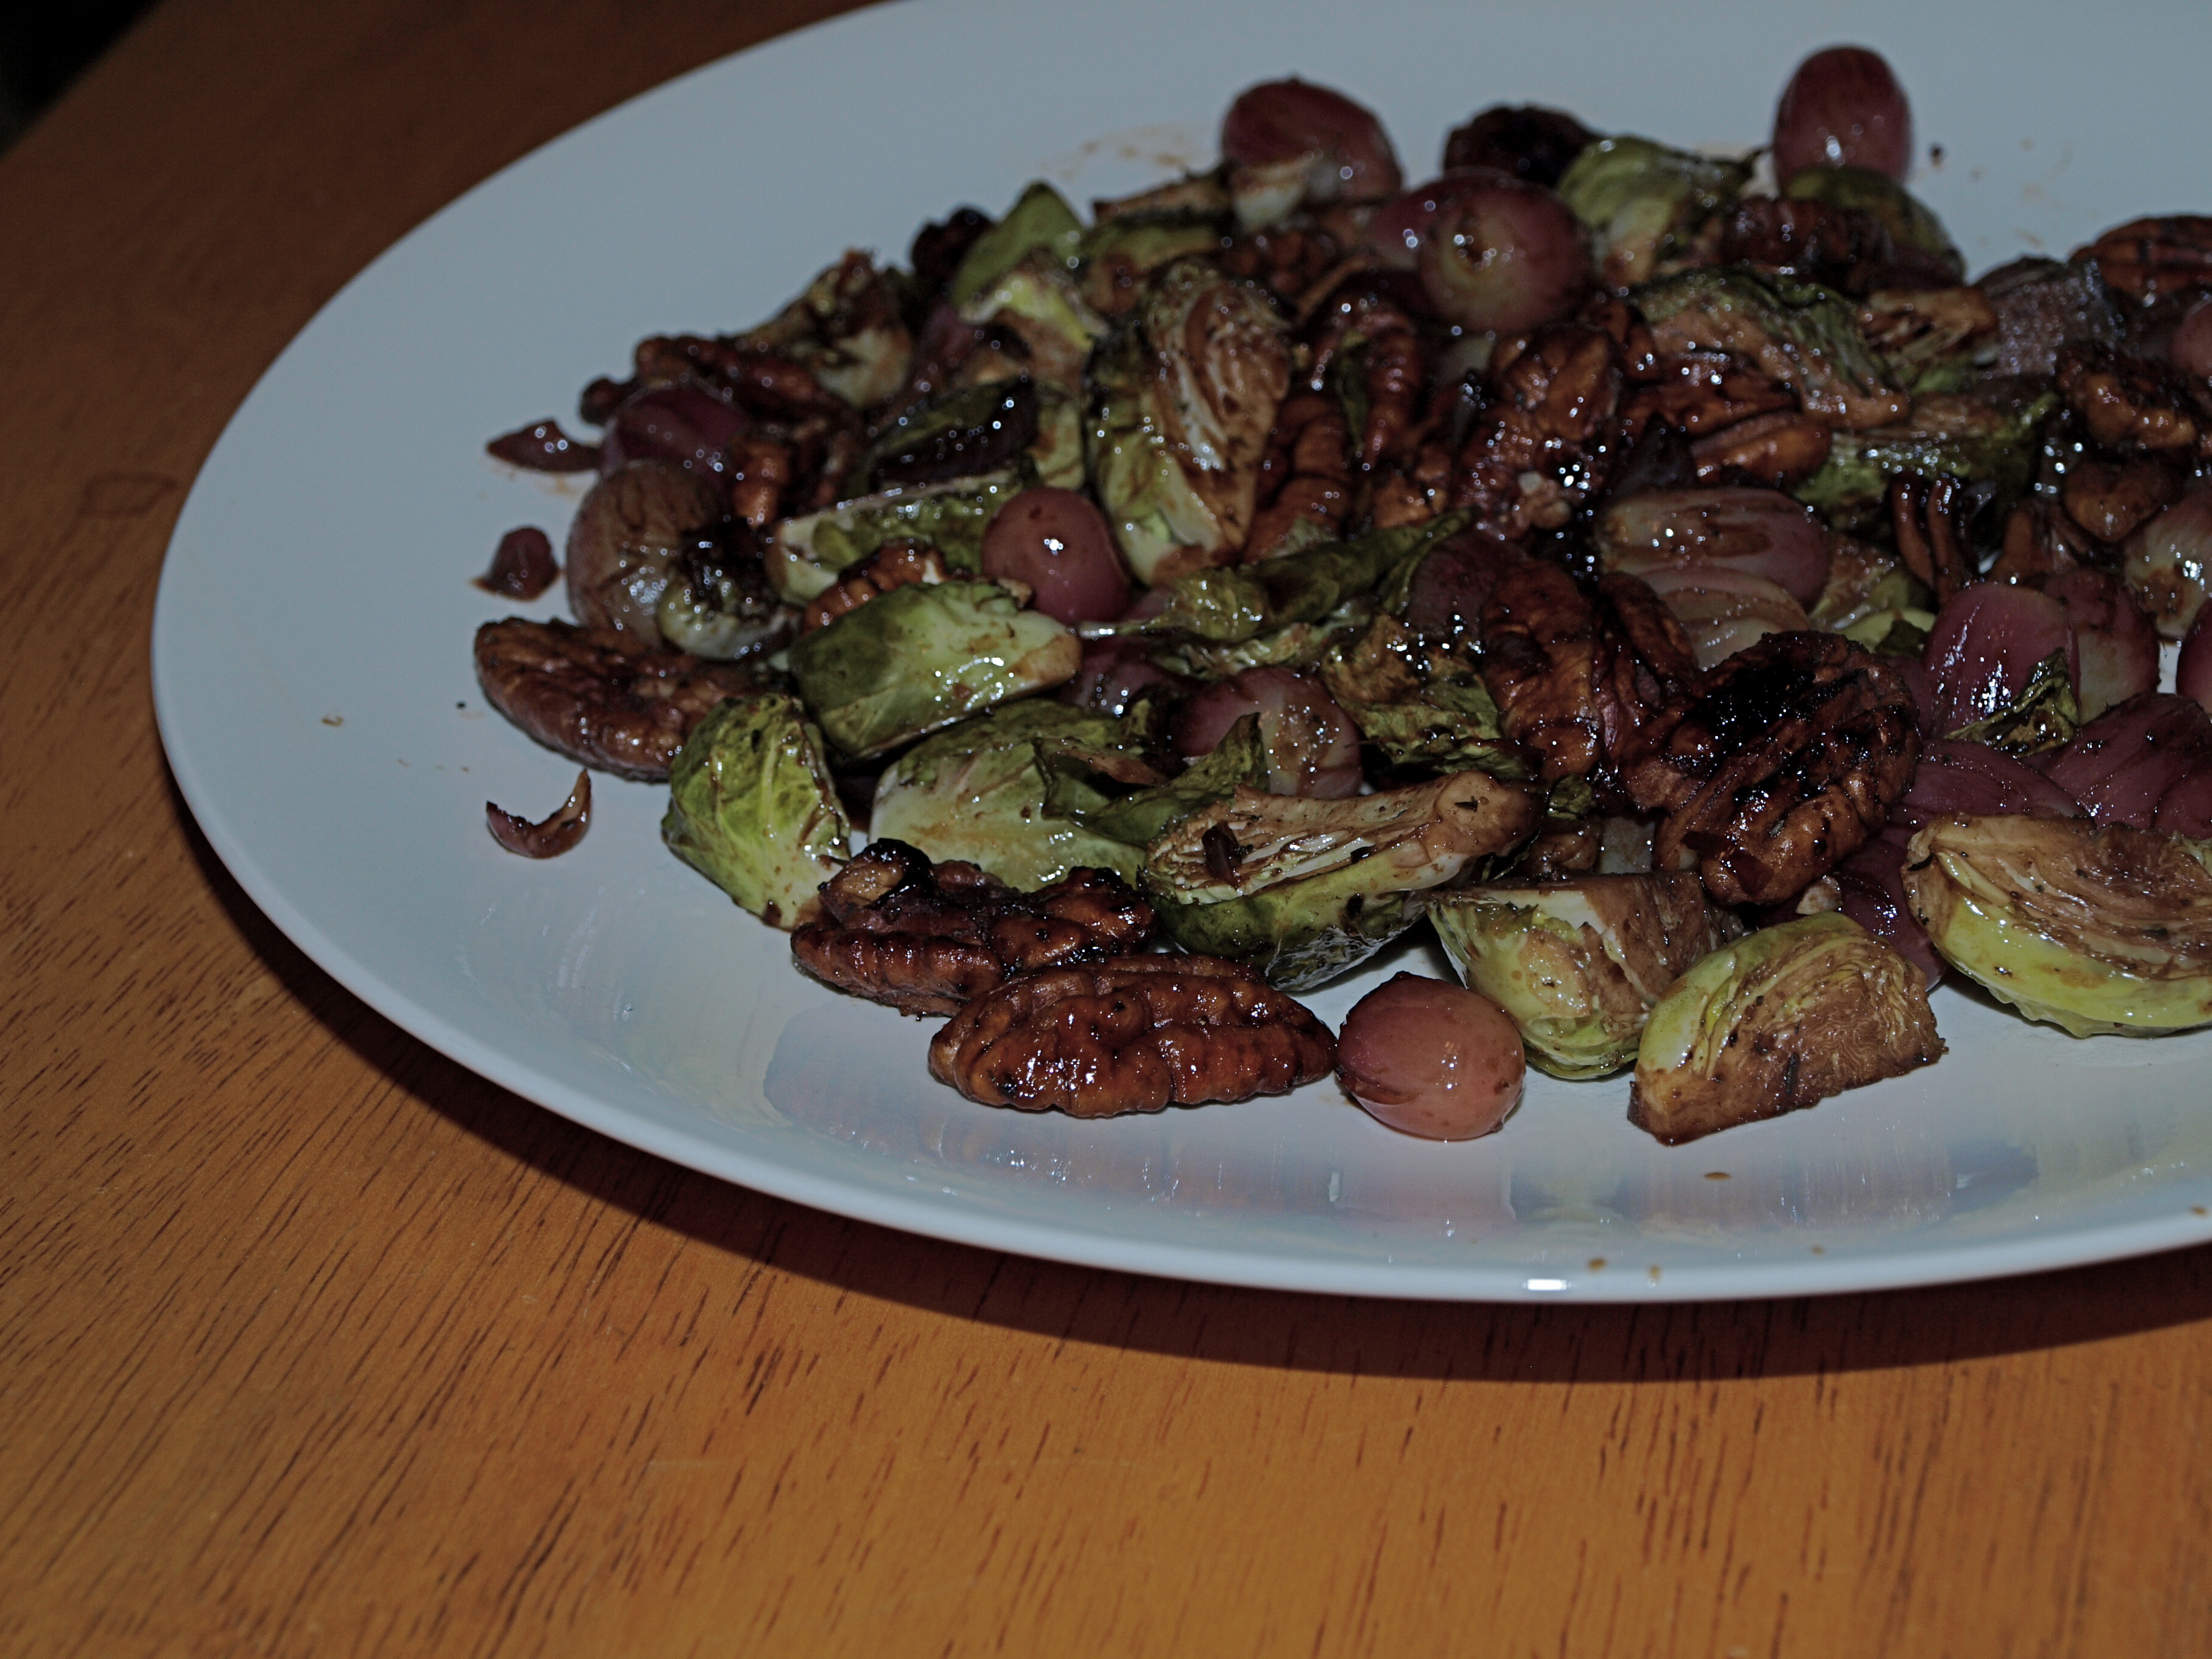
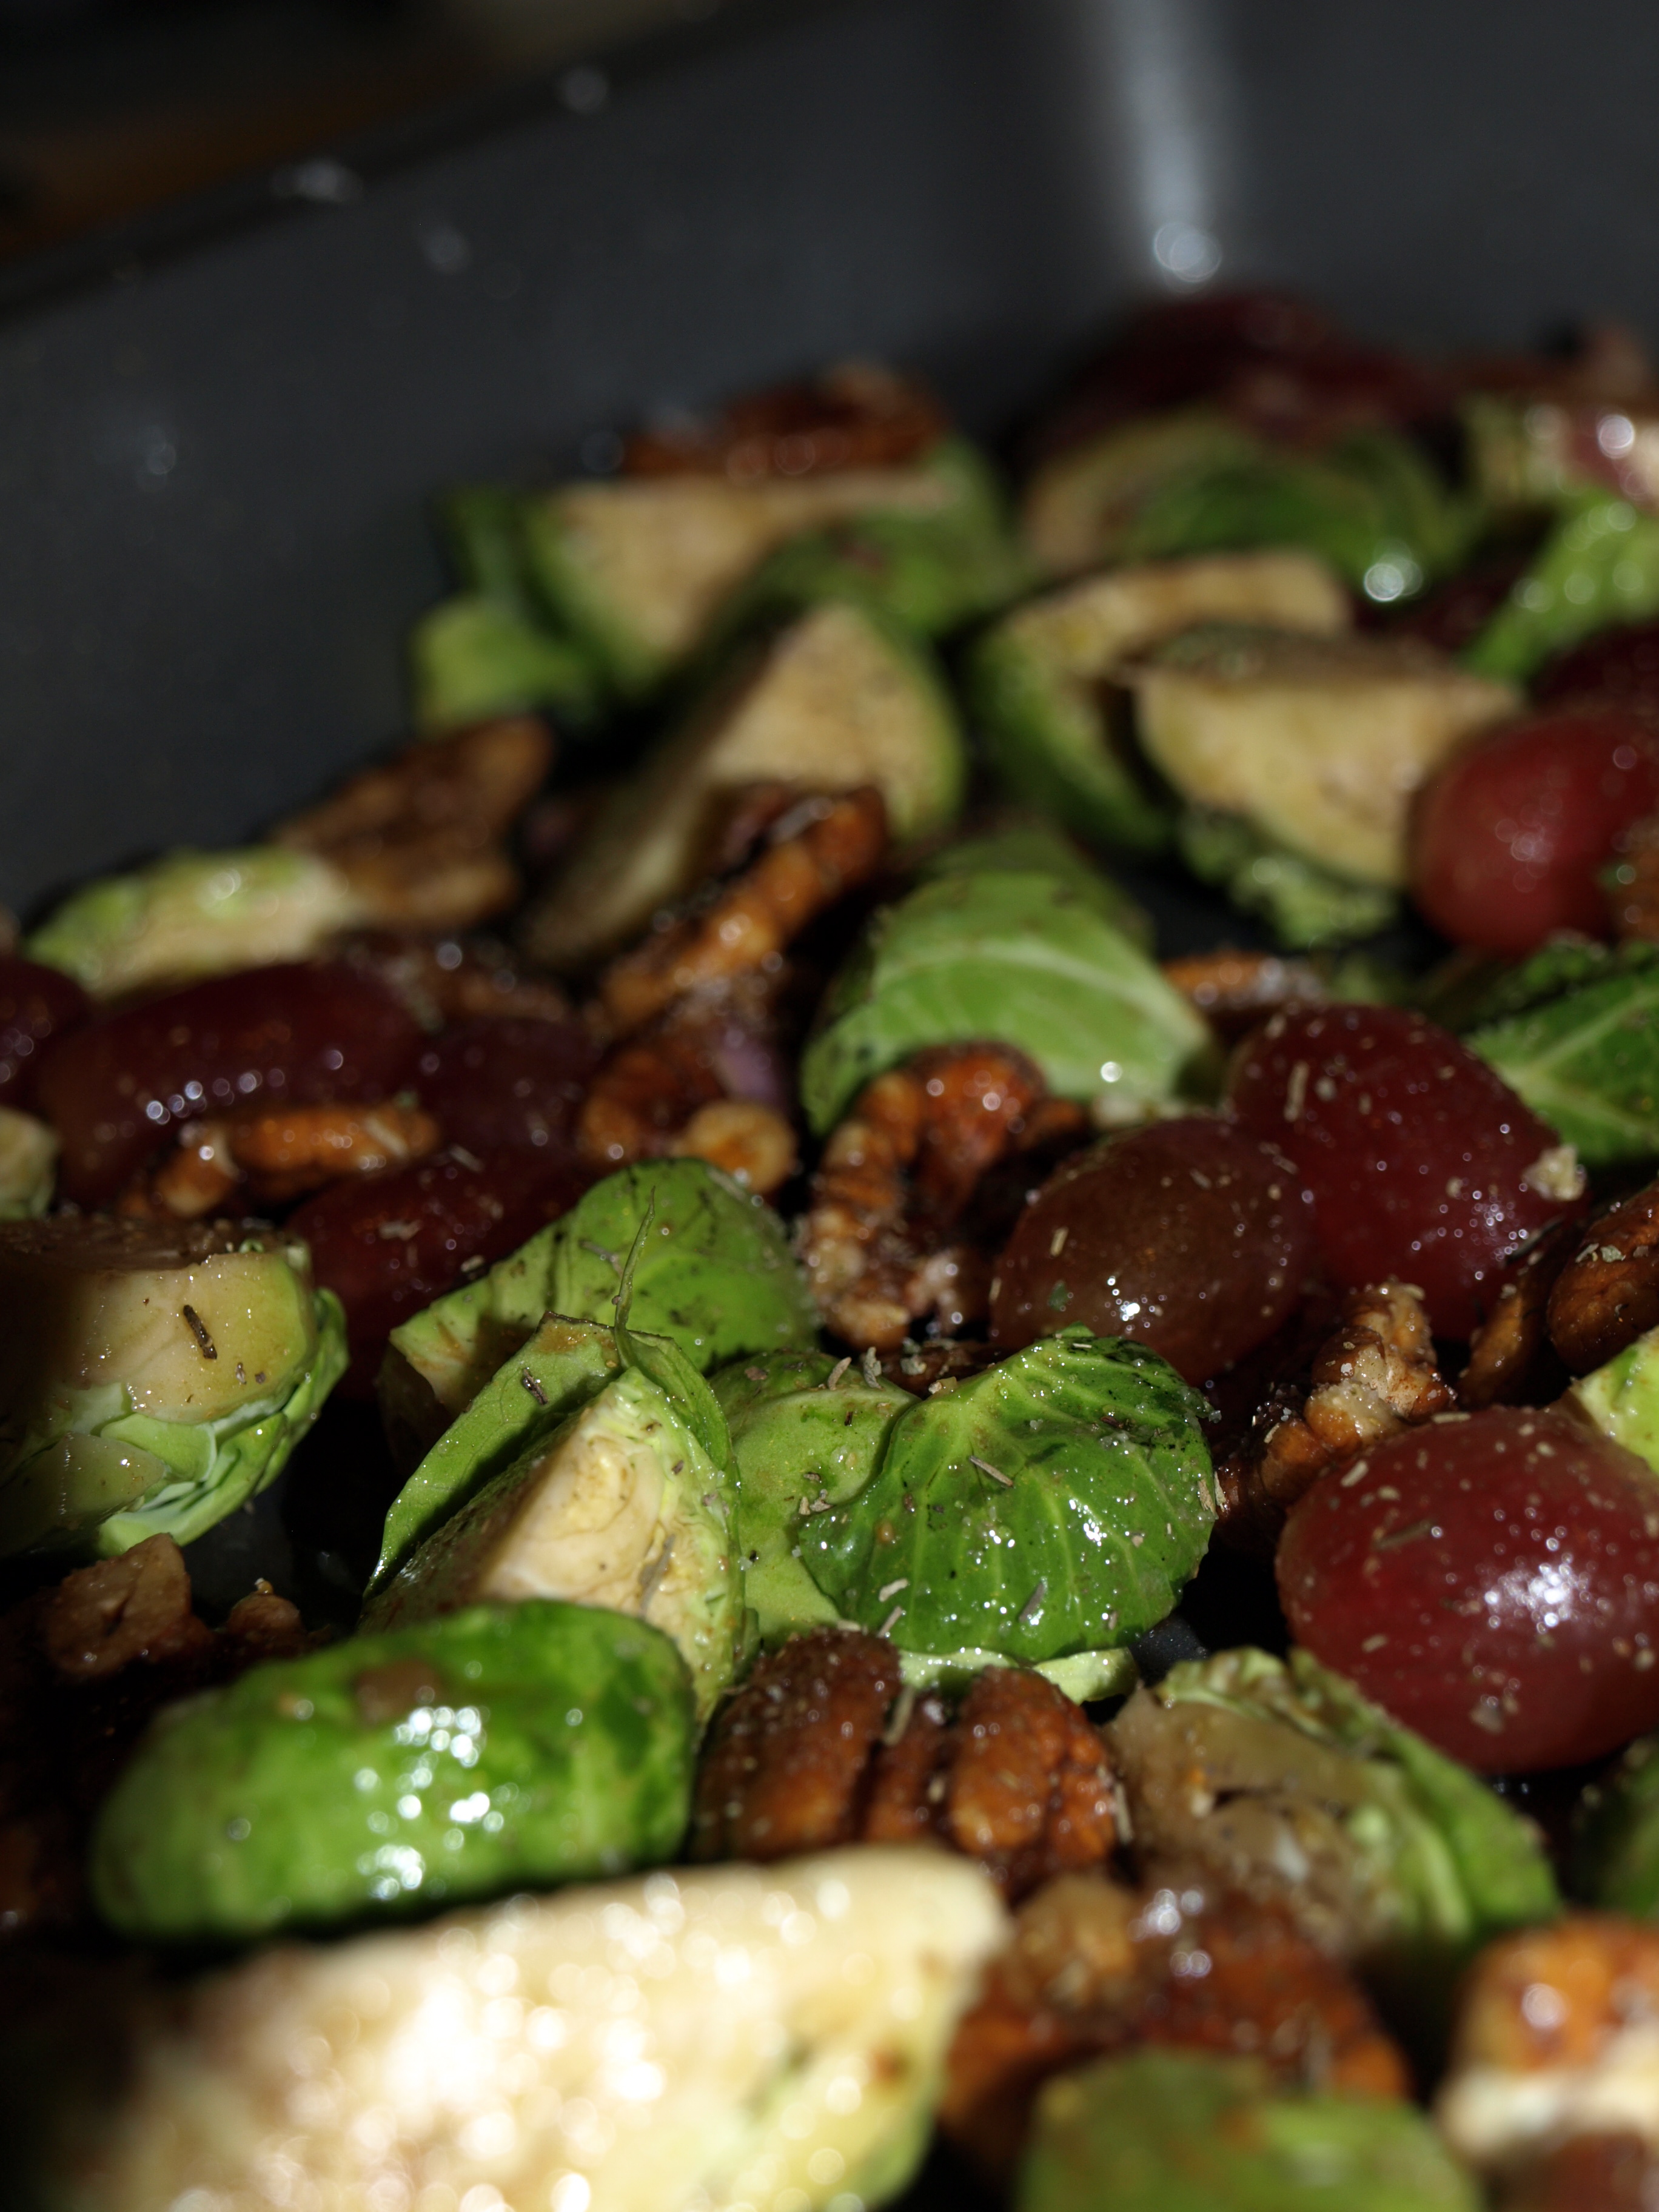
The preparation of this dish is really quite simple, which makes it all that much more enjoyable to make for a gathering. In a bowl mix olive oil,  balsamic, salt, pepper, garlic, pecans, chopped onion, brussels and red grapes.Pour mixture onto a rimmed baking sheet, and sprinkle thyme overtop.Be certain the mixture lies in one layer on the baking sheet.

Roast for 20 minutes, stirring the mixture once while in the oven. When you’re ready to serve pour a teaspoon of balsamic on the mixture scraping up any leftover caramelized deliciousness, and plate!

Simple is perfect for the holidays. A no stress method, where you can enjoy both a delicious meal and the people gathering around you. I’m so excited for this upcoming holiday and I wish you & your family the best (and most delicious!) one yet.

I have to say with this dish, my mission was accomplished. I was certain it’d be the perfect Thanksgiving plate after the first time I experimented with it, but I made it again the next night because I was dreaming of the brussels and their sweet & tangy companions. Do you have any delicious holiday plans or recipes for Brussel Sprouts? Share ’em! I’d love try something new.

Enjoy your Thanksgiving, shared with beloved friends & family and that delicious feast at your table.

love,

tricia
Basil Spinach Pie (Spanakopita)

Thanks for visiting this very first entry in what should be considered a visual timeline of my own growth through the seasons. Growth from the ground up, growth in the exploration of flavors and culinary aptitude, and growth in community coming together around the table; to dine, to talk, and to build relationships with one another. I want to give you a taste of what is to come in both literal and written context. This blog will evolve around the themes of these three words; Grow, Food, Community. Mix them up, shake them around, put them together and you’ll begin to understand the premise of Growth by the Season.

My name is Tricia and I have a passion for food that’s blended with an incredible appreciation for the community that exists because of it. From farm to table, people and food intertwine. It is because of this that Growth by the Season has begun to take shape. You can expect recipes straight from my kitchen as I continue exploring my own culinary journey. You’ll be introduced to the farms I visit to get my hands in the dirt and the growth of my own garden as spring comes back around. The people and community will always be present and often highlighted in instances of inspiration.

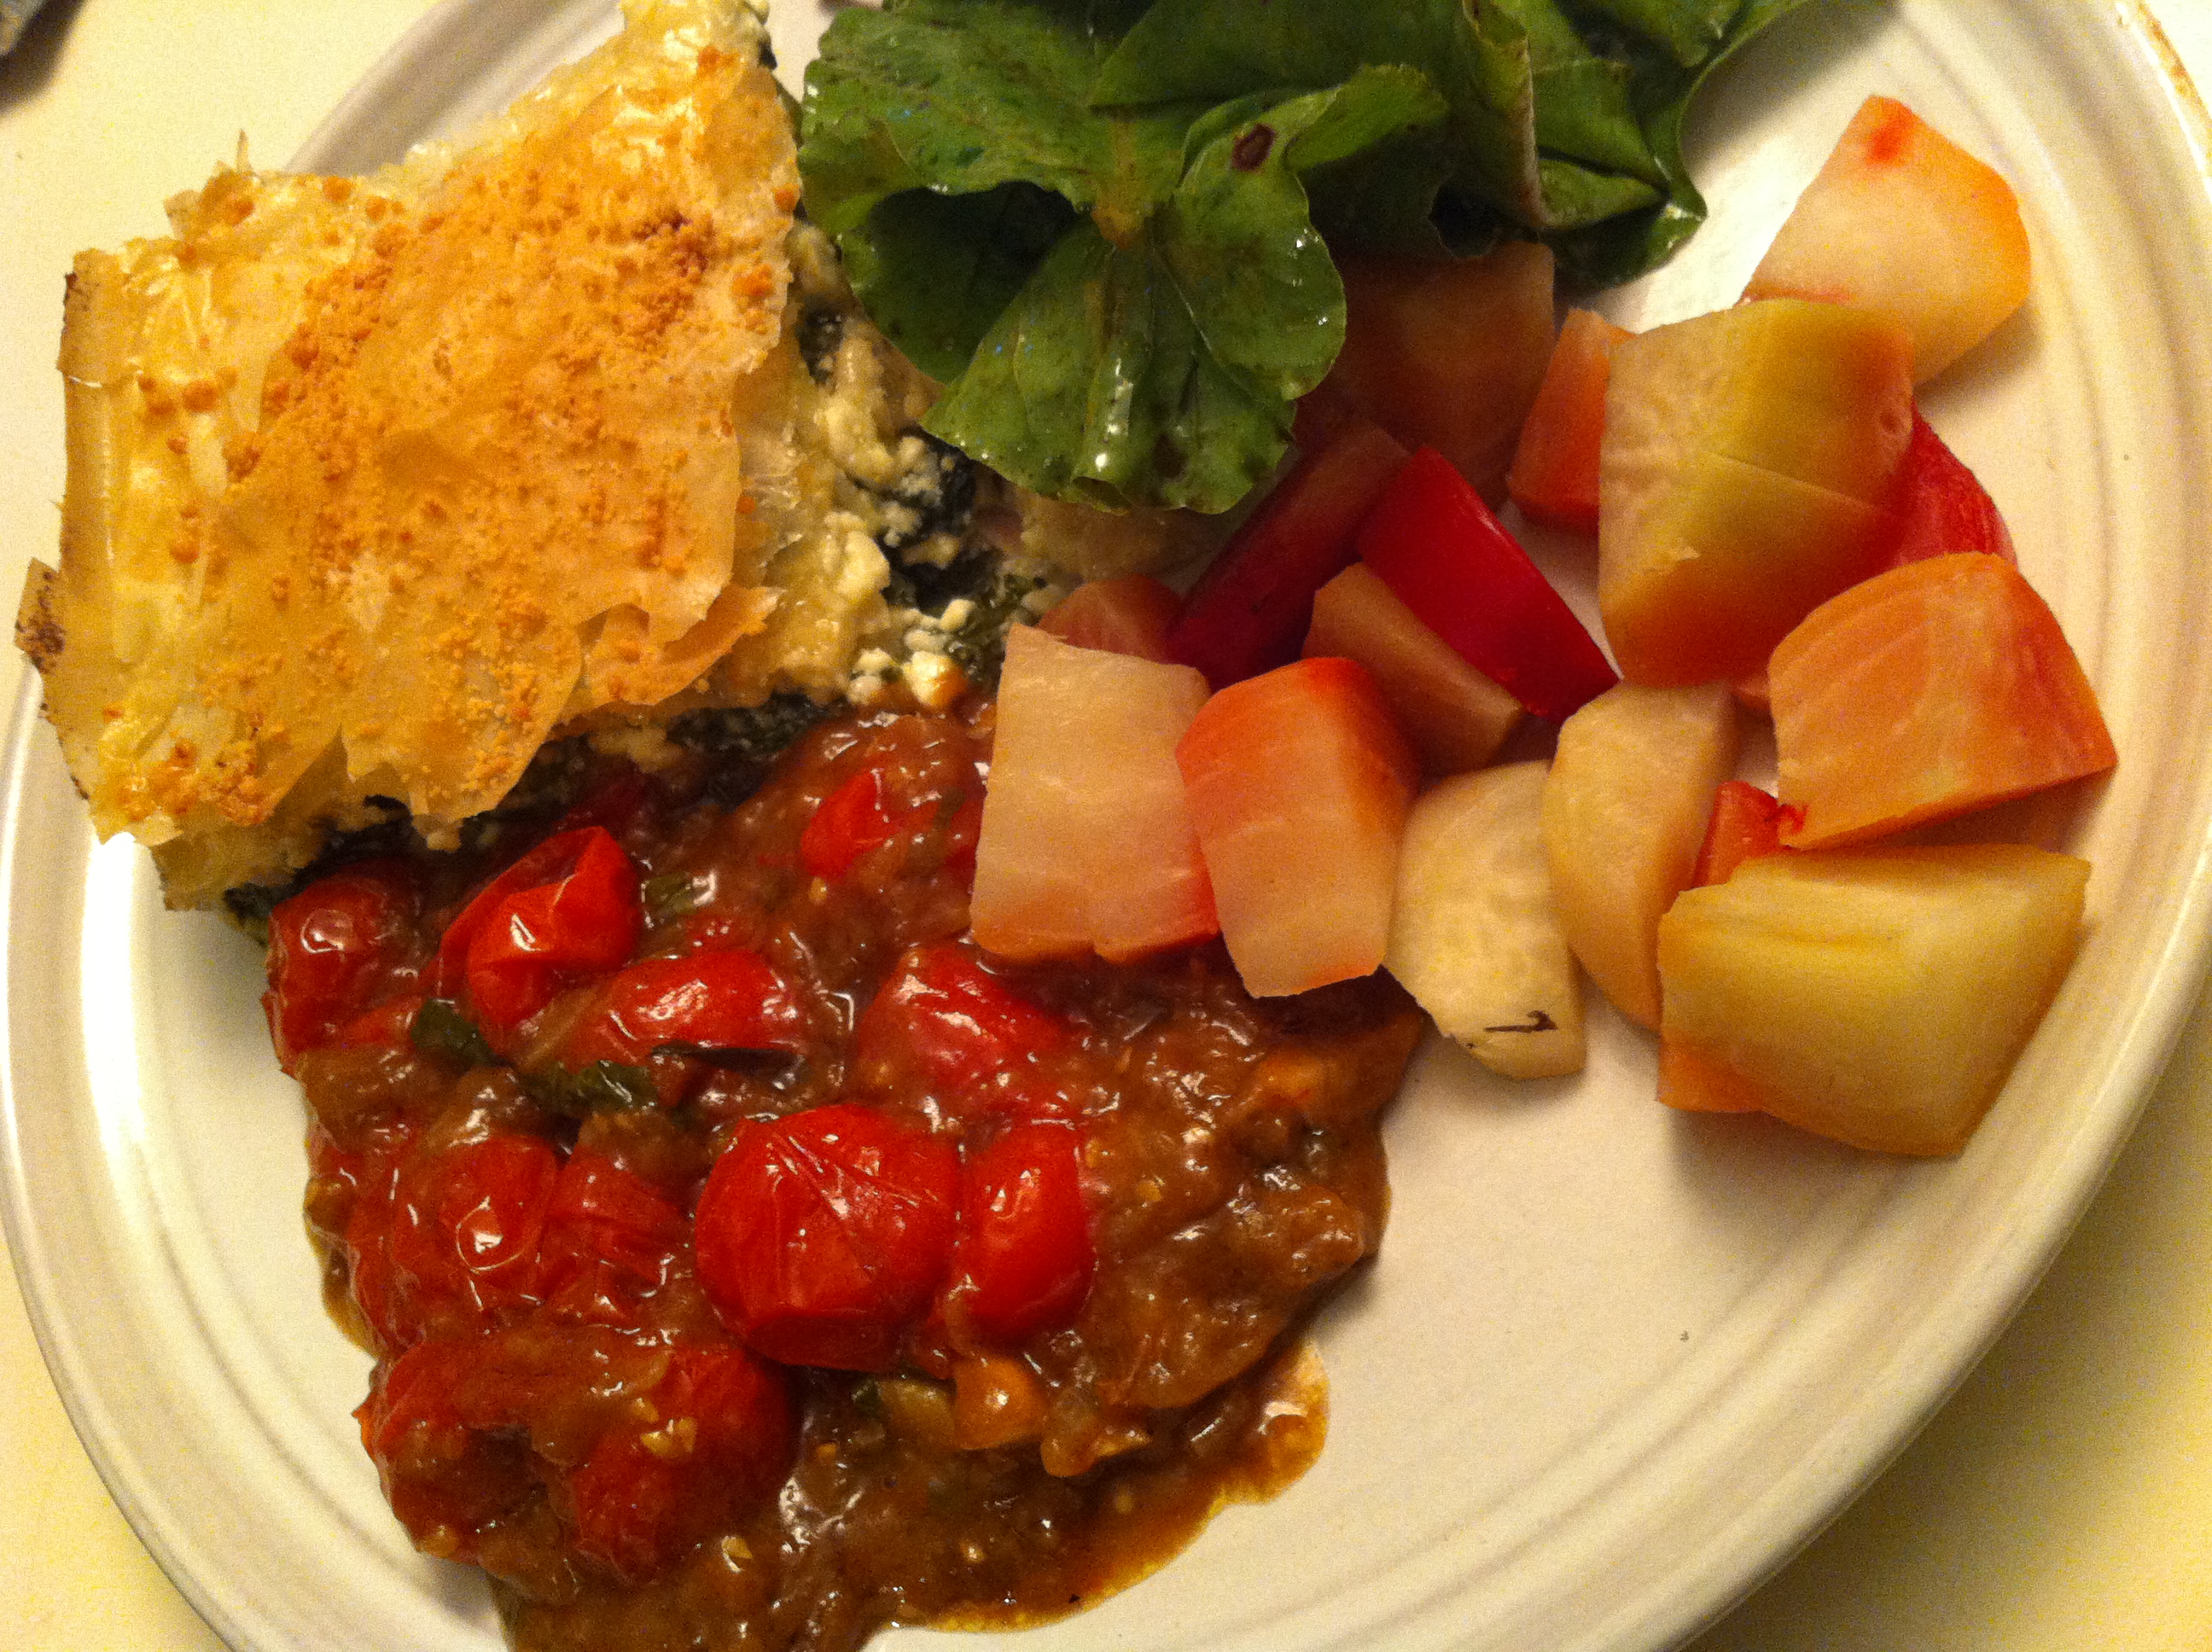
For the literal taste we’ll start off with a recipe. A Grecian number I debuted at my boyfriend’s mother’s home not too long ago, and one that was gratefully responded to with high remarks!

Basil & Spinach Pie

Preheat Oven: 350 degrees

Prep Time: 20 Min

Cooking Time: 25 Min

Serves 4

ingredients

  • 1/2 pound of phyllo dough, thawed
  • 1/3 cup of oil
  • 3 cloves of garlic, sliced
  • generous pinch of salt
  • generous pinch of pepper
  • 1/4 cup of basil, finely chopped
  • 12 oz bag of fresh spinach
  • 1 bunch of green onions, ends and tips tossed, sliced
  • 1/4 cup of red onion, diced
  • 10 oz great feta cheese, crumbled
  • 2 eggs, beaten
  • 12 tbsp butter, melted

First, a delicious smelling onion & garlic oil is your task. Start with your olive oil in a pan at medium heat and once the oil is warmed add your chopped red onion & scallions. As they become tender add garlic to the mixture, letting it cook to a light golden brown, being extra careful not to burn.

Wilt spinach & basil in the pan by adding 1 half portion at a time, stirring thoroughly until all spinach is tender when you’ll scrape the contents of the pan into a small bowl to cool.

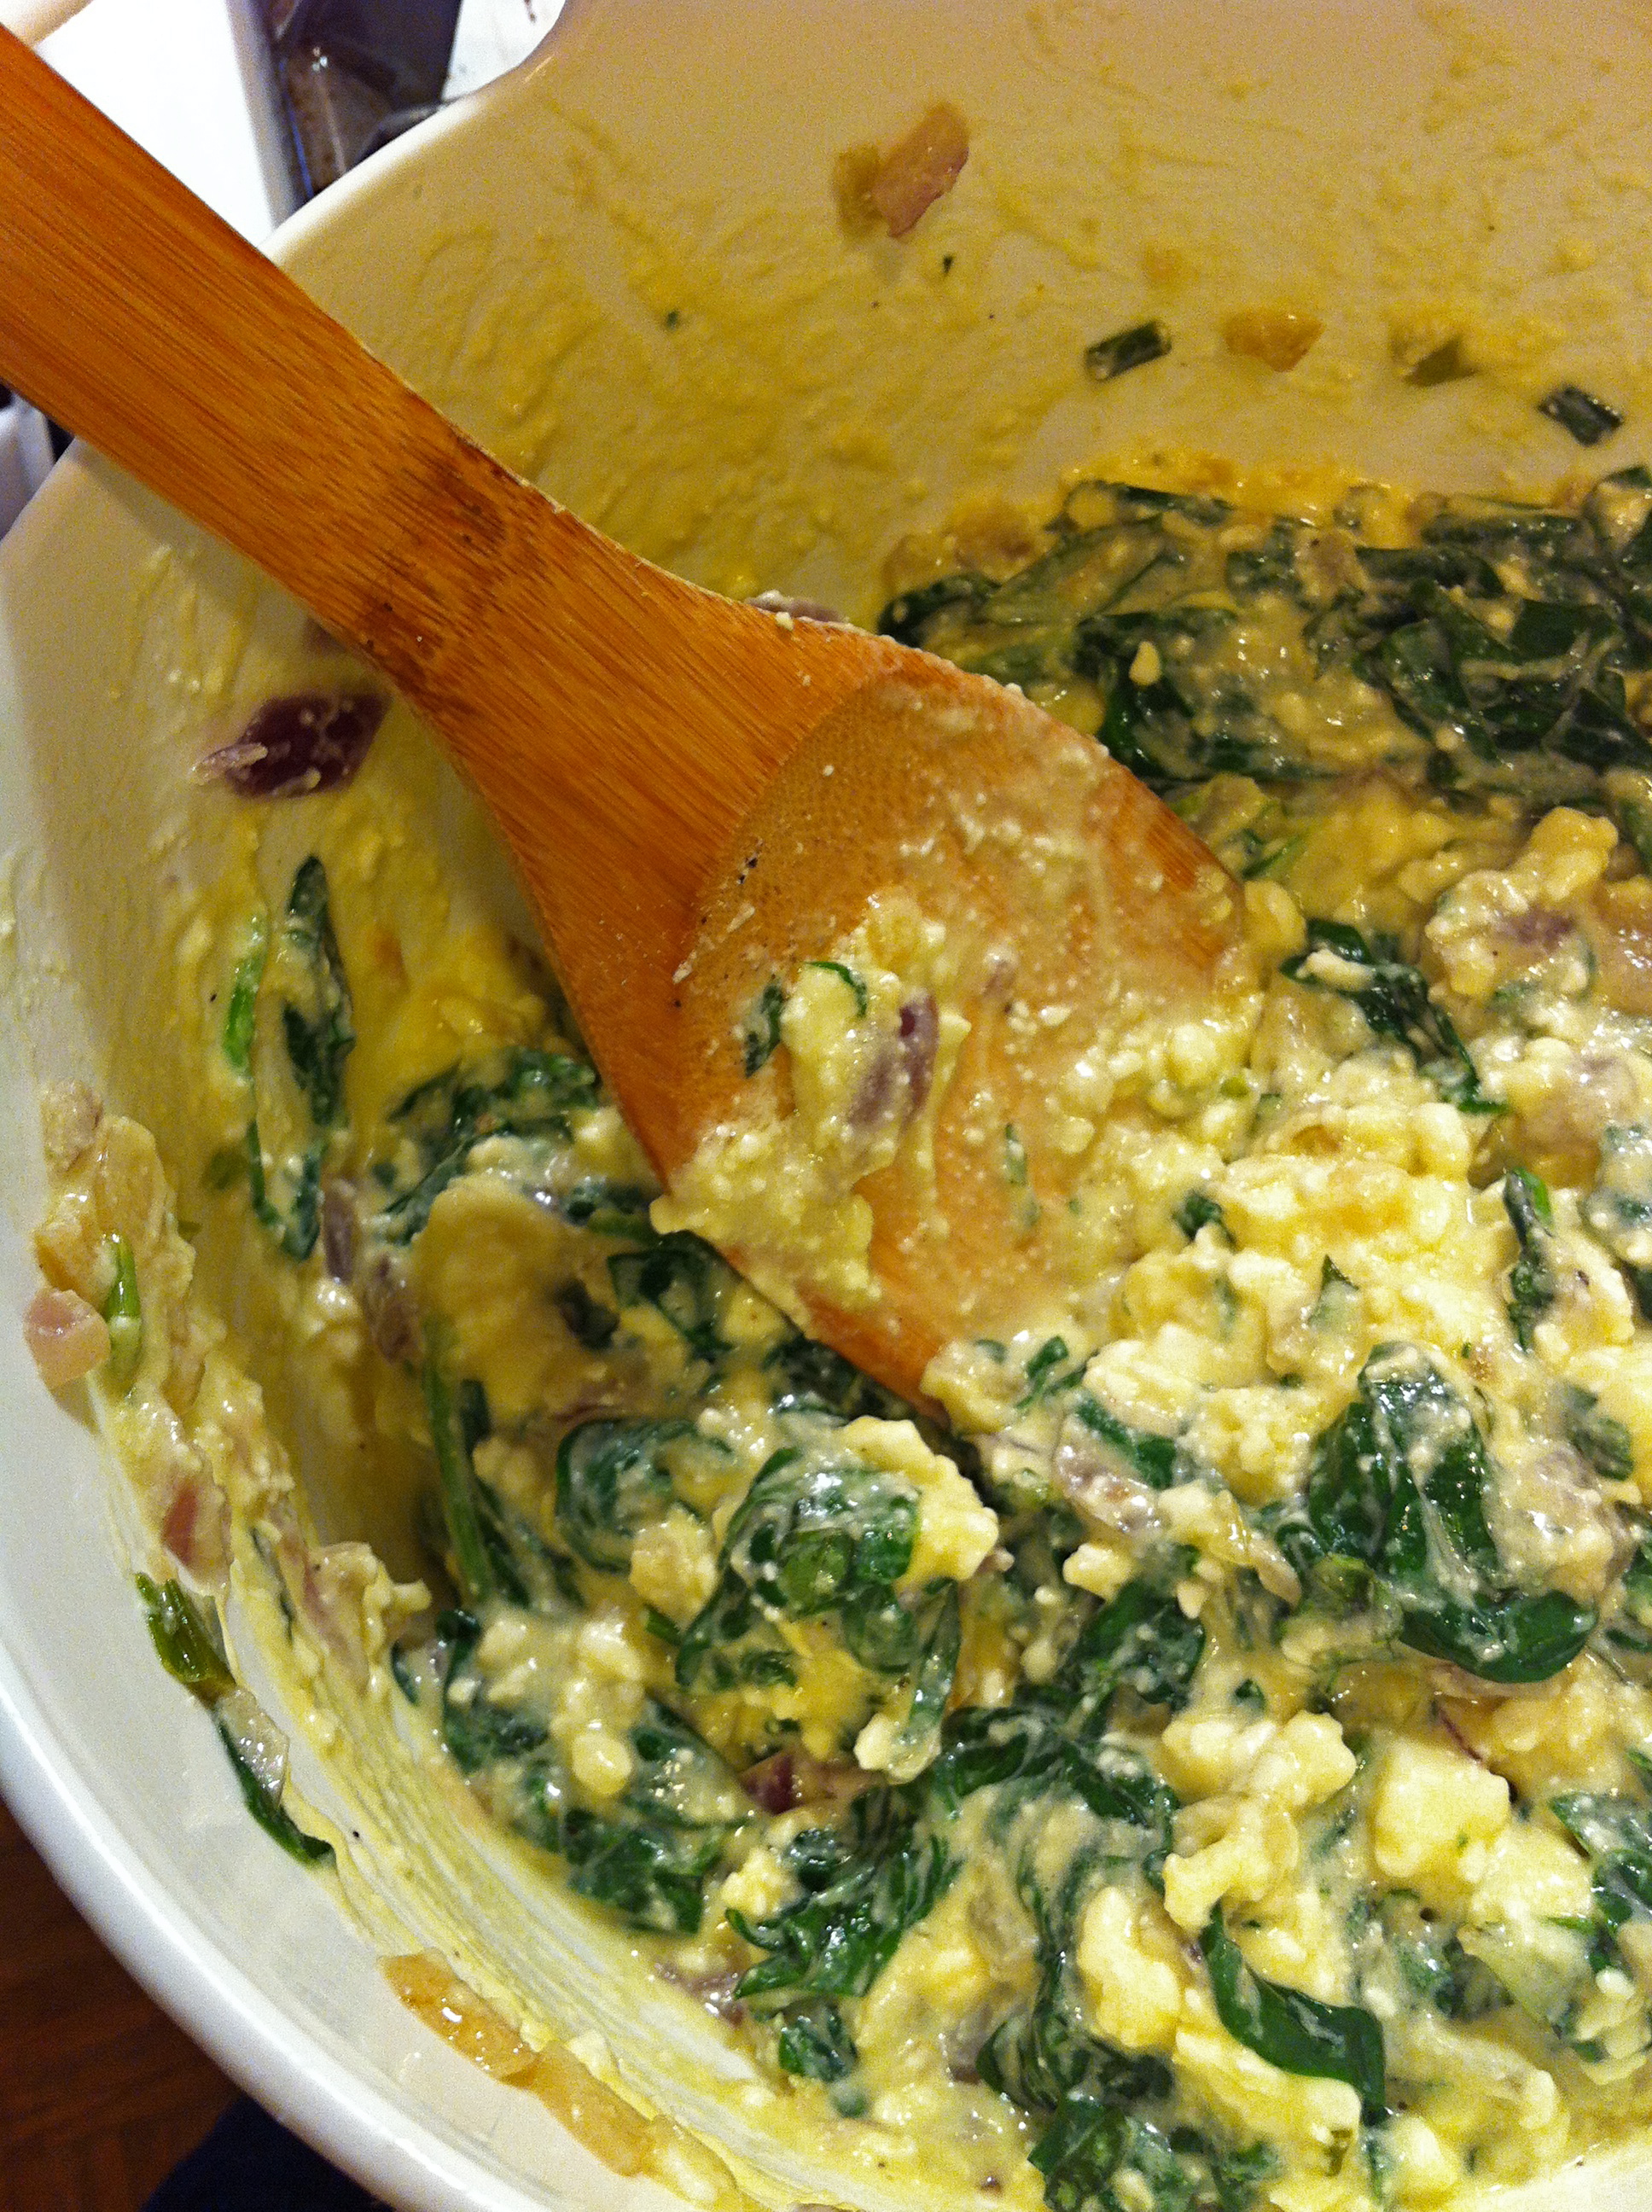
As that sweet smelling garlic spinach cools down just a bit, grab a larger bowl and whisk together your eggs and feta cheese, LOTS of feta cheese. Spanakopita is nothing without this deliciously cheesy component so overindulgence is absolutely recommended. Add the contents of the spinach bowl into the larger bowl and mix together. Add the salt & pepper to taste and Viola! the creamy  & satisfying filling for your pie.

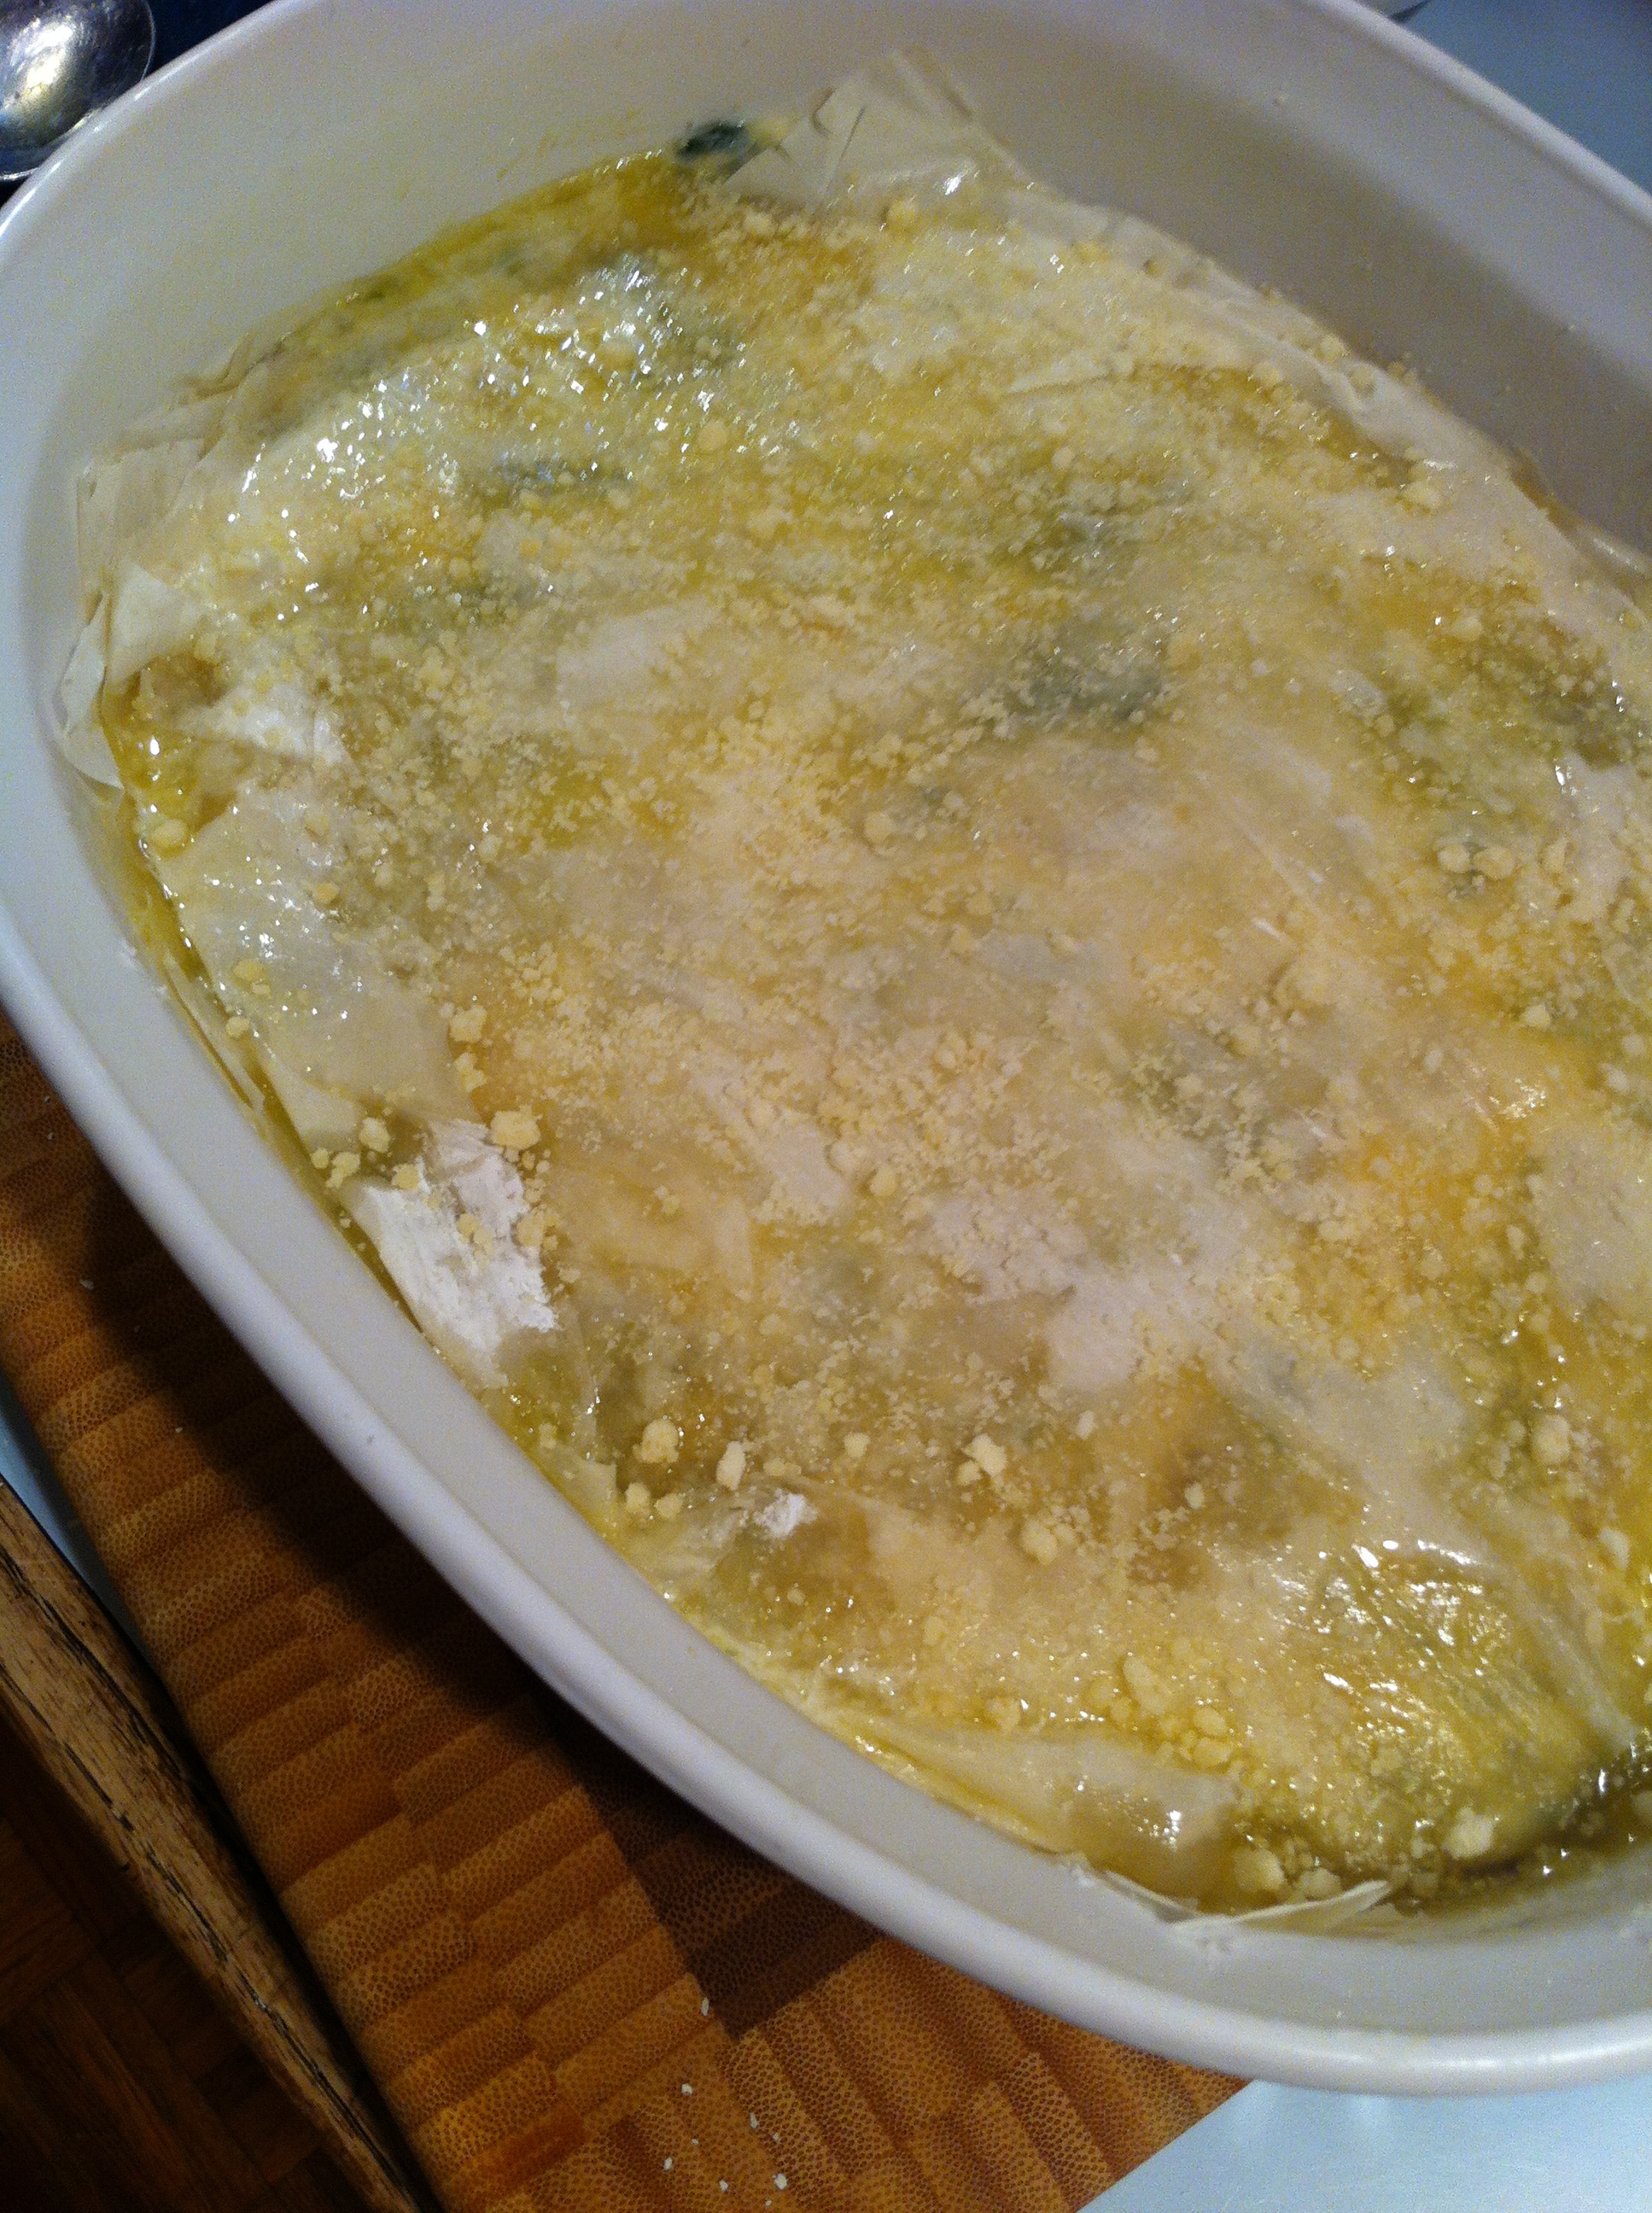
Now for the construction: Melt butter to use almost as a binding paste. Phyllo dough is very temperamental. It will crumble and become fragile easily, so when you open it up cover its entirety with a towel. Brush a light coating of butter along the walls of  your baking pan. You will need to lightly butter each sheet of phyllo dough you add to the pie, first placing six sheets down at the bottom of your pan. Once you have six down, spread a portion of the spinach and cheese mixture evenly over the top. Repeat these layering steps with six more sheets of phyllo dough (remembering to butter every one) followed by the rest of the filling. You’ll place a layer of eight more sheets of phyllo to the top to finish the pie!

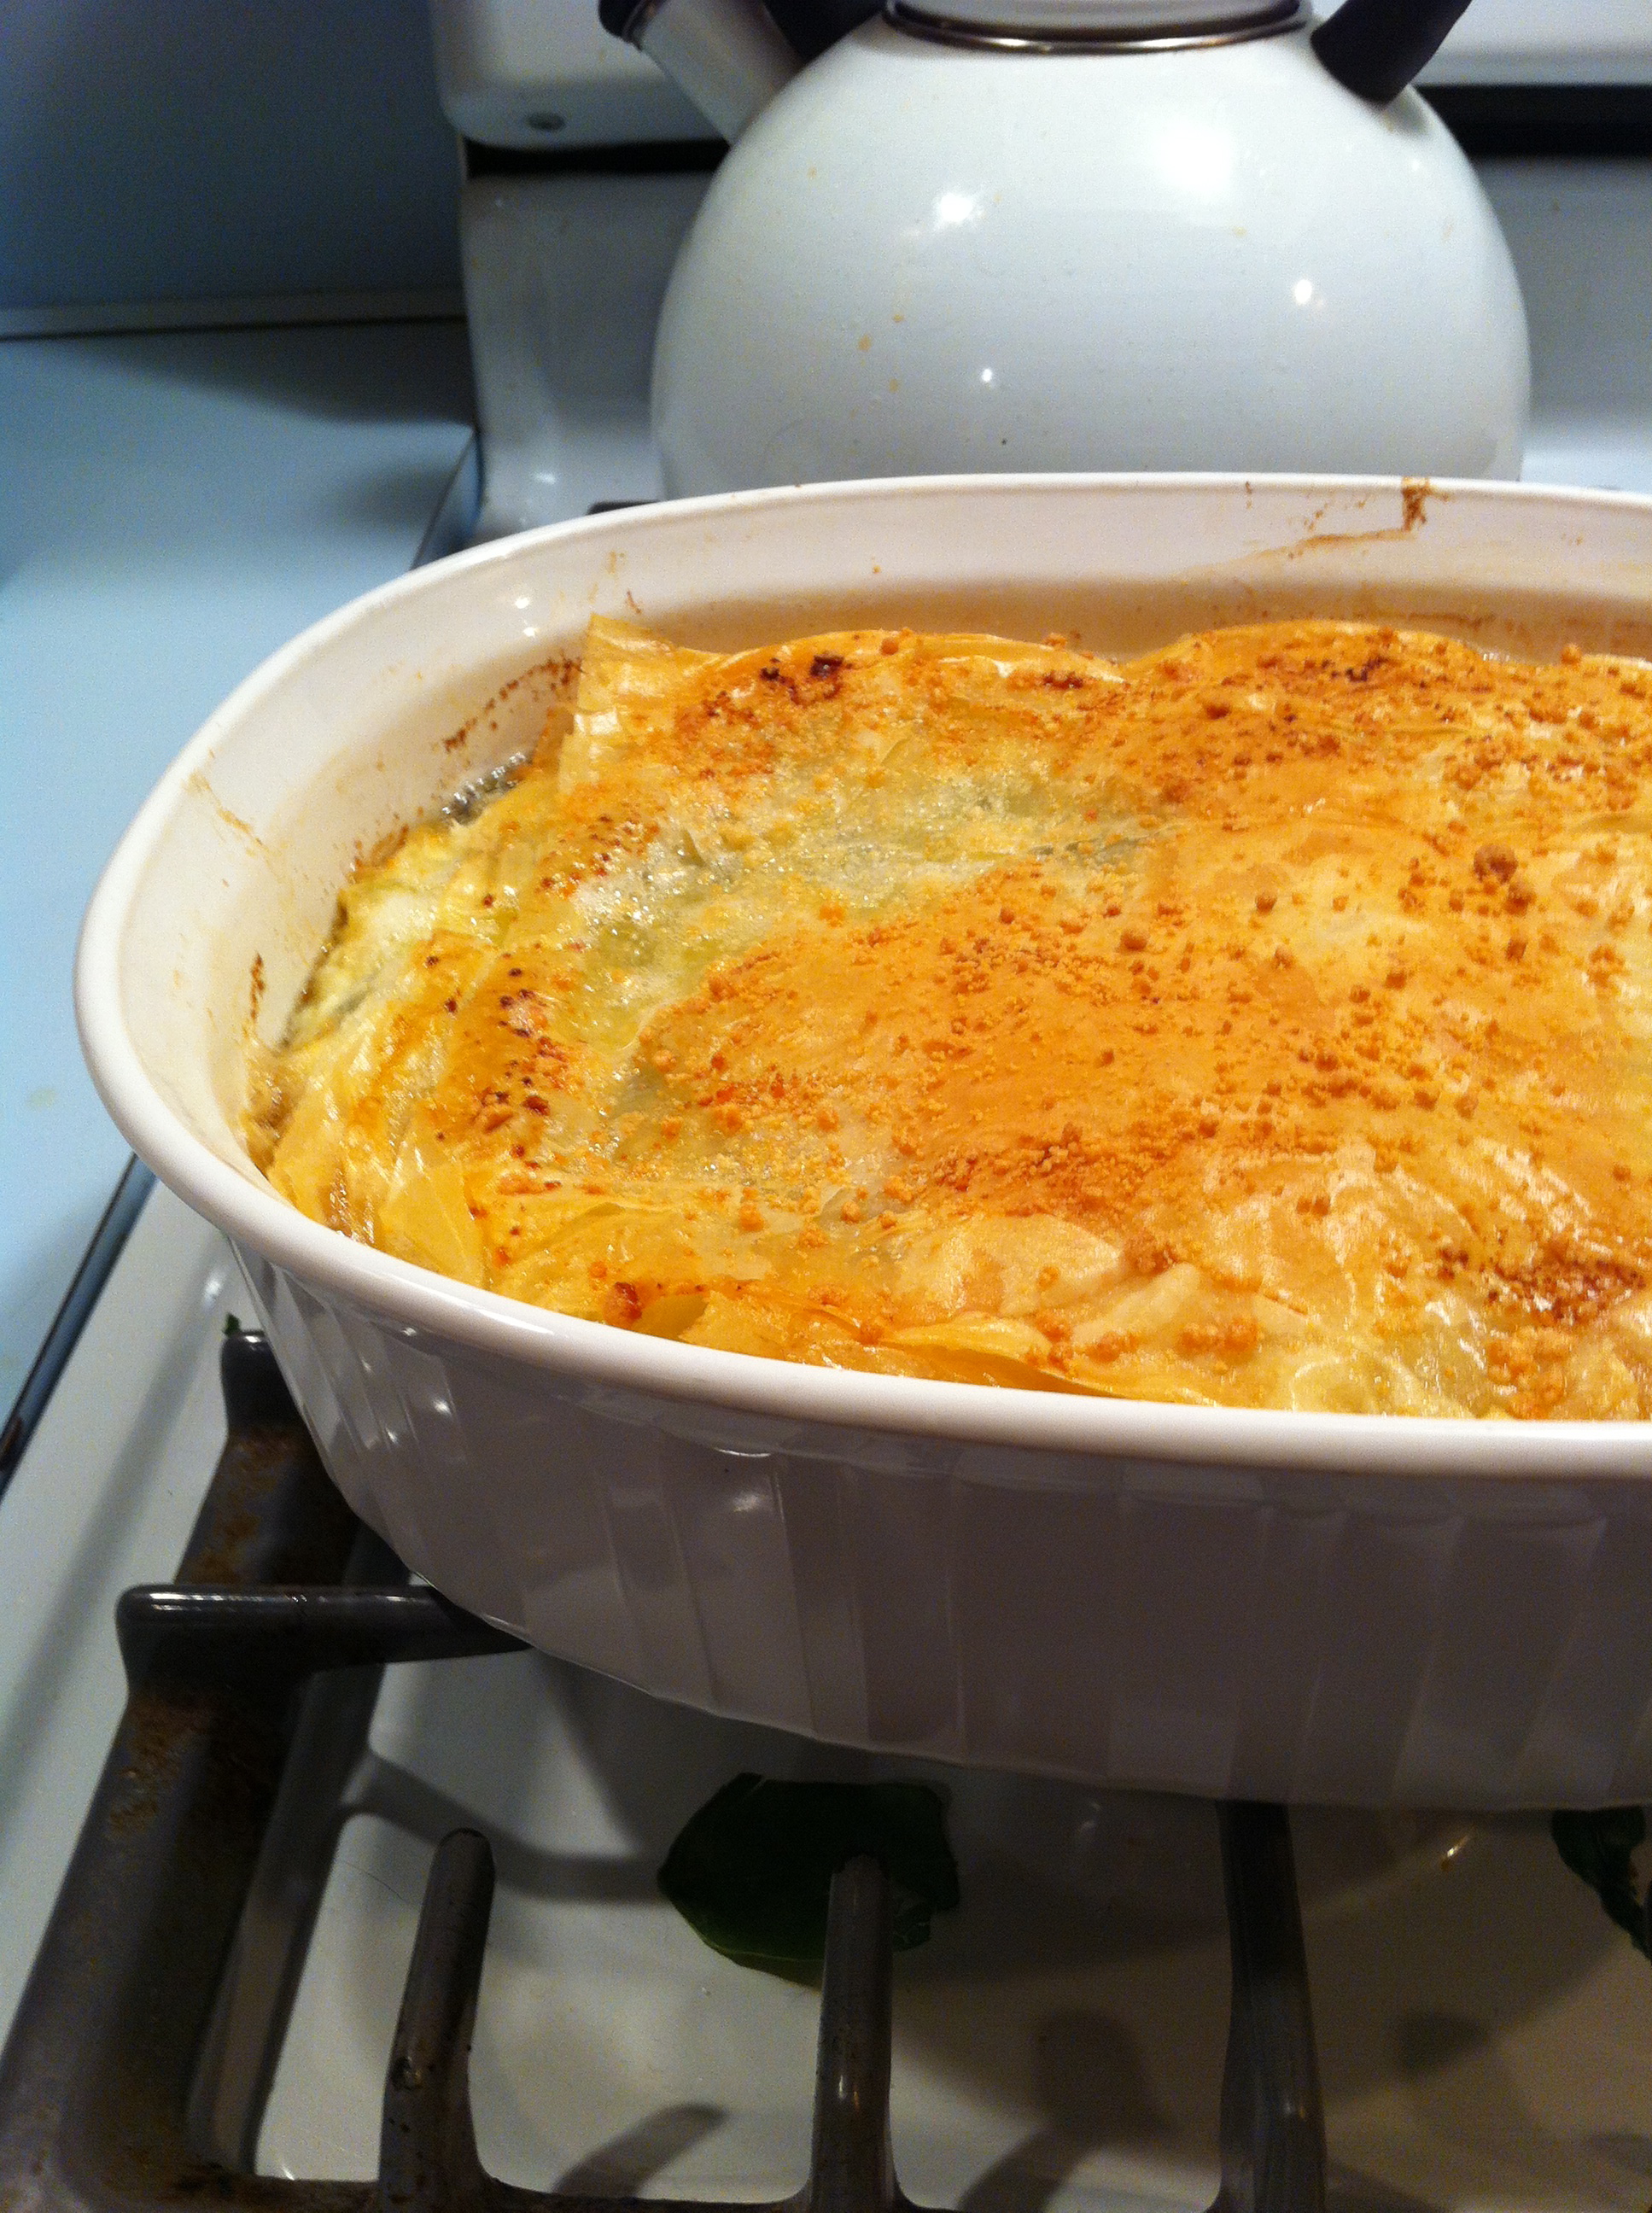
Bake for 25-28 minutes until you have a golden brown, buttery flaky crust on top. Mmm, my mouth is watering just thinking about it! oh yeah, Make some and air mail me a piece while you’re at it, those are my final instructions. I would devour a slice of spanakopita for lunch!

Happy cooking times my dear friends!

love, tricia
Growth by the Season

© Growth by the Season. All rights reserved.